


Creating alcohol ink art has quickly become one of our favorite activities. In just fifteen minutes, you can create something beautiful to use as a decoration, give as a gift, or use the time for art therapy.
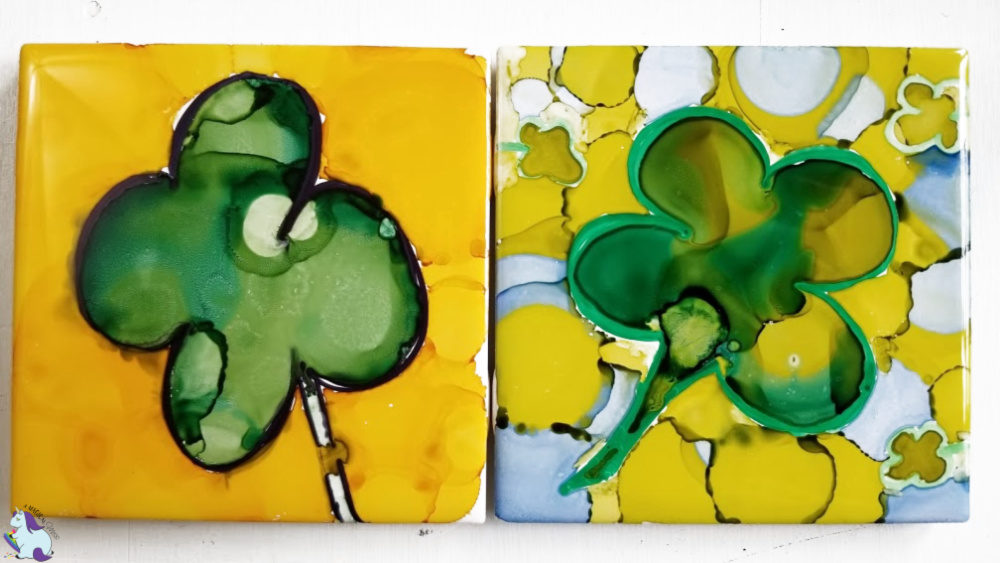
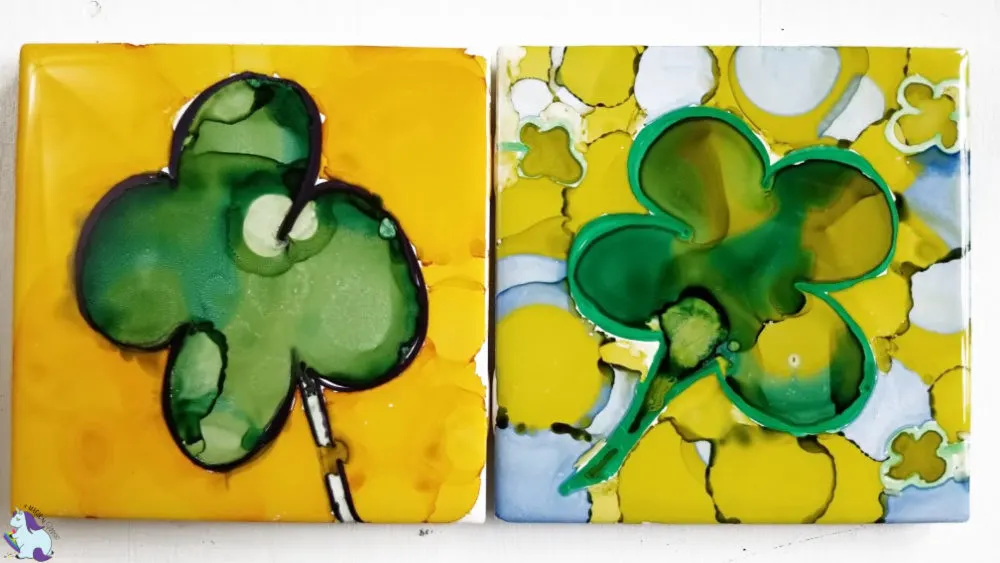
We came up with these clovers as St. Patrick’s Day crafts for the whole family.
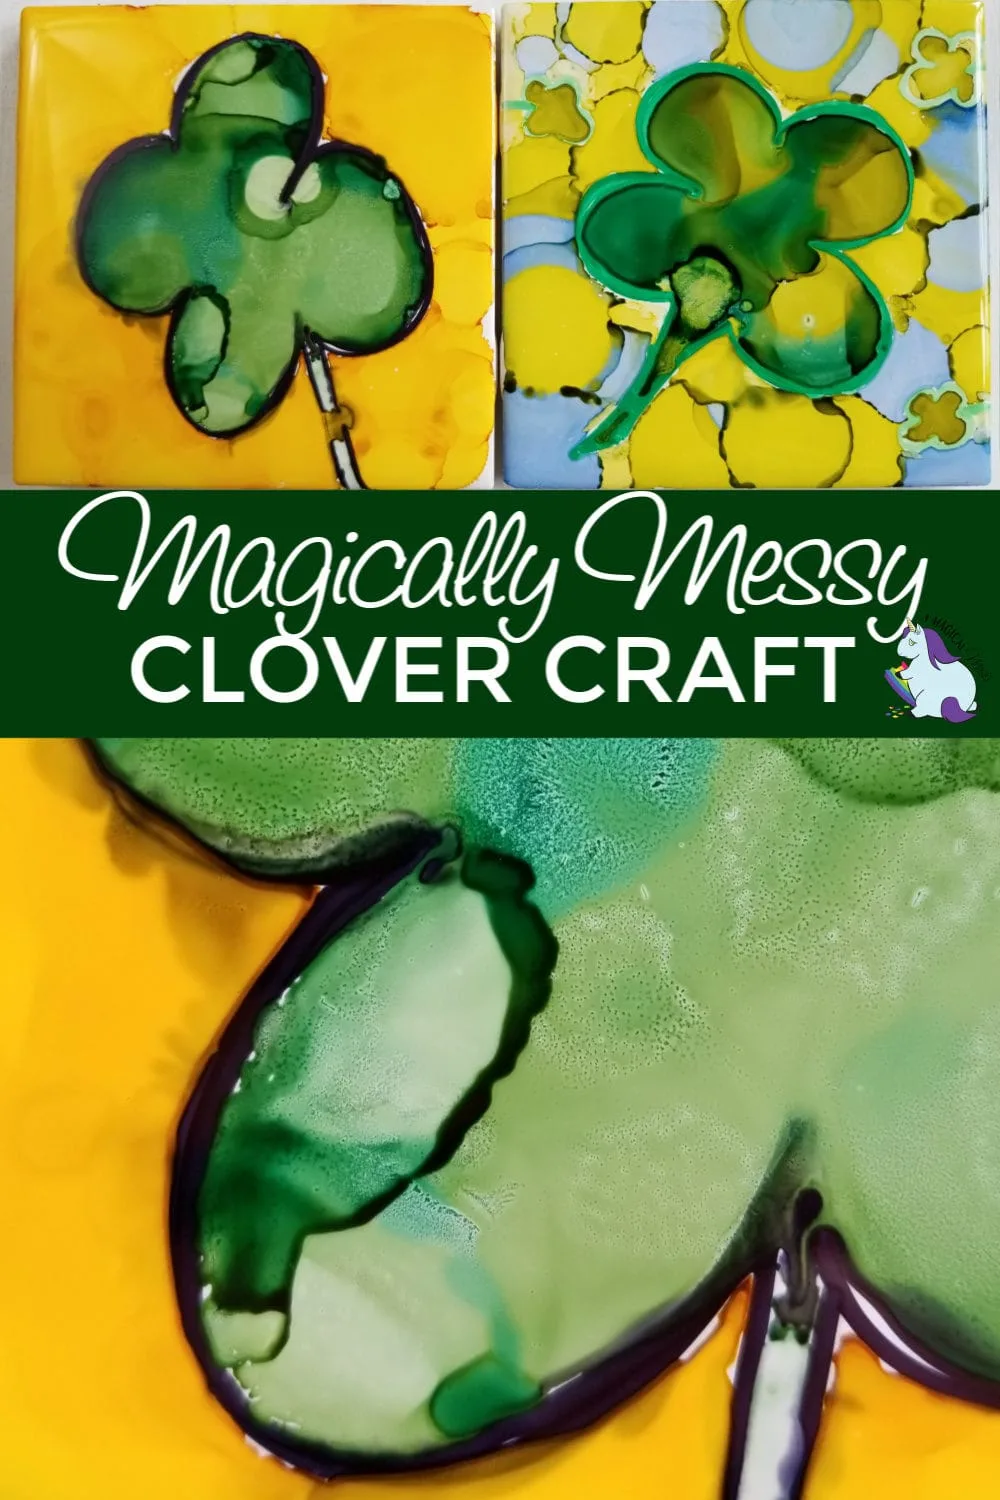
Lucky Alcohol Ink Clovers for St. Patrick’s Day
If you involve younger kids, make sure you protect their clothing and the surface they’re working on as these inks will stain. Otherwise, this is a magical craft the whole family can enjoy.
Watching the colors spread and evolve into surprise designs is a blast. Have no fear, if you end up with a total mess on your tile, wipe it clean with blending solution and start over.


St. Patrick’s Day Gifting
Make these four-leaf clover cookies with pistachios to snack on while your tiles dry!

If you’re making these art tiles as a gift, consider making this mint chocolate sugar scrub to go with them. You can place the jar on the tile and wrap them up in green cellophane with gold ribbon! It’s sure to bestow good luck on the recipient.
Alcohol Ink Four-Leaf Clover Craft

These are perfect for St. Patrick's Day crafts or for any time you want to add a little luck to your day! Kids can do them, too! Just make sure they're supervised and wearing their 'get messy' craft clothes.
Materials
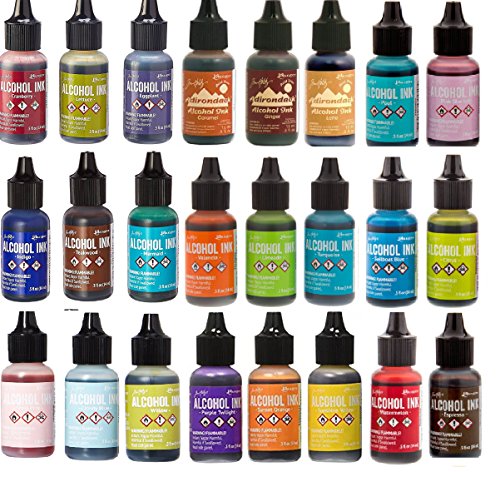
- 3-5 bottles Adirondack Alcohol Ink, in a variety of colors
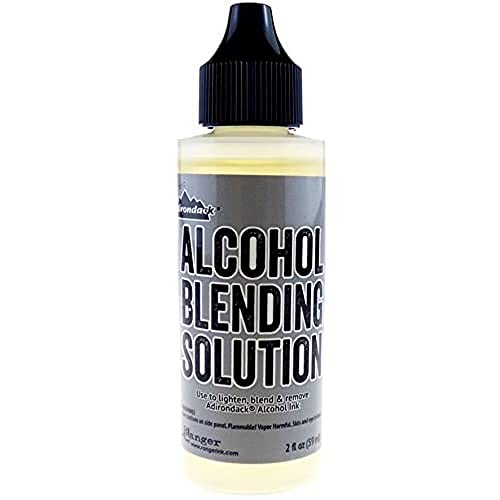
- 1 bottle Ranger Adirondack Alcohol Ink Blending Solution
- 1 ceramic tile, any size
- 1-2 Sharpie permanent marker, in preferred thickness and color
- 4 felt stickers
Tools
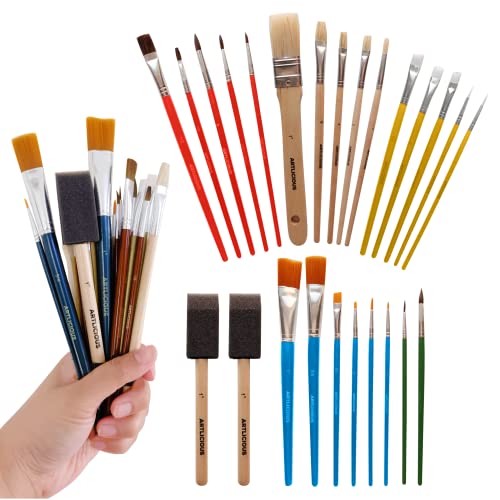
- 1 paint brush, fine tip
Instructions
- With the tile face down, apply felt stickers to each corner.
- Make sure the front of the tile is clean and dry.
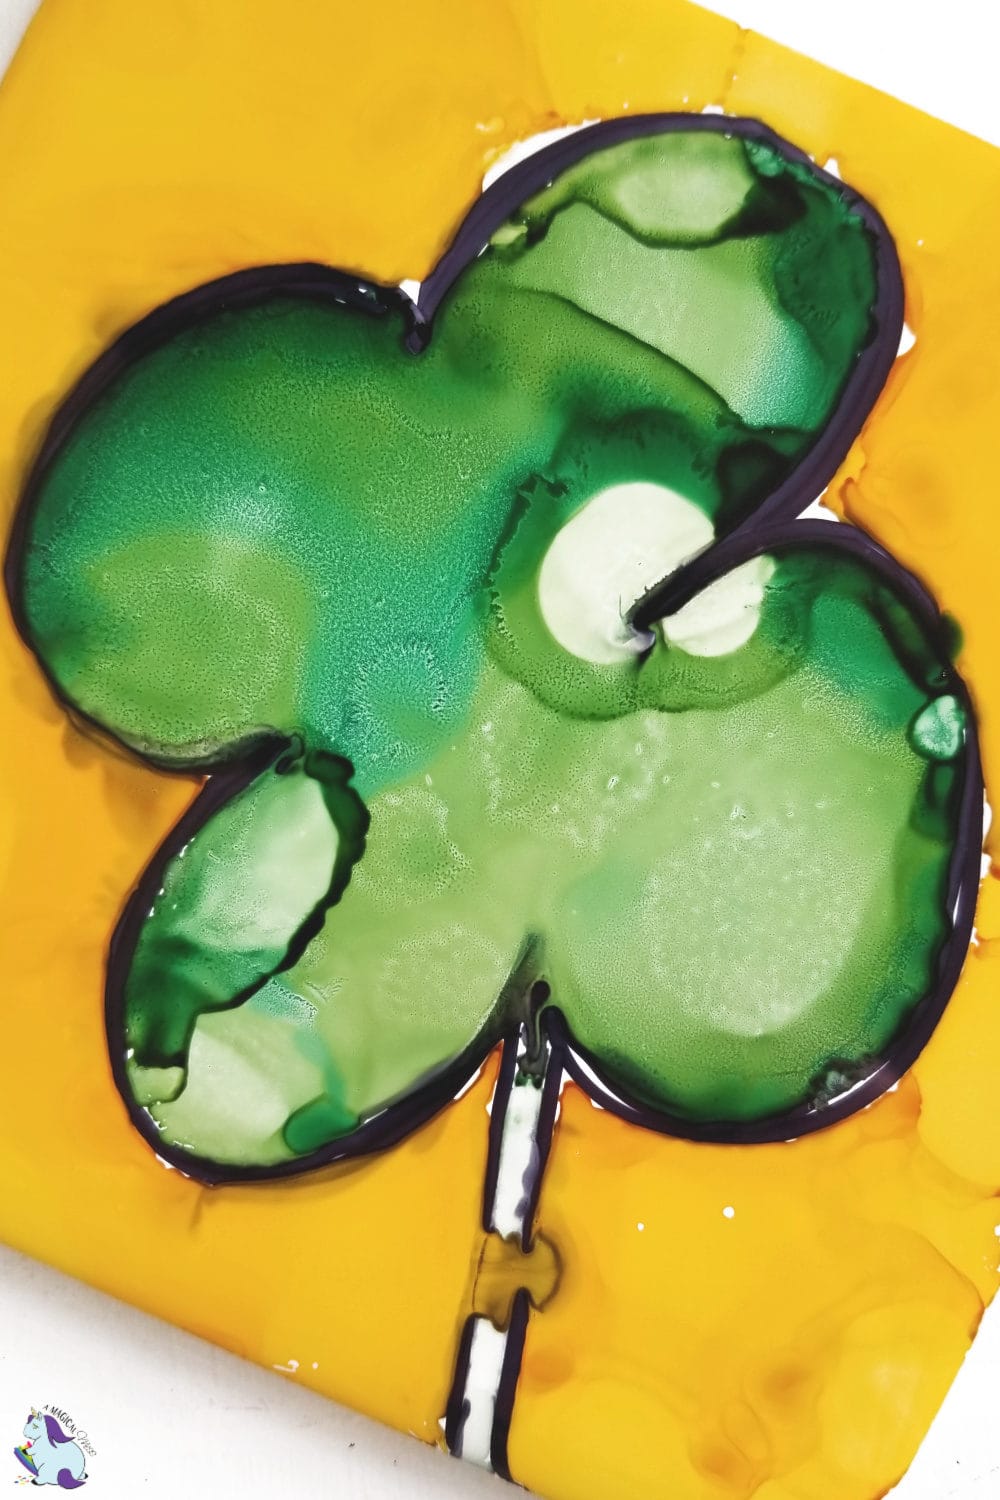
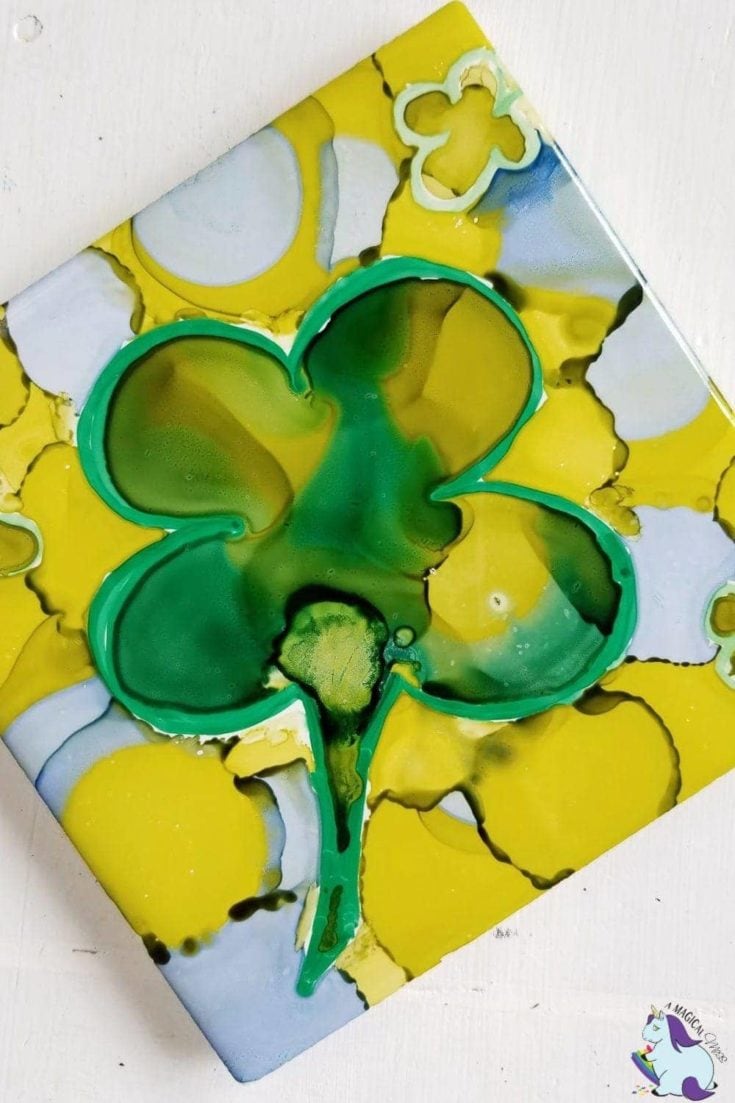
- Use the Sharpie permanent marker to draw minimalistic clover designs--the simpler, the better. Go over your lines to make sure they're about 3-5 mm thick.
- Apply the blending solution with a fine tip brush to the inside of your image--or wherever you want to add color. Be sure to stay at least 1 mm away from your marker line, or it will bleed, and the alcohol ink will run through it. (Sometimes this is awesome and creates something unexpected and neat!)
- Add droplets of alcohol ink to the areas with blending solution. Be mindful of your color choices because they will mix. (Too many colors will create a dark mess.)
- If areas are not getting colored, try using a toothpick to drag the ink to those blank spots.
- Once the inside of your image is colored, apply blending solution to your background and repeat steps 4 and 5.
- When you're satisfied with your creation, allow it to dry on a flat surface.
Notes
If you make any mistakes, use a cotton swab with a few drops of blending solution as an eraser. If you prefer to do a full reset, you can apply several drops of blending solution directly to the tile and wipe it clean.
Recommended Products
As an Amazon Associate and member of other affiliate programs, I earn from qualifying purchases.


More Alcohol Ink Crafts
- Hearts for Valentine’s Day
- Flowers for Mother’s Day
- Trees for Christmas
- Eggs for Easter
- Trees for Earth Day
Pin this image to save and share!

Do you make any St. Patrick’s Day crafts with the family?
Share this easy DIY and spread the good fortune!
Kelly
Wednesday 13th of February 2019
I didn't even know you could paint like this! So cool!
Krystal
Wednesday 13th of February 2019
I’ve never tried to do something like this before! How fun!
Jaclyn
Wednesday 13th of February 2019
Who new painting with alcohol ink could be so fun?! Love this St. Patrick's Day craft!