6 Simple DIY Projects to Update Furniture Without Buying New Pieces
There’s something quietly satisfying about looking at a tired old dresser or a worn-out chair and thinking, “I can fix that.” Not everyone has the budget or desire to run out and buy new furniture every time the living room starts to feel stale. And honestly? You don’t have to. The pieces you already own often have a lot more potential than you’d ever guess.
The DIY home improvement scene has been booming. A recent Home Improvement Trends Report found a 30% rise in DIY home projects during 2024, and that momentum has only grown. Whether you’re working with a beloved thrift store find or a hand-me-down that’s seen better days, these six projects are genuinely doable, surprisingly impactful, and won’t cost you a fortune. Let’s dive in.
1. Paint Furniture with Chalk Paint for an Instant Makeover
Let’s be real – few things transform a piece of furniture faster than a fresh coat of paint. Chalk paint can be used to paint almost anything, including walls, kitchen cabinets, metal, wood, and even fabric, but the most common use is to give new life to old furniture or to make newer pieces look old. That versatility is hard to beat. Think of it like giving your dresser a completely new personality without changing its bones.
The big appeal of chalk paint is the promise that it doesn’t require much prep work. Other types of furniture makeover techniques usually require stripping away old paint and sanding away the finishes. This makes it the perfect weekend project for beginners. With chalk paint, it’s easy to create a bedroom or dining room set out of mismatched pieces that end up looking like they have always belonged together, simply by using the same shade of paint and the same technique. That alone could save you hundreds of dollars on a matching set.
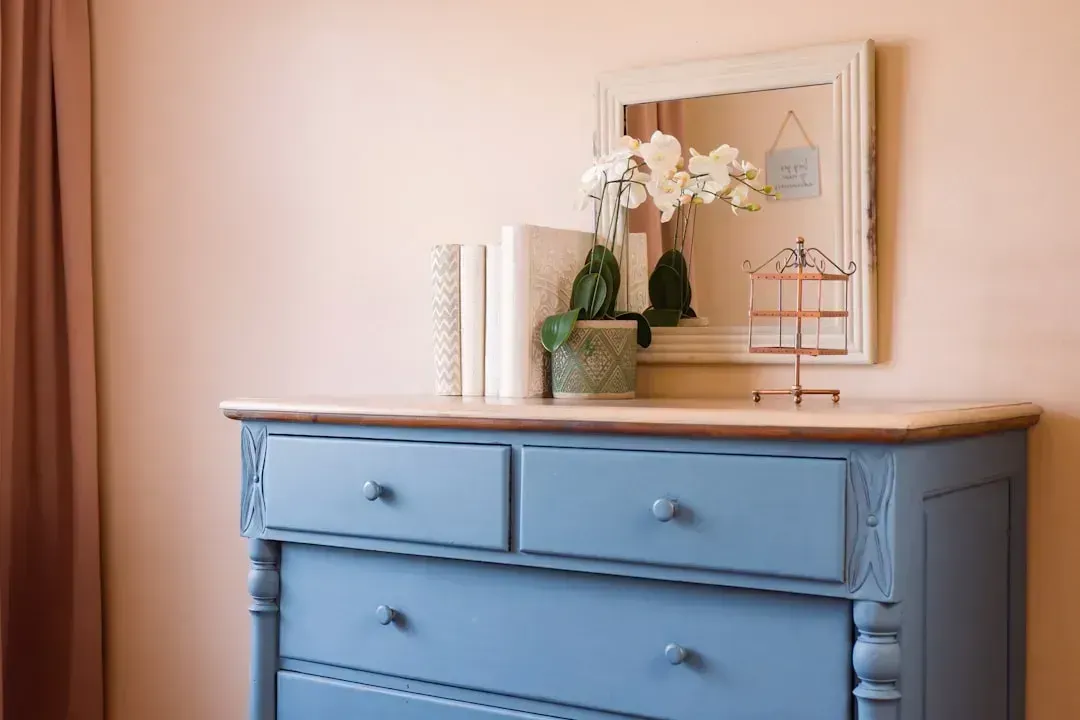
2. Replace Hardware on Dressers and Cabinets
This one is almost criminally underrated. Swapping out old knobs and drawer pulls is one of the fastest ways to change the entire vibe of a piece of furniture. This simple fix can majorly transform dressers and cabinets. New hardware can make inexpensive pieces look luxe and bring vintage pieces closer to the modern realm. It’s the jewelry of your furniture, if you think about it – small, but oh-so-noticeable.
Most hardware costs roughly two to ten dollars per piece, making it a budget-friendly upgrade that requires no power tools and is a great beginner DIY project. Solid brass, brushed nickel, or matte black finishes are durable options that add timeless appeal. If the new hardware holes don’t line up, don’t panic. If the new hardware doesn’t align with existing holes, use wood filler to patch the old ones and drill new holes.
3. Reupholster a Chair Seat or Cushion
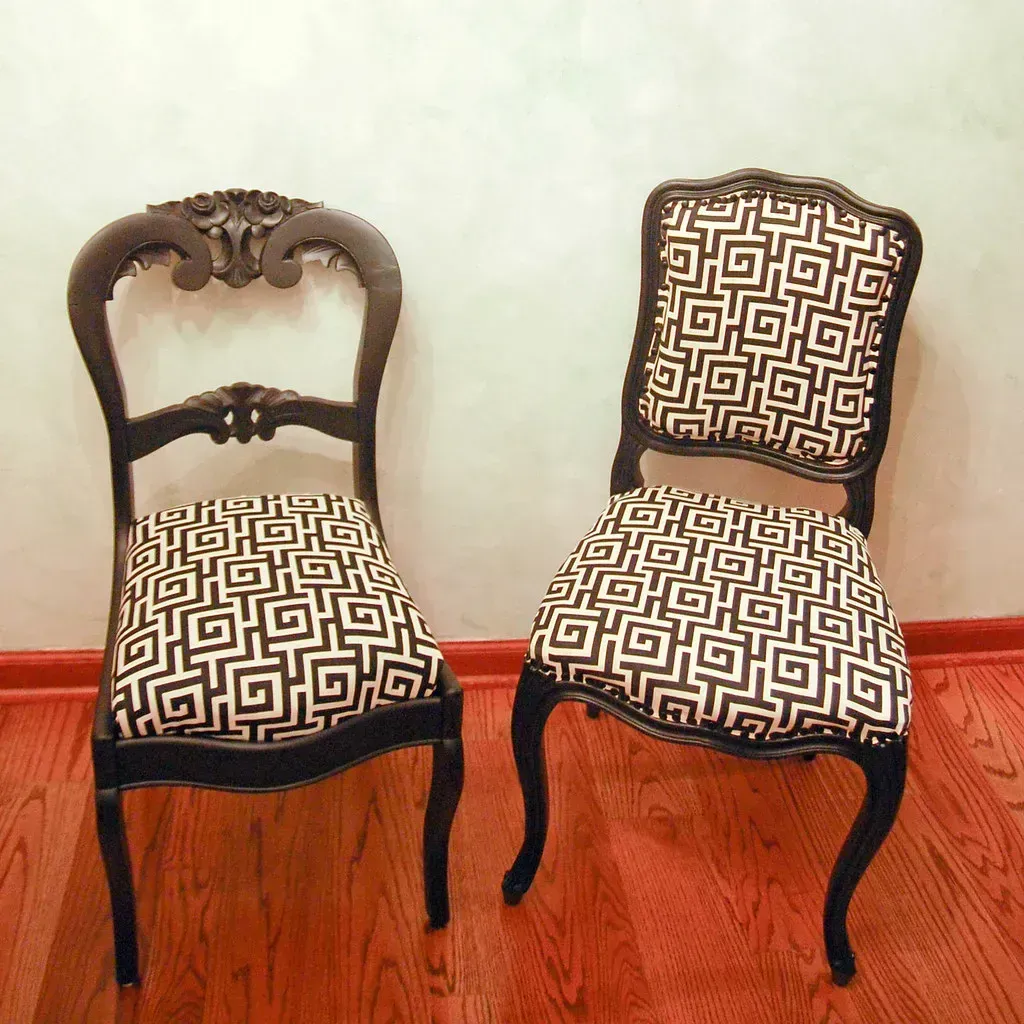
That dining chair with the cracked, faded seat cover? It doesn’t need to go to the curb. When the fabric fades or the padding goes flat, a DIY reupholstery job can bring your furniture back to life for a fraction of the cost of buying new. It sounds intimidating. It really isn’t. A staple gun, some foam, and a yard of fabric are essentially all you need.
The technique is methodical rather than difficult. Lay the old fabric over the new material and use it as a template to cut precise pieces. Use a fabric marker or chalk to mark the measurements before cutting to ensure accuracy. Cut the fabric carefully, adding a few extra inches around the edges to give room for adjustments. Then, start by attaching the largest sections and pulling the fabric tightly to avoid wrinkles, securing the fabric with a staple gun beginning at the center and working your way outward. Take your time with the corners and the finished result can look genuinely professional.
4. Add Decorative Stenciling or Decoupage

Honestly, this project feels more like art than home improvement. Stenciling or decoupage can turn a plain, flat surface into something truly eye-catching, and neither requires any special talent. Popular techniques include chalk paint for a matte, modern finish, fabric swaps for upholstered items, and decoupage for adding unique patterns. A stencil from a craft store and some contrasting paint can turn a boring tabletop into a conversation piece in an afternoon.
DIY techniques such as stenciling, fabric wrapping, or layered textiles can be used to personalize and refresh textiles and accessories. The key is to work with a light hand and let each layer dry fully before adding the next. Selective use of natural wood accents, thoughtful color pops, and textured walls can elevate your space without overspending, and incorporating recycled or repurposed materials like vintage textiles not only saves money but also aligns with eco-conscious values. The same thinking applies to furniture surfaces – use what you have, and layer with intention.
5. Build or Refresh a DIY Headboard

A bedroom without a proper headboard can feel a bit unfinished, like a sentence without a period. Here’s the thing: you don’t need to buy one. If your bed feels like it’s missing a focal point, try creating a stunning headboard from an old wooden frame, covering it with foam and fabric to match your bedroom’s decor. This DIY project instantly makes your bed stand out and adds sophistication to your room without spending a fortune on a new headboard.
You can also refresh an existing headboard the same way you would a chair cushion. The frame is the skeleton, and the fabric is the skin. Finishing makes a dramatic difference, and small details like edge sanding and hardware upgrades elevate the final result. Pick a fabric that ties in with your bedding and curtains, and you’ll end up with a cohesive bedroom look that feels intentional and pulled-together without the price tag of a brand-new bed frame.
6. Upcycle Furniture with New Legs or Structural Tweaks
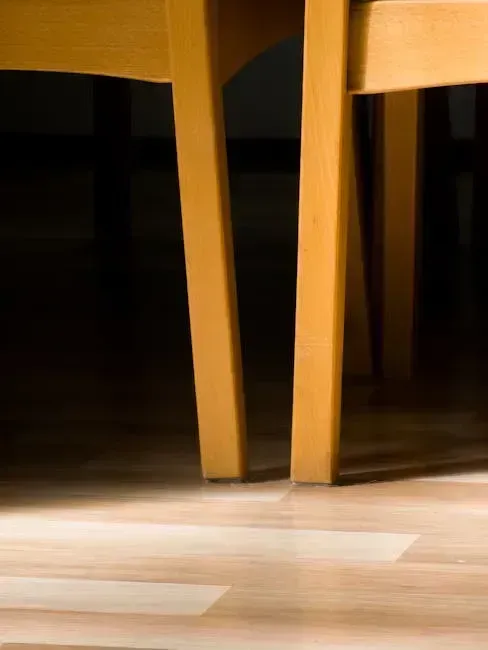
Sometimes a piece of furniture just needs a little structural refresh rather than a full cosmetic overhaul. Swapping out table or sofa legs is one of the most overlooked DIY furniture tricks, and it can shift a piece from one design era to another entirely. A chunky, blocky coffee table becomes mid-century modern the moment you swap its legs for tapered wooden ones. I know it sounds crazy, but the legs really do carry the whole personality of a table.
Upcycling furniture is a sustainable and creative approach that allows you to personalize your space while reducing waste. Start by selecting sturdy pieces with good bones – thrifted chairs, side tables, or dressers are ideal candidates. According to the Home DIY Cost Study 2024, the average DIY furniture project costs between $150 and $400, but simple structural swaps like legs or feet often come in well under that. The cost savings are significant compared to buying new, and the environmental impact is positive.
The real takeaway here is that the furniture you already own is often closer to “perfect” than it seems. A little paint, some new hardware, a yard of fabric, or a fresh set of legs can completely change how you feel about a piece you were ready to throw out. Start with one project. See how it goes. There’s a good chance you’ll never look at your furniture the same way again – what would you tackle first?