Homemade Hot Chocolate Bombs (Easy Gift Idea!)
What exactly is a hot chocolate bomb
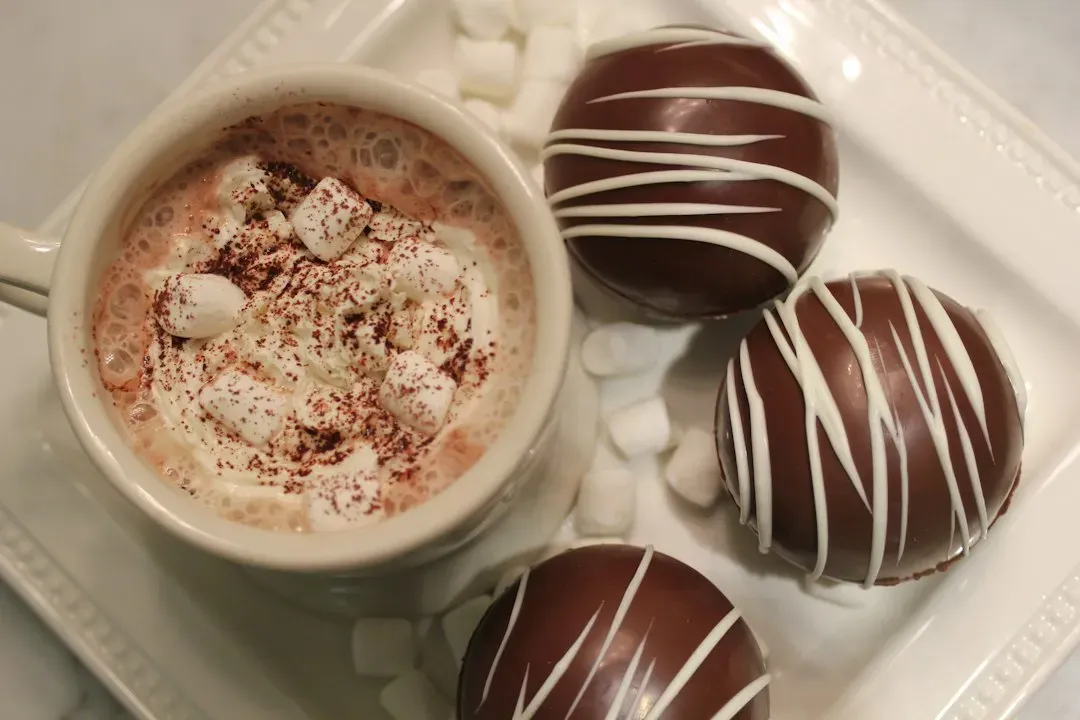
A hot chocolate bomb is a hollow sphere made from tempered or melted chocolate, filled with cocoa mix and mini marshmallows, then sealed shut. When you place it in a mug and pour hot milk over it, the chocolate melts away and releases everything inside, creating an instant cup of hot cocoa.
The concept isn’t brand new, but it exploded in popularity a few years back and has stuck around as a genuine kitchen staple rather than a passing trend. Part of the appeal is that it looks complicated but really only involves a handful of steps repeated a few times.
The tools you actually need
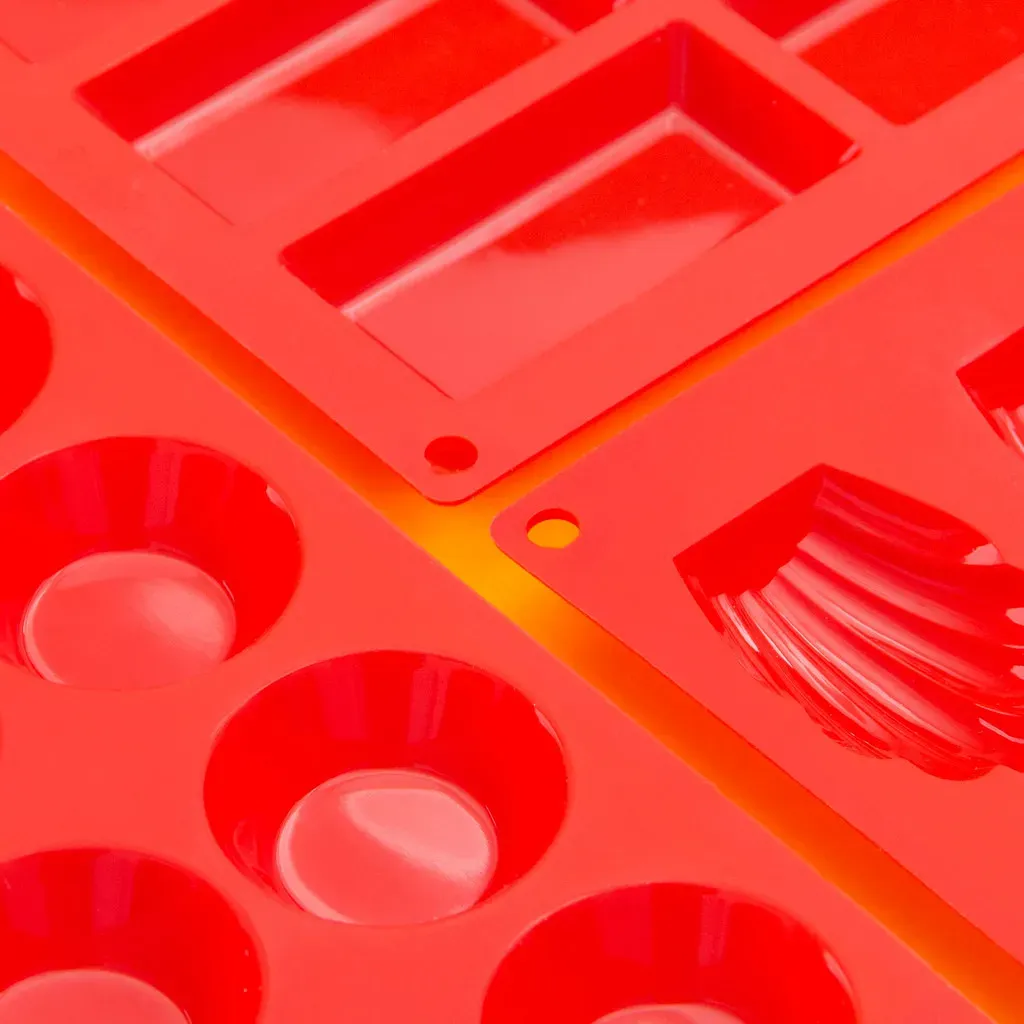
You don’t need specialty equipment to get started, though a silicone half-sphere mold makes life considerably easier. These molds are widely available online and in most baking aisles, usually in trays of six or more cavities per sheet.
Beyond the mold, you’ll want a heatproof bowl for melting chocolate, a spoon or offset spatula for spreading it evenly, and a small plate or baking sheet lined with parchment paper. A microwave or a simple double boiler setup on the stove works fine for melting; neither method requires anything fancy.
Choosing the right chocolate
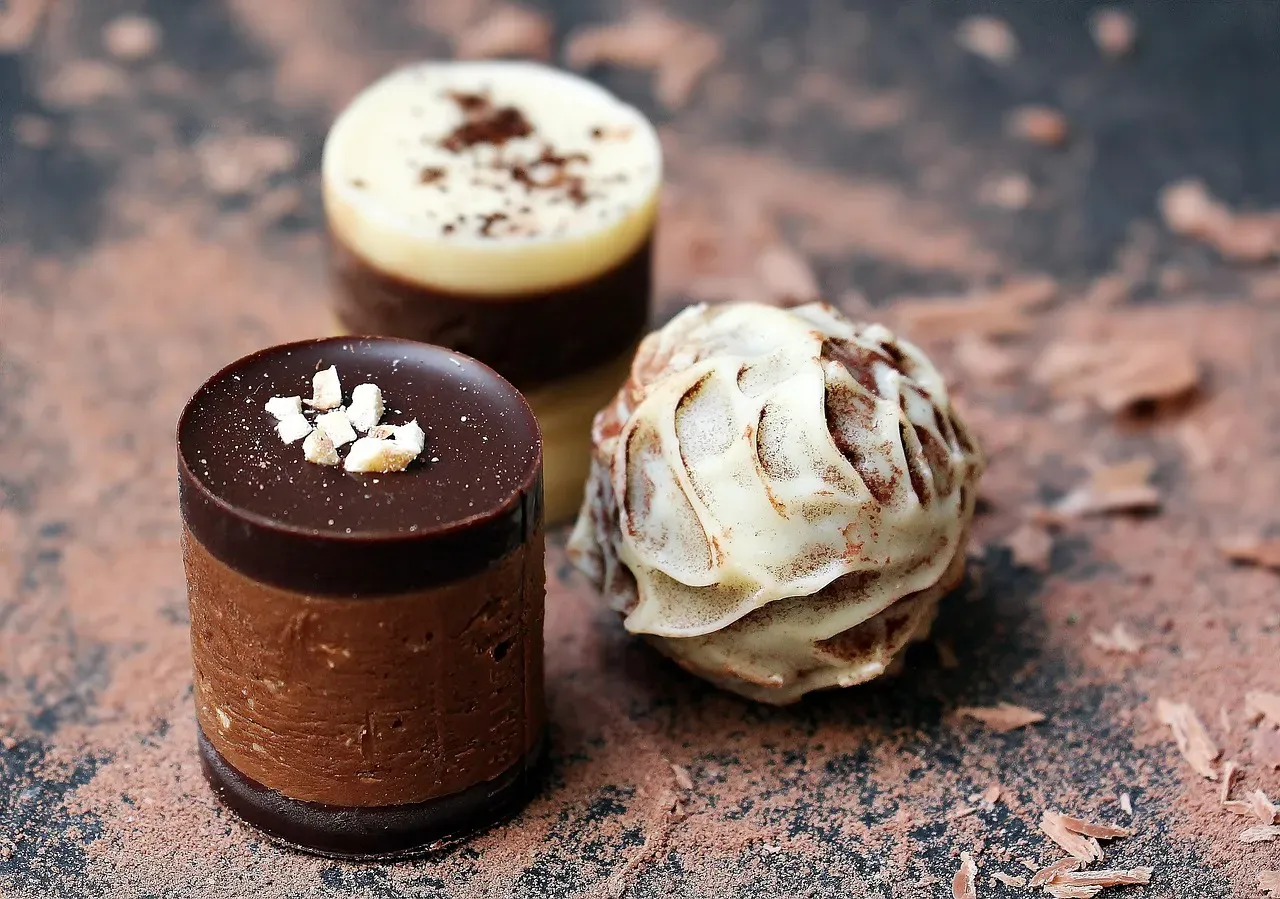
Candy melts or chocolate wafers designed for molding tend to work best because they set up firm and glossy without needing precise tempering. Regular chocolate chips can work too, but they sometimes need a bit of coconut oil or shortening stirred in to thin them out and help them release cleanly from the mold.
Dark, milk, and white chocolate all behave similarly for this purpose, so the choice really comes down to personal taste or whatever pairs best with your intended filling. Some people mix two types together for a marbled look, which adds visual interest without any extra effort.
Coating the mold properly
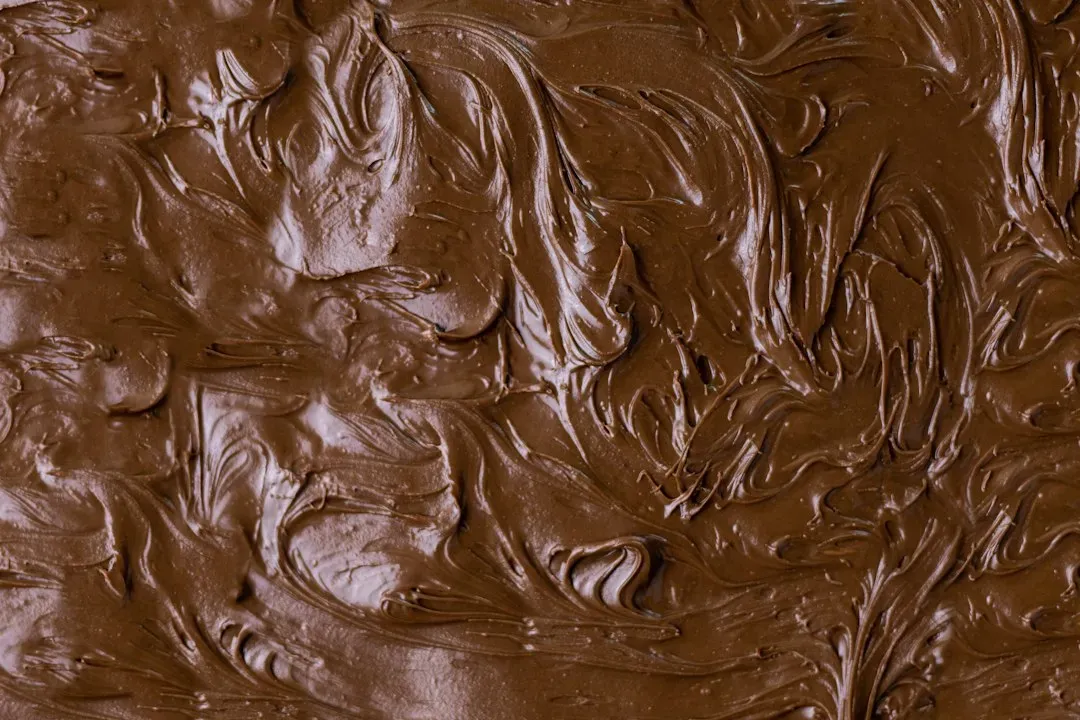
Using a spoon, add a small amount of melted chocolate into each cavity and use the back of the spoon or a small brush to coat the sides evenly, making sure there are no thin spots or gaps. Thin spots are the most common reason bombs crack too early or fall apart when handled, so this step is worth doing twice if you have the patience.
After the first coat sets in the refrigerator for a few minutes, add a second layer to reinforce the shell. This double coating gives the sphere enough structural strength to survive being filled, sealed, and later dropped into a hot mug.
Filling with cocoa and marshmallows
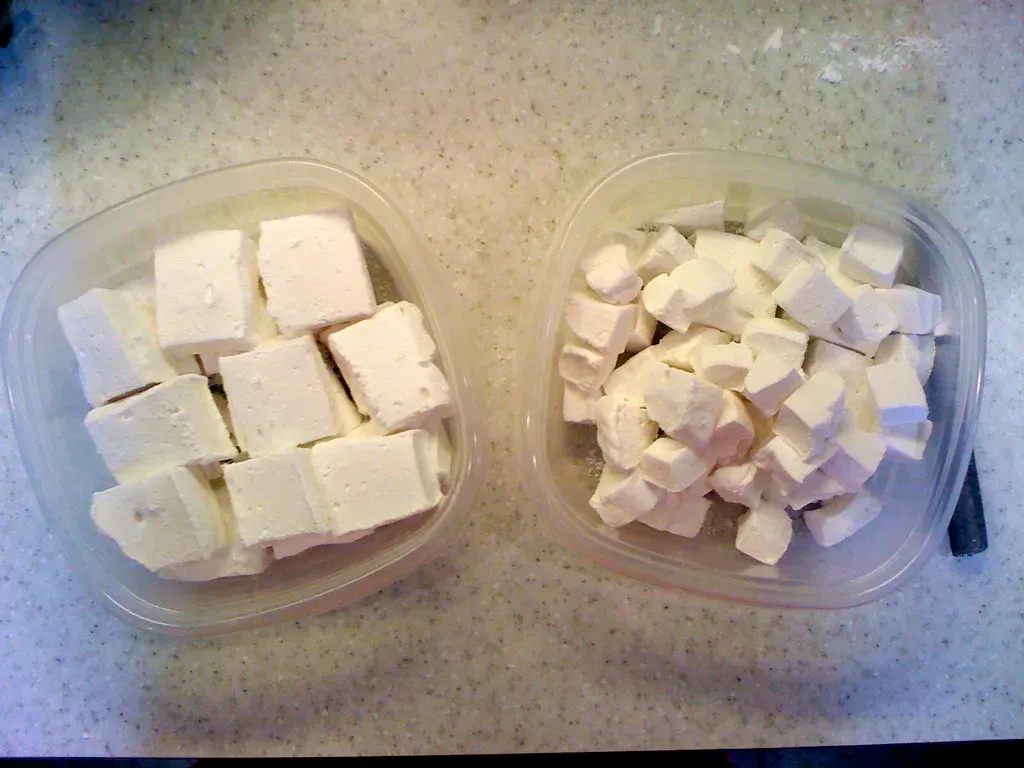
Once your chocolate halves have hardened and released cleanly from the mold, it’s time to fill one half of each pair. A standard fill is a spoonful or two of hot cocoa mix along with a small handful of mini marshmallows, though there’s plenty of room to experiment.
Some people like to add crushed peppermint, a pinch of cinnamon, or even mini chocolate chips for texture. Just be careful not to overfill, since the two halves still need to seal together without bulging or cracking.
Sealing the two halves together
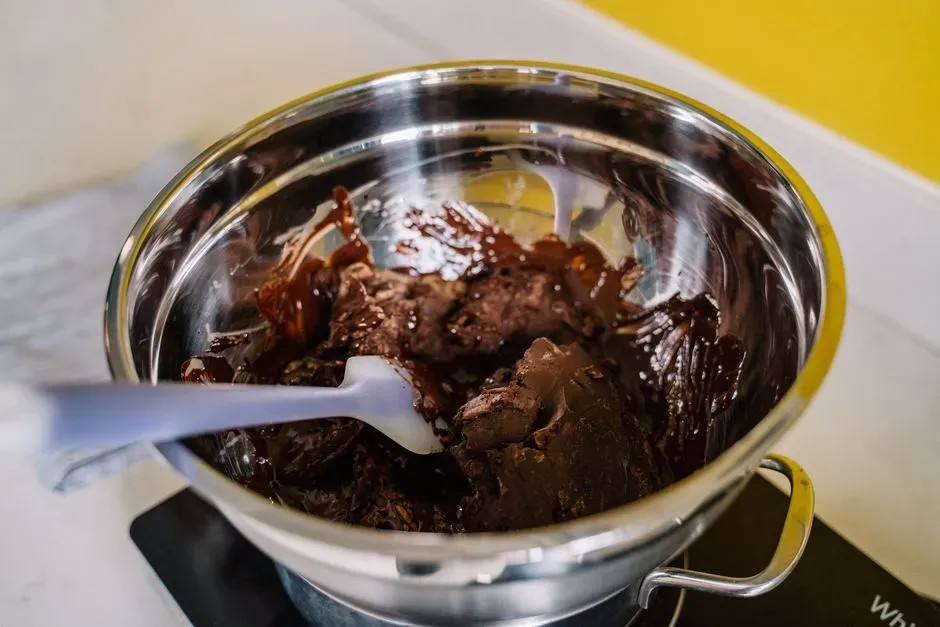
To join the halves, gently warm the rim of the empty half over a plate or on a slightly heated pan for a second or two, just enough to soften the edge without melting the whole shell. Press the two halves together firmly until they fuse, then let the seam set for a minute before handling.
If the seam looks uneven, a small dab of extra melted chocolate smoothed around the edge with a warm spoon or your finger usually fixes it. Patience here matters more than speed, since rushing this step is the easiest way to end up with a lopsided or leaky bomb.
Decorating for a finished look
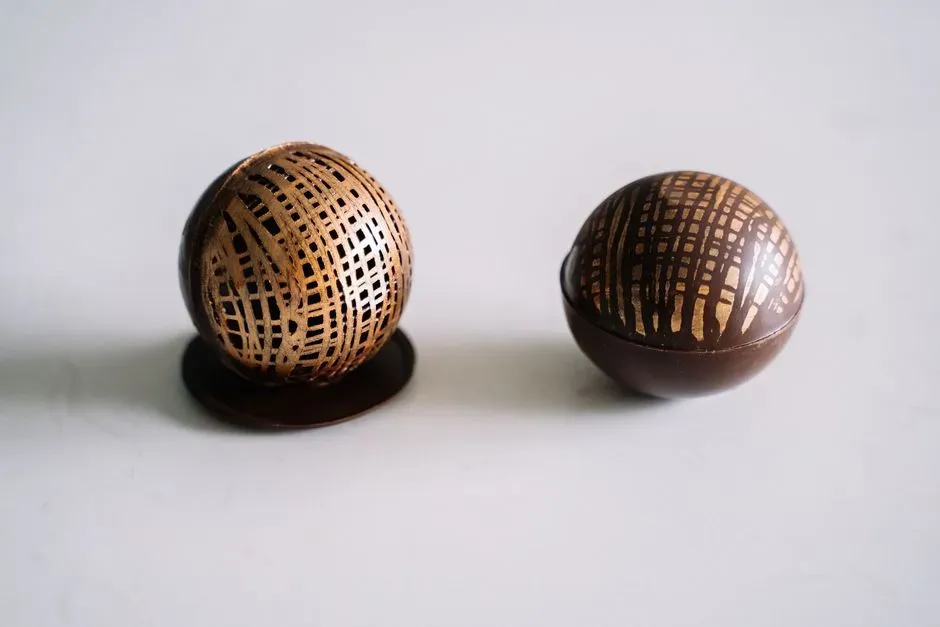
A drizzle of contrasting melted chocolate, a light dusting of edible glitter, or a few crushed peppermint pieces pressed onto the wet chocolate can turn a plain sphere into something that looks store bought. Simple lines or a light swirl are usually more effective visually than an overly busy design.
If you’re making these as gifts, consider color themes that match the occasion, like red and green for the holidays or pastel shades for spring. The decoration step is optional but it’s often what makes these feel special enough to give away.
Packaging them as gifts
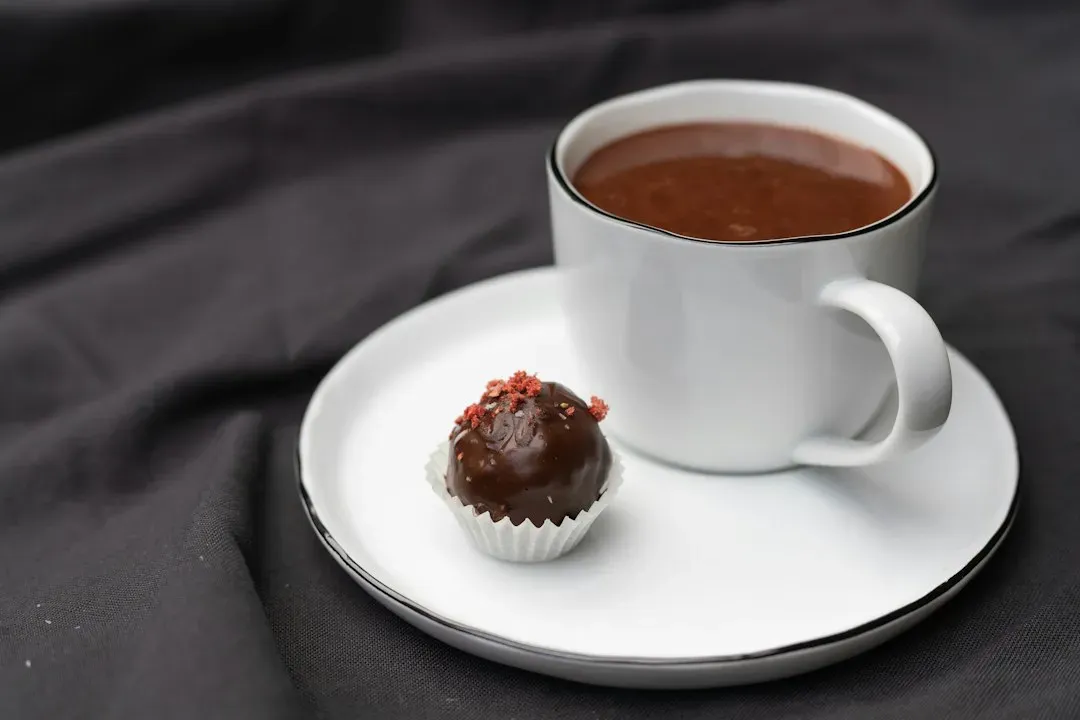
Because hot chocolate bombs are fragile, packaging matters almost as much as the making. Small cellophane bags tied with ribbon work well for individual bombs, while a few nestled together in a decorative box with tissue paper make for a more substantial present.
Adding a printed instruction card explaining how to use them is a thoughtful touch, especially for anyone who hasn’t seen the trend before. Clear boxes are popular too, since they let the recipient see the finished product before they even open it.
Storage and shelf life
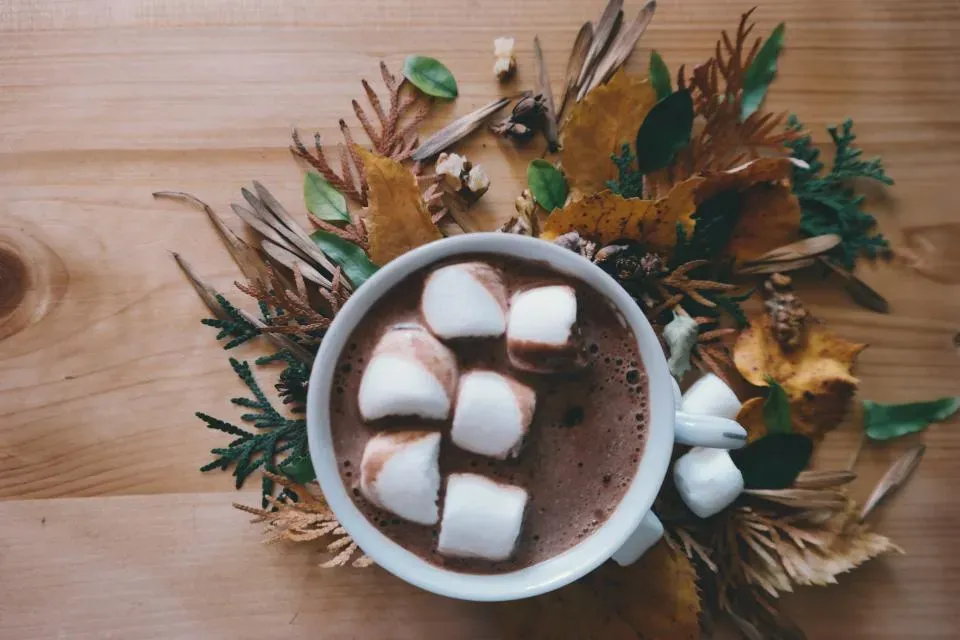
Hot chocolate bombs keep well at room temperature for a few weeks as long as they’re stored in a cool, dry spot away from direct sunlight or heat, which can cause the chocolate to melt or develop a dull, streaky finish known as bloom. Airtight containers help protect them from humidity and unwanted odors in the pantry.
If you’re gifting them, it’s worth mentioning to the recipient that they should be stored the same way rather than left in a warm car or near a sunny window. Properly made and stored bombs generally hold their shape and quality for weeks, making them a practical make ahead project for busy gift seasons.
Common mistakes to avoid
The most frequent issue people run into is chocolate that’s too thin on the mold walls, which leads to cracking during unmolding or sealing. Overheating the chocolate is another common problem, since scorched chocolate turns grainy and won’t set with a smooth, glossy finish.
Humidity can also cause trouble, as moisture in the air sometimes prevents chocolate from setting properly or causes condensation once the bombs are packaged. Working in a cool, dry kitchen and giving each layer enough time to fully harden in the fridge solves most of these headaches before they start.
Final thoughts
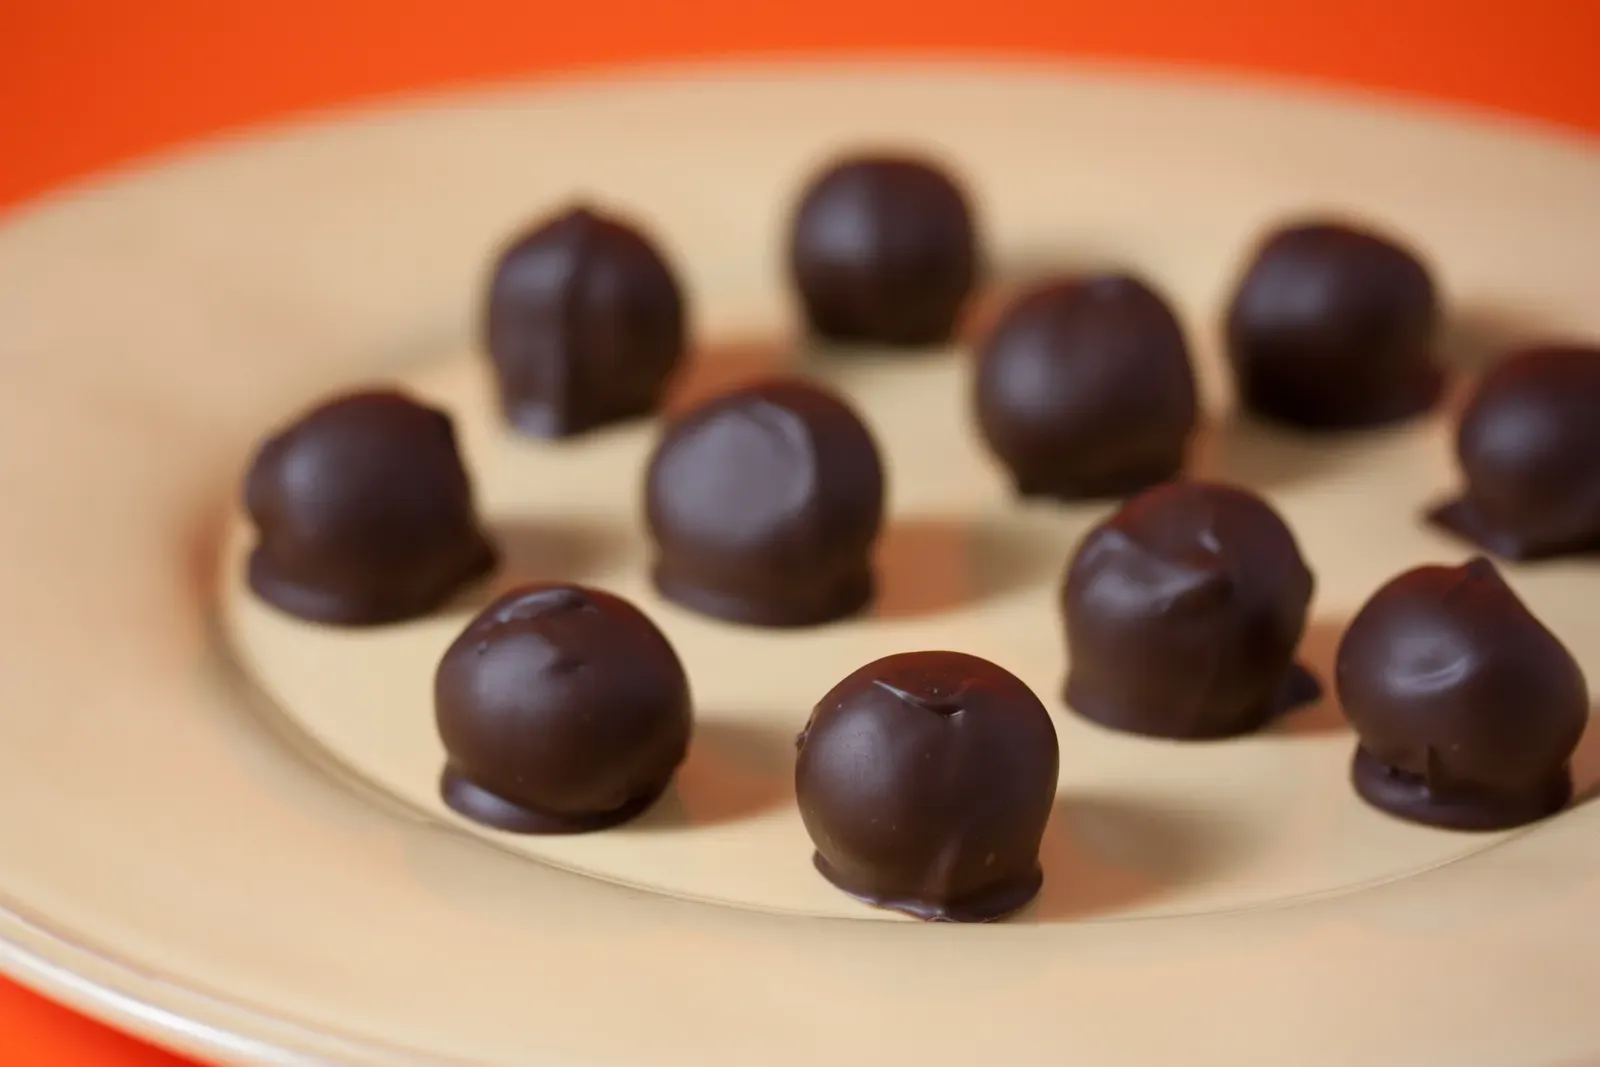
Hot chocolate bombs sit in that sweet spot between impressive and genuinely doable, which is probably why they’ve held their appeal well past their initial trend phase. With a mold, some melted chocolate, and a bit of patience for the sealing step, you end up with a gift that feels personal without demanding professional skills.
Whether you’re making a batch for coworkers, teachers, or just to have on hand for a cold evening, the process rewards a little care more than it demands expertise. Once you’ve made one batch, you’ll probably find yourself experimenting with fillings and flavors long after the holidays are over.