Creative Ways to Decorate Cookies Like a Pro
Master royal icing consistency first

Before any fancy technique comes into play, the icing itself needs to behave correctly. Professional decorators typically work with at least two consistencies: a thicker one for outlining and a looser one for filling in flat areas, sometimes called flood icing. Getting this balance right means the icing holds a clean edge when piped but settles smooth and glossy once it spreads inside the outline.
Many decorators test consistency by dragging a knife through the icing and counting how many seconds it takes for the line to disappear. This simple trick removes a lot of guesswork and helps beginners avoid the two most common problems, icing that cracks or icing that never sets.
Try the wet on wet technique for marbled effects
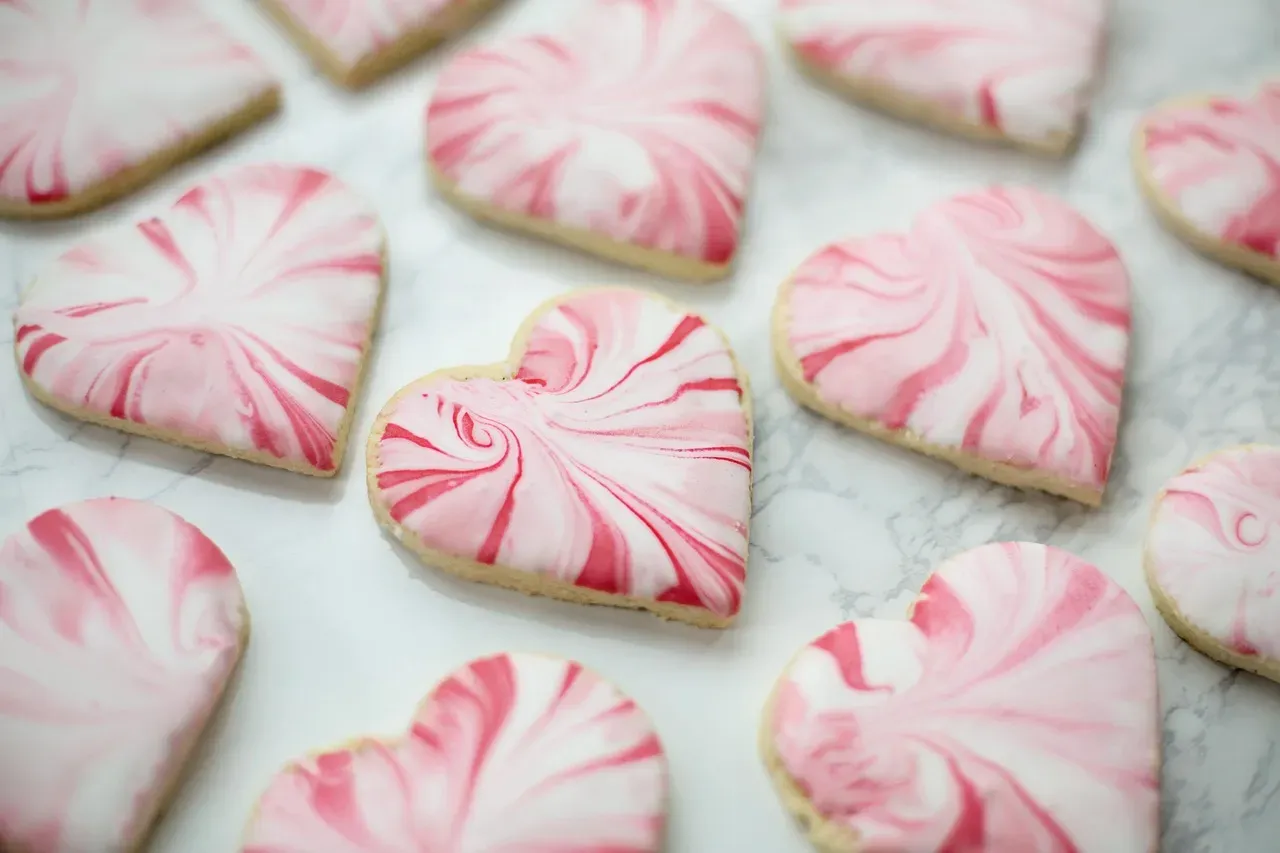
One of the most recognizable professional touches comes from working with icing while it’s still wet rather than waiting for layers to dry. By piping dots or lines of a second color directly into wet flood icing, decorators create marbled, feathered, or polka dot patterns that look intricate but take only seconds to execute.
A toothpick or fine-tipped tool dragged through the wet colors can create swirls, hearts, or flower shapes. The effect looks complex, but it relies on timing more than artistic skill, since the icing needs to stay wet long enough for the colors to blend without becoming muddy.
Use edible stencils for crisp, repeatable designs
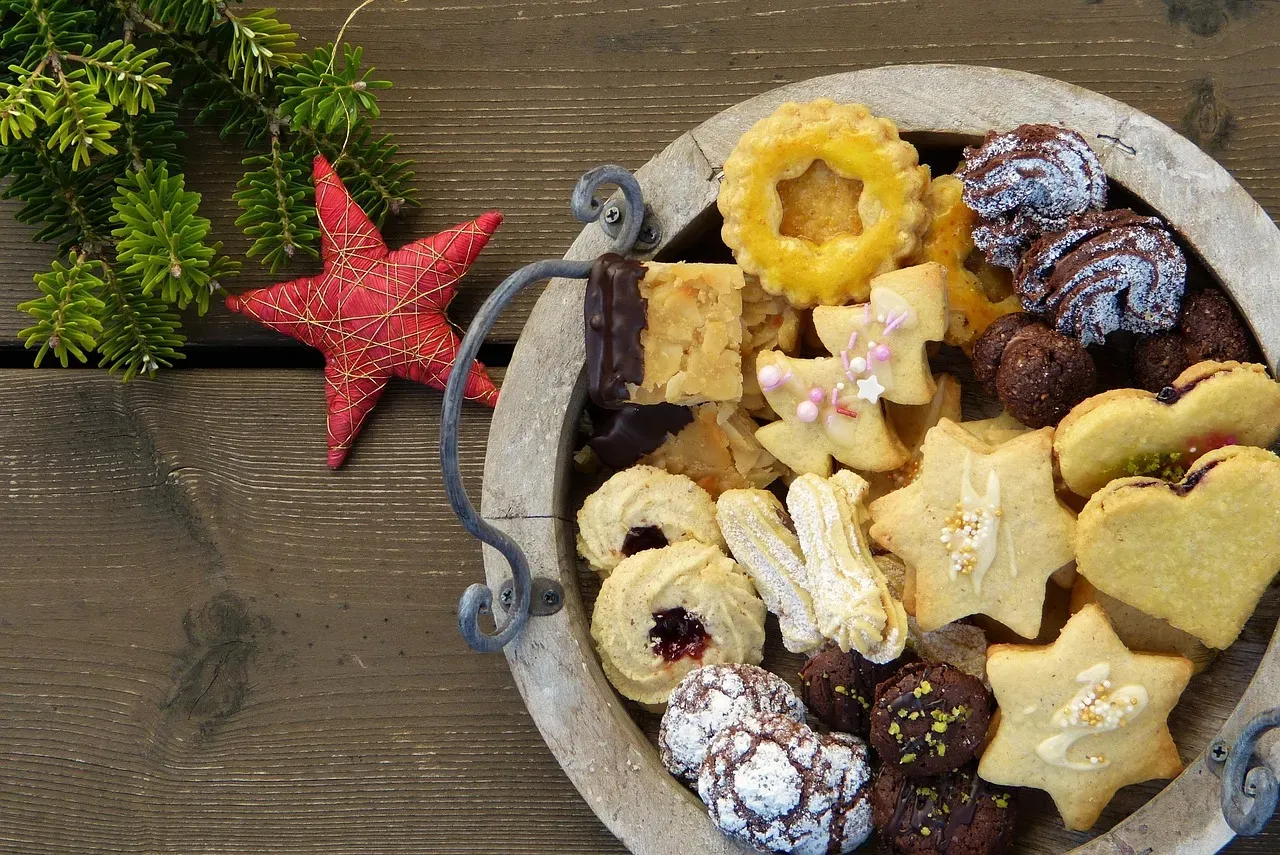
Stencils have become a staple among decorators who want consistent results across large batches. Once a cookie has a base layer of dried icing, a stencil can be laid on top and filled in with a contrasting color using a small offset spatula or piping bag.
This method is especially useful for intricate patterns like lace, snowflakes, or monograms that would be difficult to freehand. It also speeds up production significantly, which is part of why many professional bakeries lean on stencils for orders that need dozens of matching cookies.
Layer colors for depth and dimension
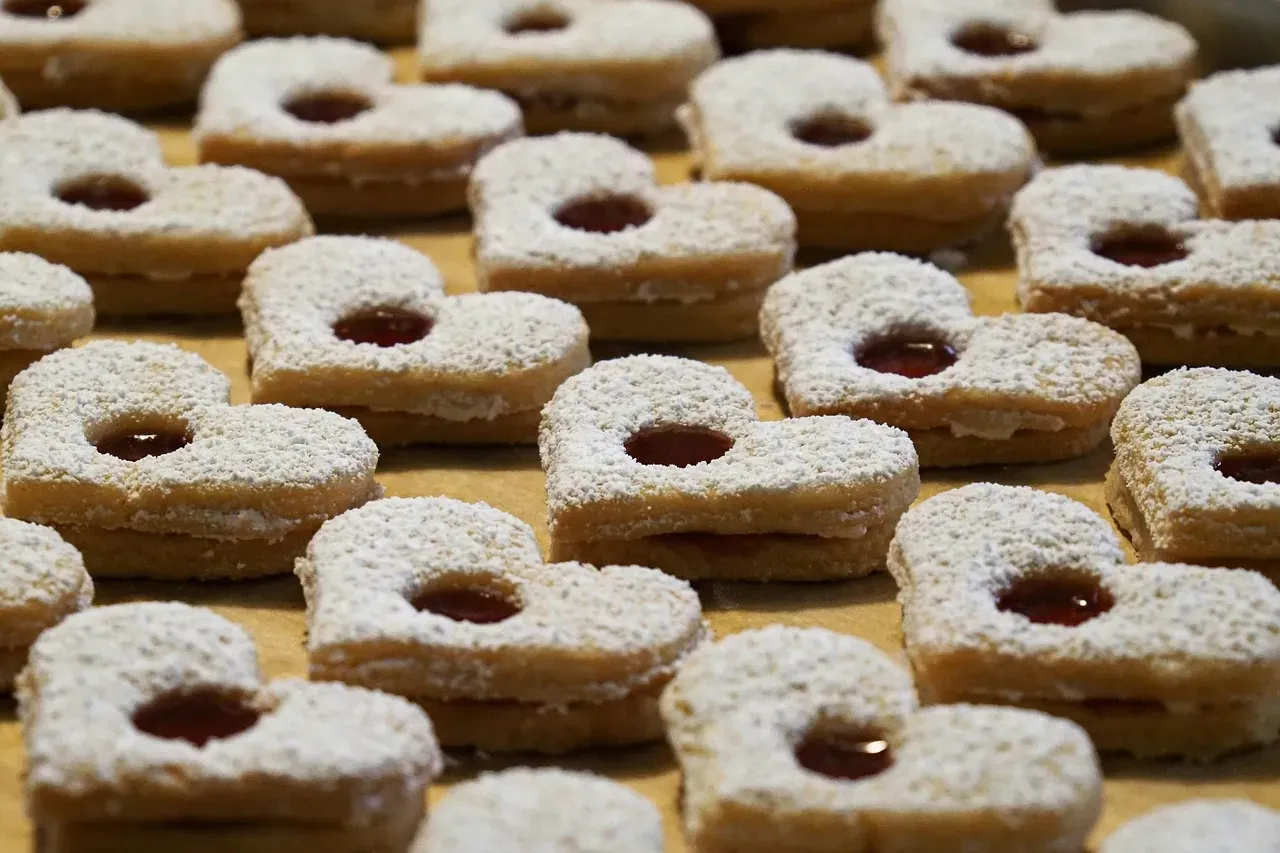
Flat, single-color cookies rarely have the same visual impact as ones built with layered detail. Adding a base color, letting it dry, then piping smaller design elements on top creates shadow and dimension that catches the eye.
Simple layering, like a darker outline over a lighter fill, or small dots and lines added after the base has set, can make even basic shapes look more polished. The key is patience, since each layer generally needs to dry before the next one goes on to avoid bleeding or smudging.
Experiment with texture using brush embroidery

Brush embroidery is a technique borrowed from cake decorating that translates beautifully to cookies. It involves piping a small amount of icing, then immediately brushing it inward with a soft, damp paintbrush to create a raised, textured, almost fabric-like effect.
This works particularly well for floral designs, where the brushed strokes mimic the natural folds of petals. It takes a bit of practice to control the brush pressure, but the payoff is a design with visible texture rather than a flat painted look.
Add metallic accents for a polished finish

Edible luster dust, metallic paints, and edible gold leaf have become common tools for adding a refined touch to finished cookies. A light dusting or a fine painted line can transform a simple design into something that reads as elegant or celebratory.
These accents work best sparingly. A small metallic edge on a wreath or a subtle shimmer on a snowflake tends to look more intentional than covering an entire cookie, which can quickly feel overdone.
Incorporate hand painting for custom designs
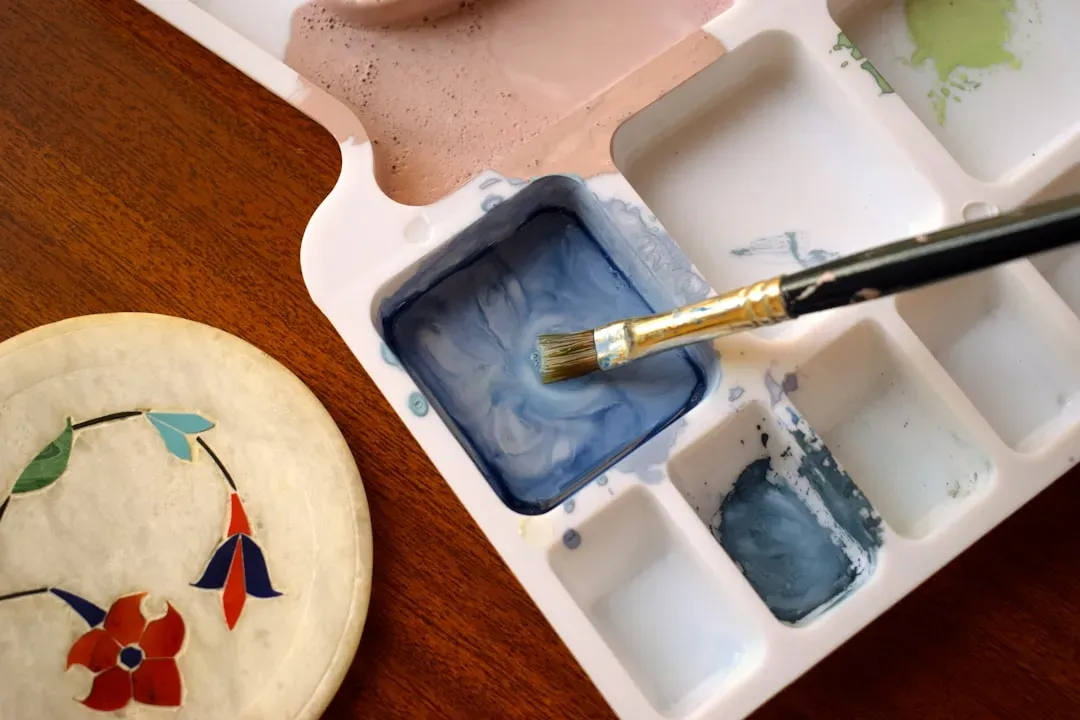
Once a base layer of icing has fully dried, it essentially becomes a canvas for edible paint made from food coloring mixed with clear alcohol like vodka, which evaporates quickly and doesn’t affect flavor. This allows decorators to add fine details, shading, or entire painted scenes that piping alone can’t achieve.
Hand painting takes more time and a steadier hand than most other techniques on this list, but it also allows for the most personalization. Portraits, detailed landscapes, and custom logos are all achievable once the basic painting technique is understood.
Use texture mats and embossers for dimensional patterns
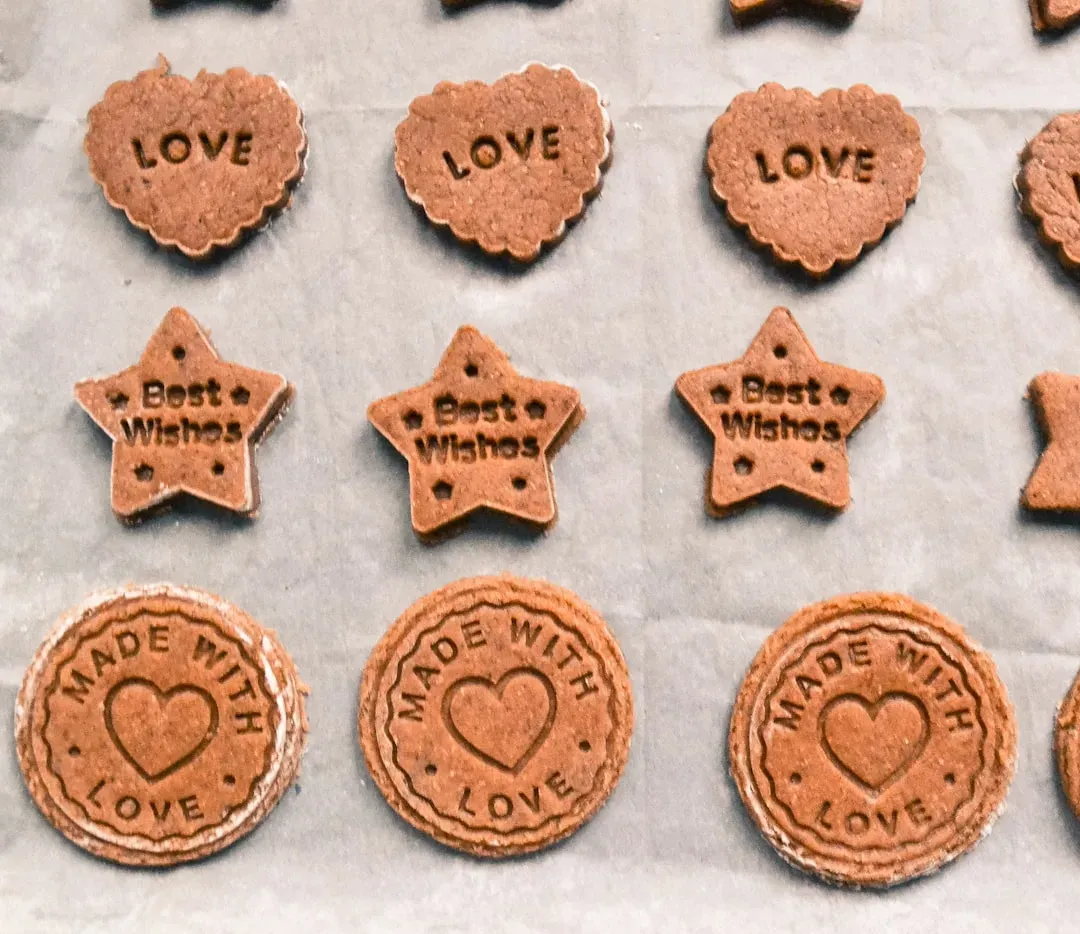
Textured mats and embossing tools, often used while rolling out cookie dough before baking, imprint patterns directly into the surface. Once baked, these raised or indented designs can be highlighted with icing or left plain for a subtler effect.
This technique shifts some of the decorating work earlier in the process, giving the final cookie a built-in design element rather than relying entirely on icing. It’s especially popular for lace patterns, damask prints, and geometric designs that would be tedious to pipe by hand.
Play with negative space instead of filling every inch

Not every professional-looking cookie is covered edge to edge in icing. Leaving sections of the cookie bare, or using the natural color of the baked dough as part of the design, can create a modern, minimalist look that stands out precisely because it isn’t overworked.
This approach also tends to be more forgiving for beginners, since there’s simply less surface area where small mistakes can show. A single clean line or a small cluster of dots on an otherwise plain cookie can look just as intentional as a fully decorated one.
Practice consistent piping pressure and angle
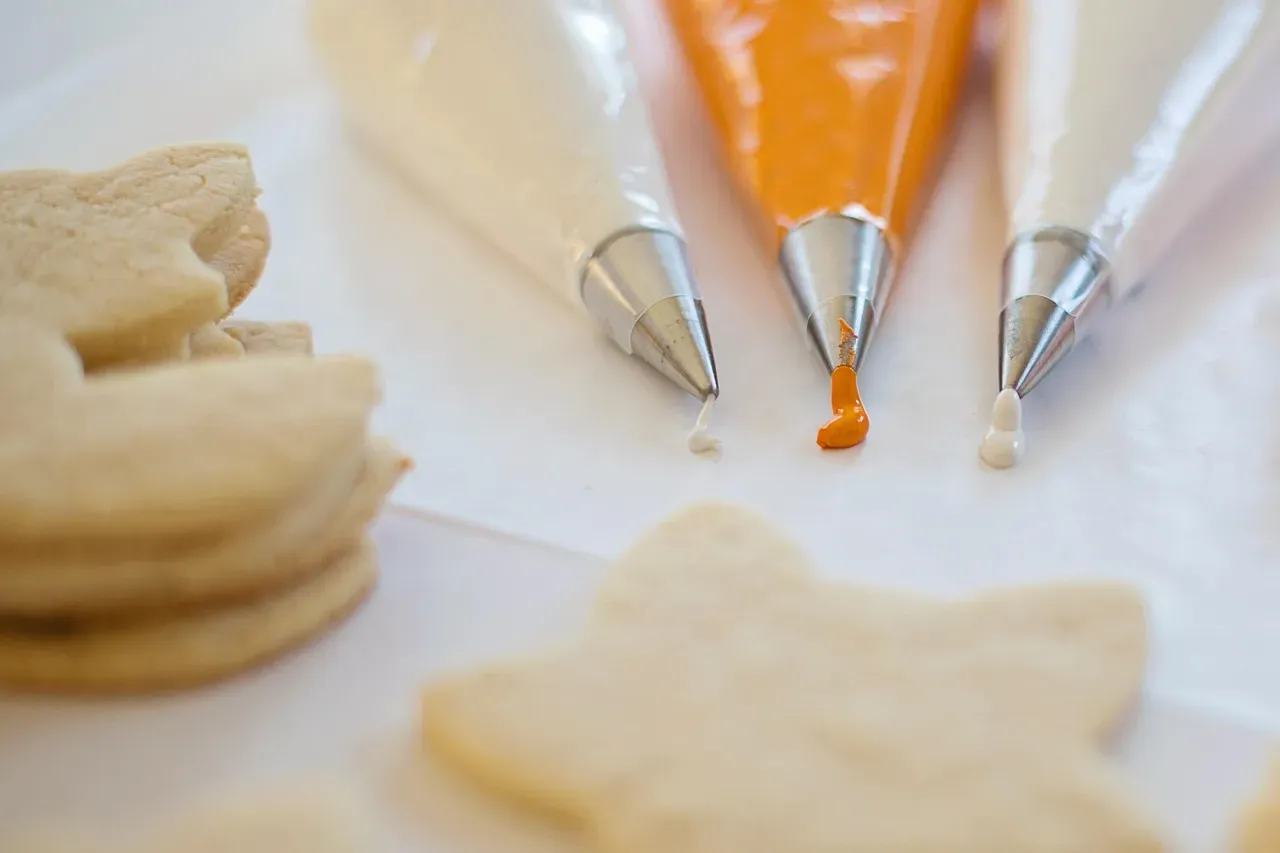
Underneath all the techniques above sits one basic skill that professionals rely on constantly, steady piping. Holding the bag at a consistent angle, usually around forty five degrees, and applying even pressure produces cleaner lines and dots than sudden starts and stops.
This is the kind of skill that improves mainly through repetition rather than any single trick. Practicing on parchment paper before committing to an actual cookie is a common habit among decorators looking to build muscle memory without wasting a finished batch.
Final thoughts
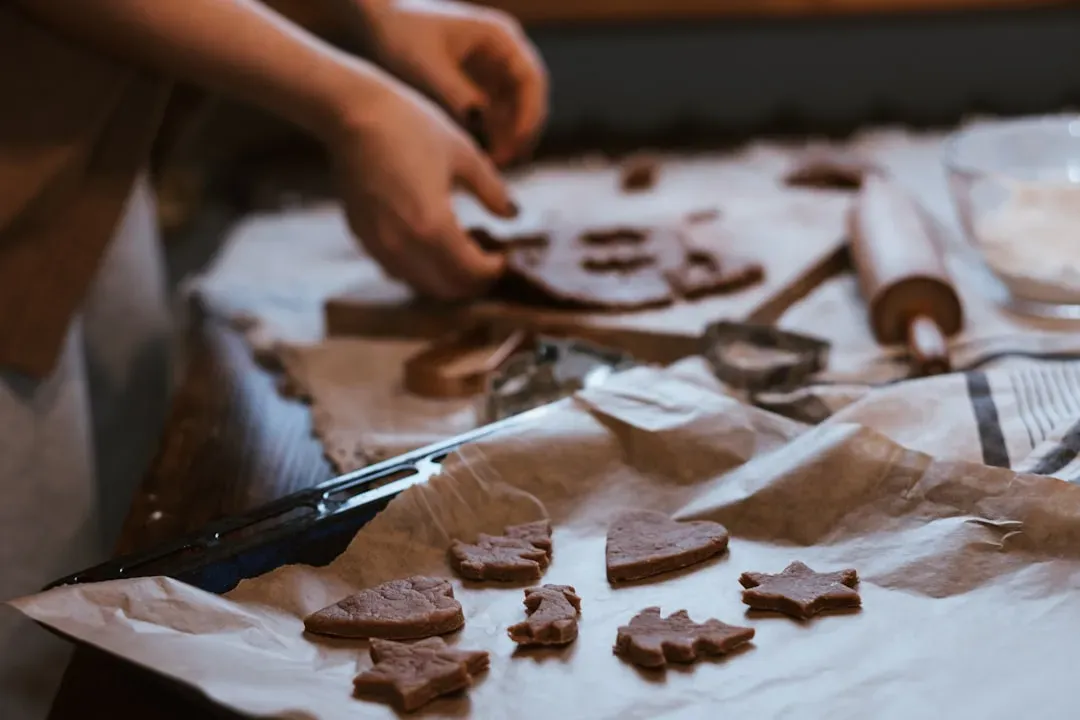
Decorating fessional isn’t really about owning every tool on the market or mastering every technique at once. It’s more about understanding a few core skills, icing consistency, patience between layers, and steady hands, then building outward from there.
Start with one or two techniques that genuinely interest you, whether that’s the marbled look of wet on wet icing or the texture of brush embroidery, and let the rest come with practice. The cookies that end up looking the most impressive are often the ones made by someone who simply kept trying a little past the point of frustration.