Classic Peanut Butter Pie with Oreo Crust
Why the matters more than you’d think
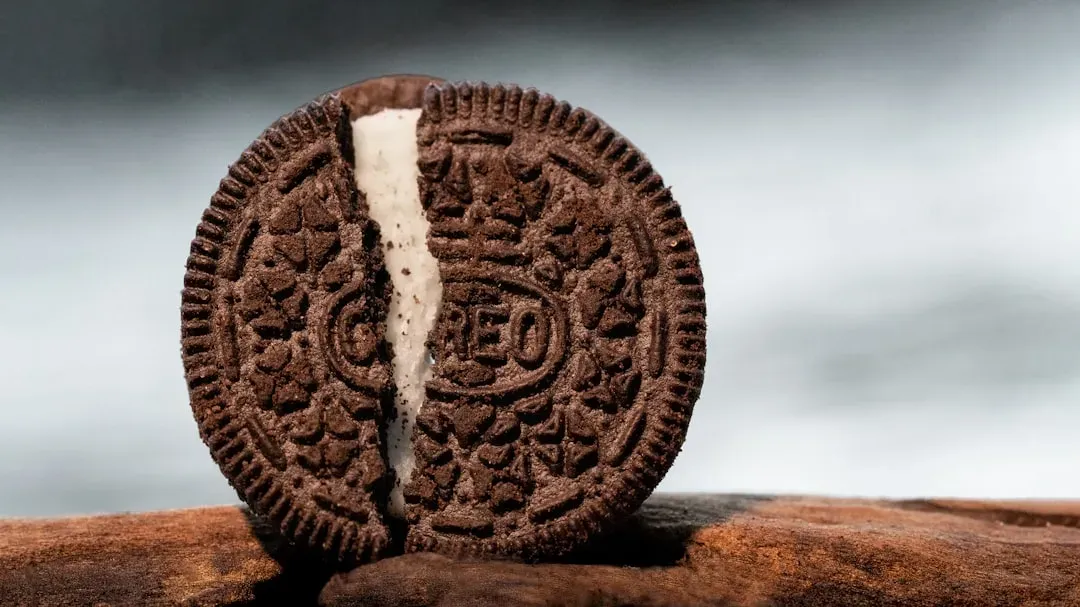
A graham cracker crust is fine, but Oreo crumbs bring something different to the table. The cocoa flavor in the cookie adds a subtle bitterness that balances out the sweetness of the peanut butter filling, so the whole pie doesn’t tip into overly sugary territory.
Texture plays a role too. Oreo crumbs, once mixed with melted butter and pressed into a pan, bake up firmer and hold their shape better than many graham-based crusts, which can sometimes turn soggy under a heavy filling.
Choosing the right peanut butter
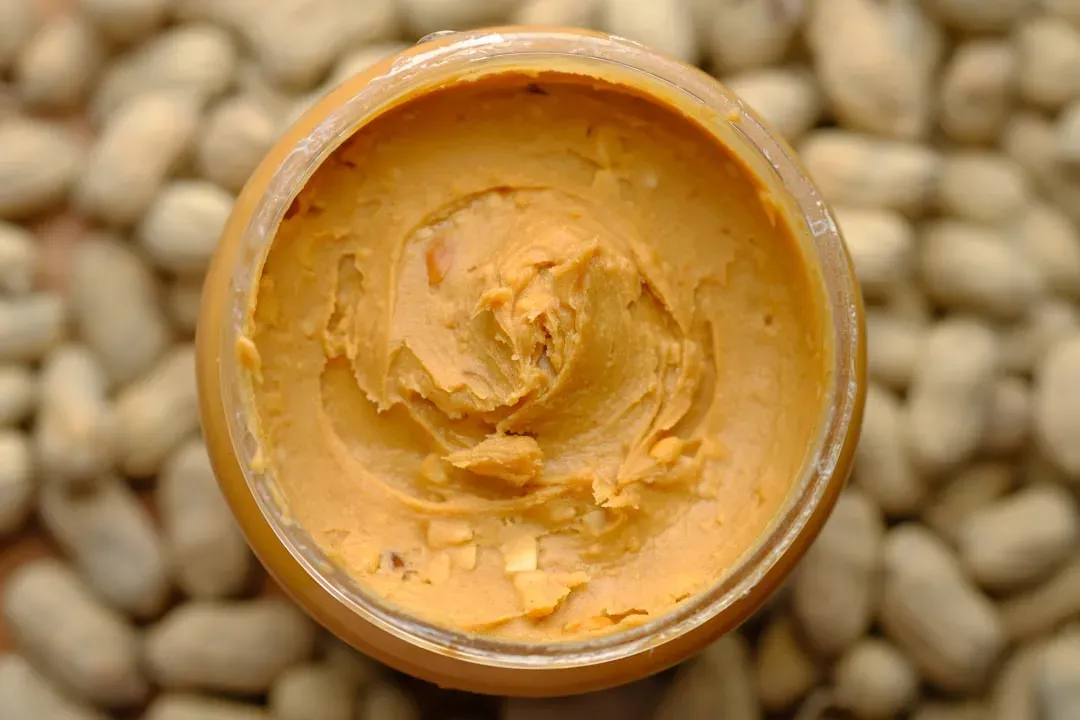
Not all peanut butter behaves the same way in a no-bake filling. Natural peanut butters, the kind with visible oil separation, tend to make the filling greasy or unstable, so most recipes call for a standard commercial peanut butter like Jif or Skippy instead.
The reason comes down to stabilizers. Commercial peanut butters contain emulsifiers that keep the oil blended in, which helps the filling set up smooth rather than breaking or weeping over time.
Building the creamy filling
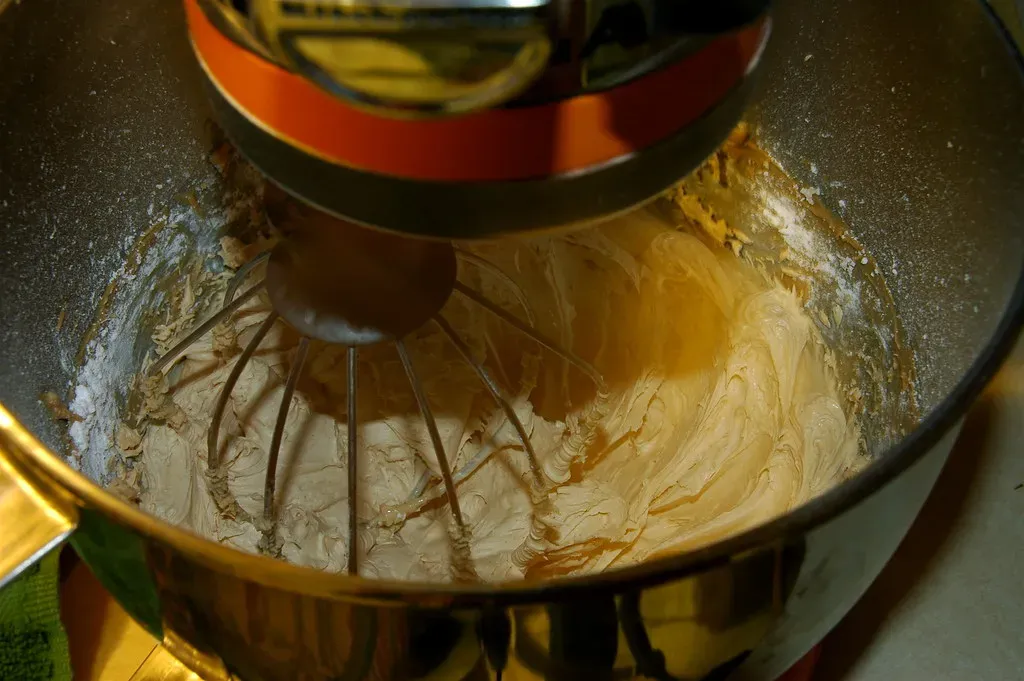
The filling for a classic peanut butter pie usually starts with softened cream cheese beaten together with peanut butter until fully smooth. Powdered sugar gets folded in next, since it dissolves more evenly than granulated sugar and won’t leave a gritty texture in a no-bake dessert.
From there, whipped cream or whipped topping is gently folded into the peanut butter base. This step is what gives the pie its light, mousse-like consistency instead of something dense and heavy, so it’s worth taking a little extra time to fold rather than stir aggressively.
The importance of chilling time
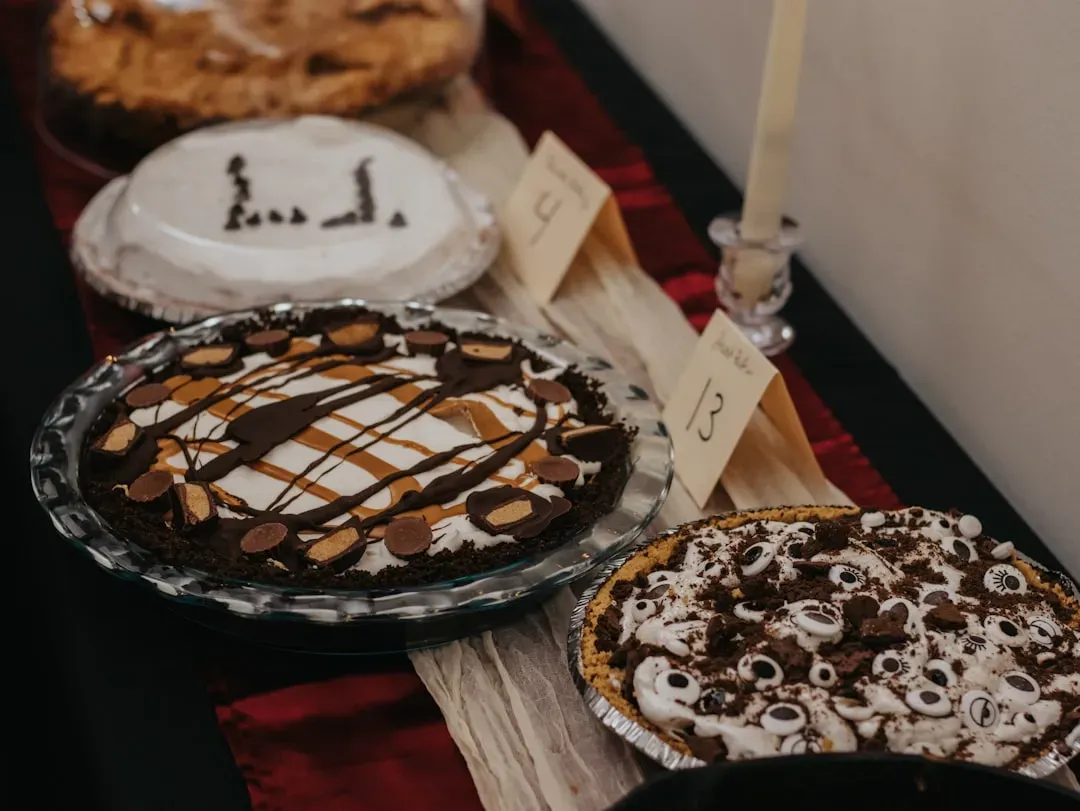
Patience is really the only tricky part of this recipe. A peanut butter pie needs several hours in the refrigerator, often overnight, for the filling to firm up enough to slice cleanly.
Skipping ahead and cutting into it too early usually means a filling that’s more like soft-serve than pie. If you’re in a rush, the freezer can speed things up somewhat, but the texture is best when the pie has had a full, slow chill in the fridge.
Toppings that finish it off
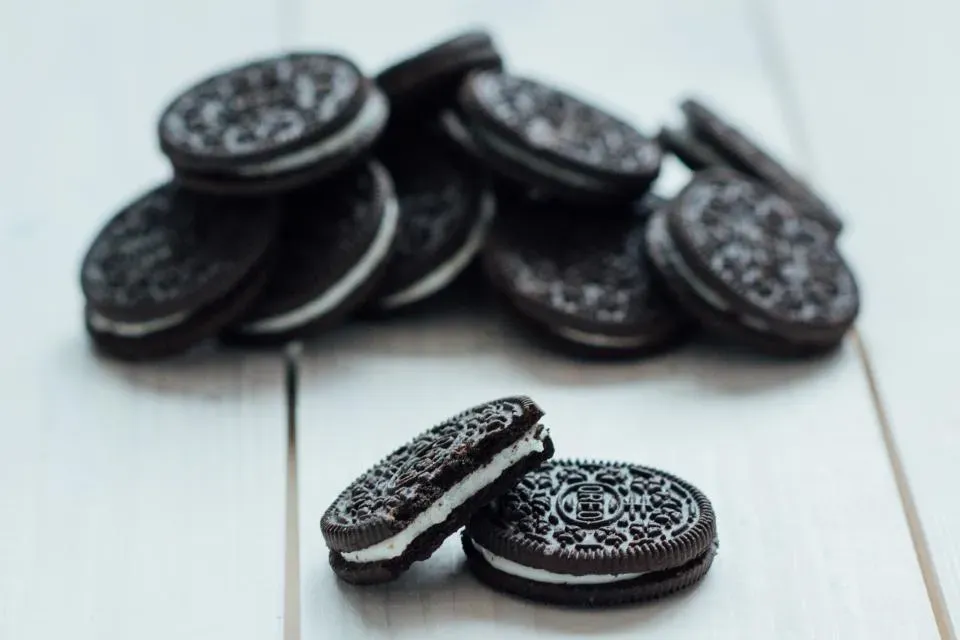
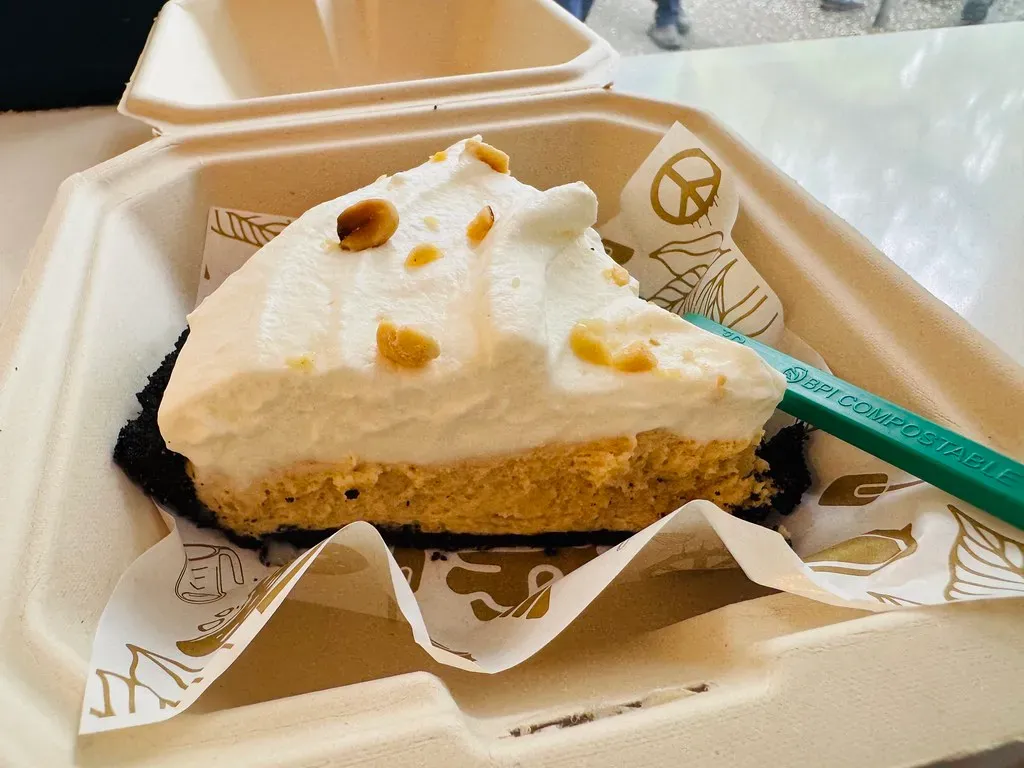
Most versions of this pie get topped with an extra layer of whipped cream, sometimes piped into simple swirls or just spread evenly across the top. A drizzle of chocolate syrup or melted chocolate is a common addition, echoing the below and tying the whole dessert together visually.
Crushed peanuts, mini chocolate chips, or extra crumbled Oreo cookies are popular finishing touches as well. These small additions add crunch, which contrasts nicely against the otherwise smooth and creamy filling.
Common variations worth trying
Once you’ve made the classic version, there’s plenty of room to experiment. Some bakers swap in chocolate pudding as a layer between the crust and the peanut butter filling, creating something closer to a peanut butter cup in pie form.
Others use peanut butter cups themselves, chopped and scattered either inside the filling or on top, for extra texture and a stronger peanut butter and chocolate punch. Even the crust can be adjusted, with some recipes mixing crushed pretzels into the Oreo crumbs for a salty edge.
Storing and serving tips
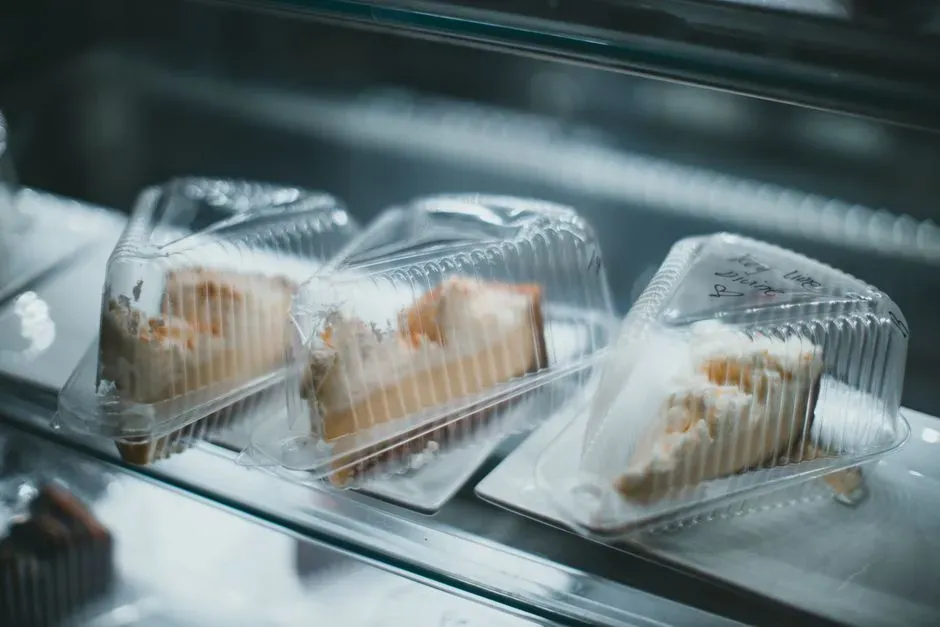
Because of the cream cheese and whipped topping, this pie needs to stay refrigerated both before and after serving. Left out at room temperature for too long, the filling can soften too much and lose its structure.
Most versions keep well in the fridge for a few days when covered properly, making it a convenient make-ahead dessert for gatherings. It also freezes reasonably well, though the texture is generally best enjoyed fresh rather than after long-term freezer storage.
A dessert that earns its reputation