3 Smart Ways to Organize Craft Supplies
If you’ve ever spent twenty minutes hunting for a single pair of scissors buried under a mountain of ribbon, yarn, and mystery glitter, you already know the struggle. have a sneaky way of multiplying overnight, sprawling across tables, shelves, and drawers until the whole setup feels more chaotic than creative. Honestly, it’s one of the most relatable frustrations among hobbyists.
The good news? You don’t need a Pinterest-perfect craft room or an unlimited budget to fix this. A few genuinely smart, practical approaches can transform even the messiest corner into a space that actually works for you. So let’s dive in.
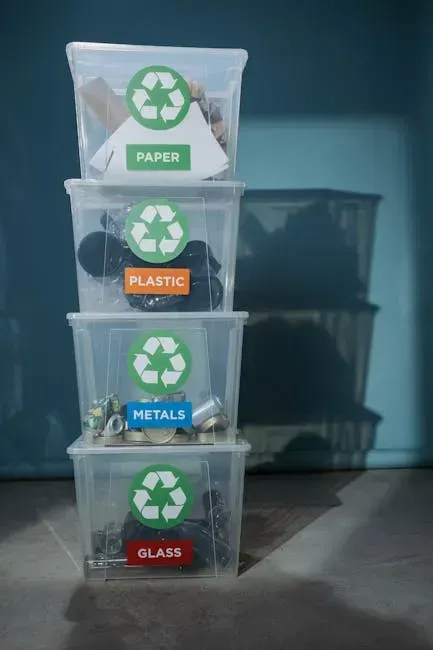
1. Categorize Everything Before You Store It
Here’s the thing most people skip: they go straight to buying storage bins without first figuring out what they actually have. That’s a bit like trying to pack a suitcase before you know which trip you’re taking. Good organization starts with smart categorization, and instead of randomly putting items into containers, you need to take time to group materials in ways that make sense for how you actually work and create.
A color-based system works great for items like yarn, fabric, paper, and beads, making it quick to find the exact shade you need. For those who do multiple types of crafts, a purpose-based approach that groups supplies by activity works especially well, like keeping all painting supplies together and jewelry-making materials in one spot. Think of it like organizing a kitchen: you wouldn’t store the spatulas with the coffee mugs, right?
You might also consider organizing by project, keeping all materials for a current knitting project in one basket and scrapbooking supplies in another container. This prevents scattered supplies and makes it simple to pick up right where you left off. I think this project-based method is wildly underrated, especially if you’re juggling multiple creative endeavors at once.
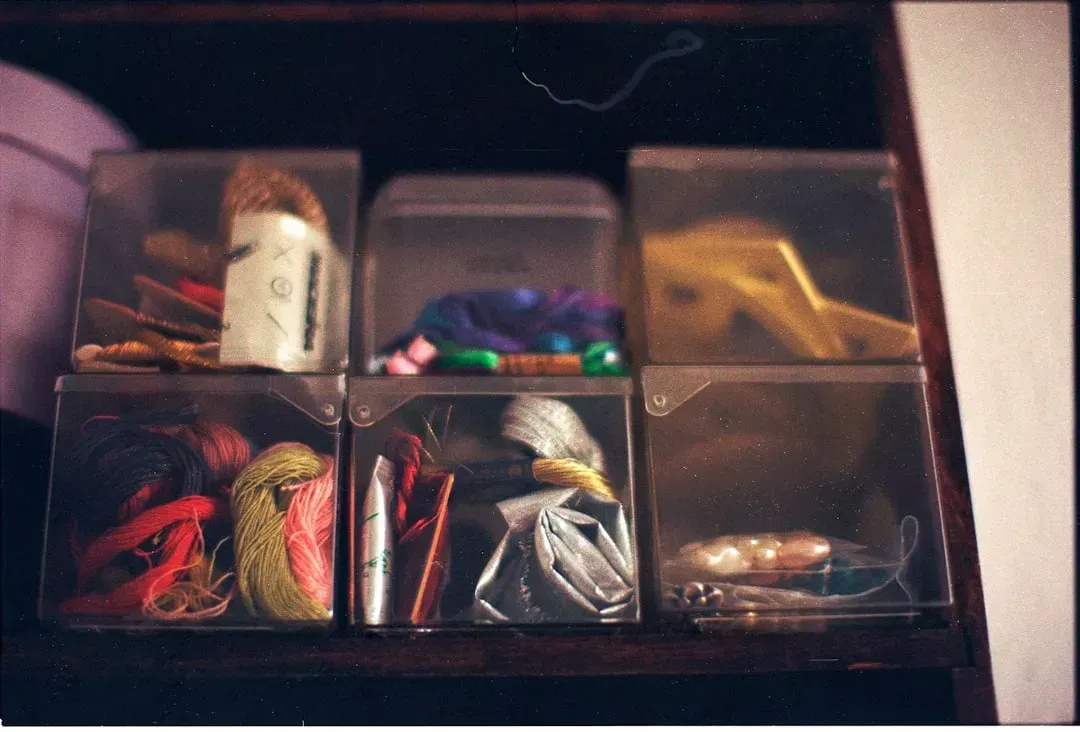
2. Use Clear Containers and Label Everything
Let’s be real: a bin you can’t see into might as well be a black hole. Clear, labeled containers particularly shine for small items, allowing you to see contents at a glance while keeping everything dust-free and organized, which saves time and keeps your supplies in good condition and ready for your next project. It sounds simple, but the difference between an opaque box and a transparent one is the difference between finding your glue in ten seconds and tearing apart three shelves looking for it.
Labels are your best friends when it comes to organization, and investing in a label maker or simply using colorful washi tape and a marker can truly transform your craft space. Don’t just stop at containers either: label drawers, shelves, and even the tables where you keep your supplies, because this creates a cohesive organization system throughout your entire craft space.
There’s a tendency to cram a bunch of mismatched stuff into a drawer, but drawers are actually a great way to organize your by art medium or project type. Pair those labeled drawers with clear acrylic inserts and you have a system that genuinely stays organized rather than collapsing after the first busy weekend.
3. Go Vertical and Use Every Inch of Wall Space
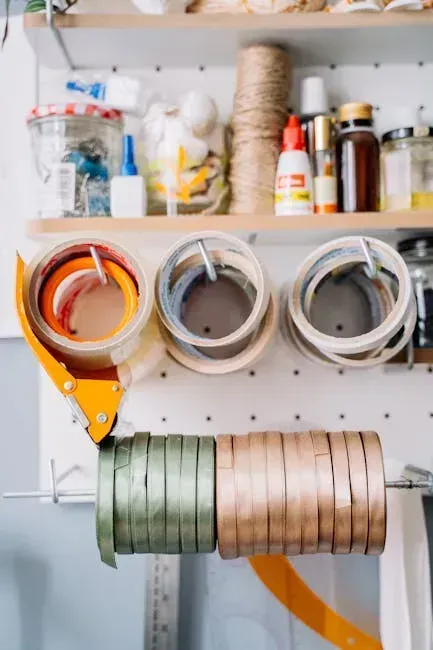
Floor space is precious. Wall space? Massively underused by almost every crafter I know. Creativity doesn’t stop at your craft projects because it extends to organizing your space, and using vertical space with wall-mounted shelves or pegboards can dramatically increase your storage capacity without sacrificing floor space. It’s a bit like discovering a hidden room in your house that was there the whole time.
Pegboards allow you to hang tools, ribbons, and other supplies using hooks, baskets, and shelves that can be rearranged as your needs change, and this allows you to create vertical storage without consuming floor space. Floating shelves can hold everything from books and tools to decorative items, and you can arrange them at varying heights for an interesting visual effect, placing frequently used supplies within easy reach while reserving higher shelves for less-used items.
If you don’t have a dedicated craft room, three-tier rolling storage carts are a great way to create a pop-up craft space anywhere in your home. Rolling carts are a favorite trick of serious crafters because they bring your supplies to wherever the project lives, rather than forcing you to haul everything from one room to another. Vertical thinking, in every sense of the word, is the move that separates a truly functional craft space from a pretty one that nobody actually uses.
Getting under control doesn’t happen all at once, and that’s perfectly fine. Start with one drawer, one shelf, or one category. Starting a project only to discover you’re missing key materials, or buying duplicates because you couldn’t find what you already had, wastes both time and money, but a well-organized system lets you quickly check your inventory, know exactly what you have, and prevent overbuying. Small, consistent improvements stack up fast, and before long your creative space will feel less like a storage unit and more like the inspiring workshop it was always meant to be. What would you tackle first? Tell us in the comments.