DIY Trick or Treat Game – Mini Pumpkin Surprise
My kids are too old for room parties in school. <Insert sobs here.> But it’s not stopping me from coming up with crafty ideas. I am way too young to be a grandma but it’s stuff like this that actually makes me look forward to it.
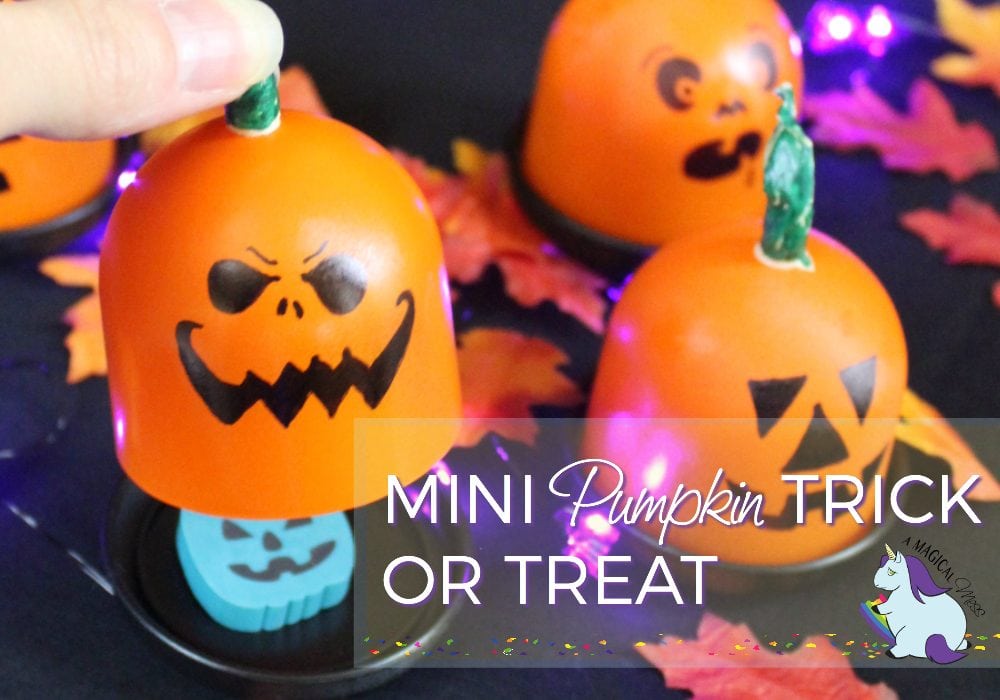
This DIY Trick or Treat game would be perfect for a Halloween classroom party but we are just going to use it for the trick or treaters that come to the door.
DIY Trick or Treat Game
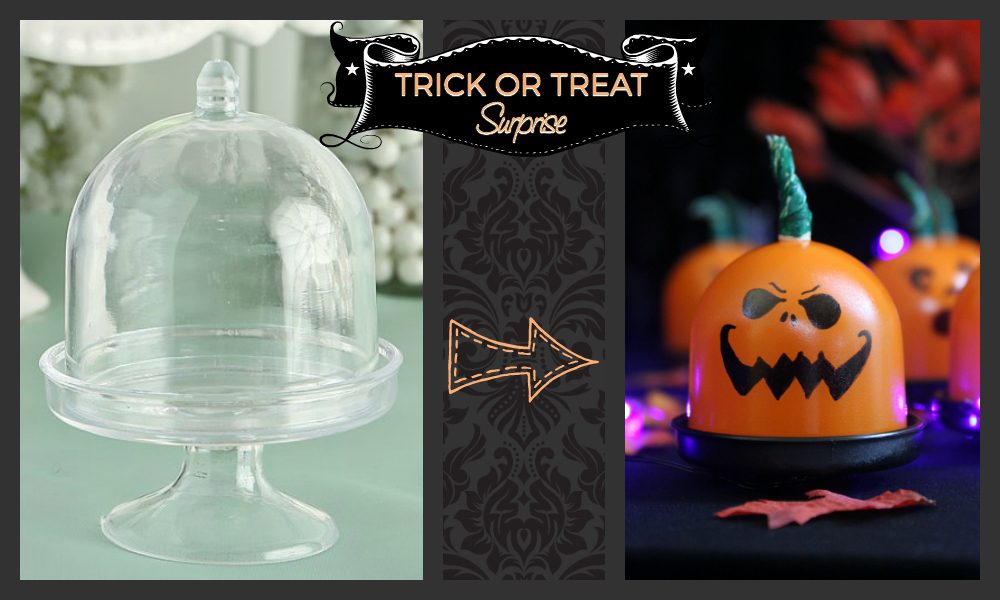
It was these adorable mini acrylic cake stands that inspired this idea. When bought in bulk, they are under a buck a piece.
They are perfect for shower, wedding, and birthday favors but I immediately saw them as little pumpkins.
Supplies needed:
For the mini pumpkins-
10+ mini acrylic cake stands with lids
orange and black spray paint
black and green Sharpie markers
masking tape (or green tape)
For the “spooky pumpkin patch” base-
cookie sheet with lip (large enough to accommodate your preferred number of pumpkins and props)
black cotton fabric (enough to wrap the top of cookie sheet)
packing tape
seam ripper
fun spooky props (I used tiny gravestones, mini lights, and this great fall tree with loose leaves)
&
Tricks or Treats for inside each pumpkin (small candies, eyeballs, spider rings, pumpkin erasers, etc.)
Instructions:
The easiest way to understand what I did will be to watch this video I put together. I will do my best to explain below as well. 🙂
Mini Pumpkins:
- First, spray paint the tops of the mini cake stands (amazon) orange, and the bottoms black. Make sure to follow the instructions on the can and do this in a well ventilated area. Let them dry.
- Once totally dry, draw Jack-O-Lantern faces on each orange lid with your black Sharpie marker.
- To make the stem, tear off a few inches of masking tape and wrap around the top point of the lid. Bend and twist it to look like a pumpkin stem.
- Color the stem of masking tape green. If using green tape, obviously, skip this step. 🙂
The Base:
- Cut the black fabric so that you have enough to cover (and overlap to wrap the edges) or your cookie sheet.
- Place the cookie sheet upside-down on the fabric and wrap the edges. Start with one edge, and tape the sides down. Do the opposite side next pulling the fabric as tight as possible. Repeat on other two sides.
- Flip your fabric-covered cookie sheet over.
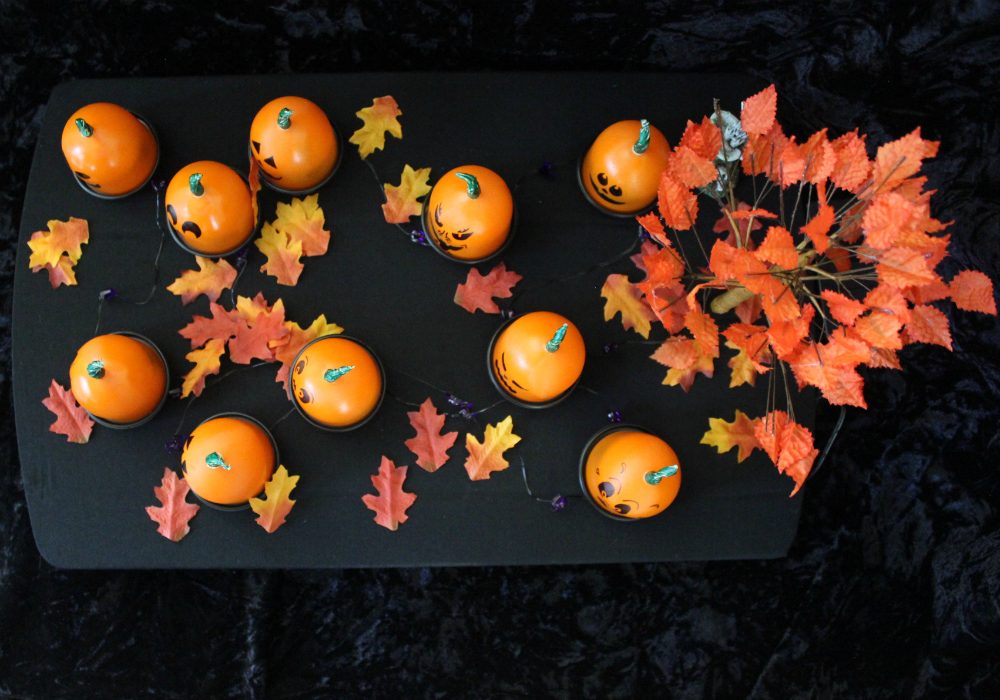
- Place your mini pumpkins where desired.
- Use the seam ripper to cut slits in the fabric under where you want each pumpkin.
- Insert the base of each pumpkin into the slits. (This allows them to stay in place when lifting off the lids.)
- Do the same for whatever other props you’re using.
- Add lights, silk leaves, decorative grave stones, or whatever else you can come up with.
- Fill each pumpkin with a Trick or a Treat.

Alternative Ideas
This could easily be made into a fun matching game. Uncover two matching prizes and you win those prizes. And the more mini pumpkins the better!
Otherwise, it’s a fun Trick or Treat game to use in a classroom party or for the trick or treaters that come to your door.
Pumpkin Trick or Treat Surprise Game
This post contains affiliate links. As an Amazon Associate, I earn from qualifying purchases at no extra cost to you.
Ingredients
For Pumpkins
- 10 mini cake stands
- orange spray paint
- black spray paint
- green Sharpie marker
- black Sharpie marker
- masking tape or green tape
For the Base
- baking sheet with lip large enough to accommodate your preferred number of pumpkins and props
- black cotton fabric enough to wrap the top of cookie sheet
- packing tape
- seam ripper
- fun spooky props I used tiny gravestones, mini lights, and this great fall tree with loose leaves
- Tricks or Treats for inside each pumpkin small candies, eyeballs, spider rings, pumpkin erasers, etc.
Instructions
- Spray paint the tops of the mini cake stands orange. Spray paint the bottoms black. Follow instructions on the can and do this in a well ventilated area. Let dry completely.10 mini cake stands, orange spray paint, black spray paint
- Draw Jack-o-lantern faces on each orange lid with your black marker.black Sharpie marker
- Tear off a few inches of masking tape or green tape for the stem. Wrap around the top point of the lid. Bend and twist to resemble a pumpkin stem.masking tape, green Sharpie marker
- Cut black fabric to line and overlap the edges of your cookie sheet.black cotton fabric
- Place the cookie sheet upside down on the fabric and wrap the edges. Tape the sides down on one edge. Do the opposite side next and pull the fabric as tight as possible. Repeat on the other two sides.baking sheet with lip, packing tape
- Flip the cookie sheet over and place your mini pumpkins where desired.
- Using the seam ripper, cut slits where you want each pumpkin.seam ripper
- Insert the base of each pumpkin into the slits. (This holds them in place while lifting off the lids.)
- Do the same for your other props.
- Add your props – leaves, grave stones, Halloween tree, etc.fun spooky props
- Fill each pumpkin with a trick or a treat!Tricks or Treats for inside each pumpkin
Video
We also use these cake stands for mini macarons!
Do you play any sort of trick or treat game?




I could never draw nearly as beautiful as you do 🙁
Awe, Lan you’re too kind! I just looked at Google images of “Jack-O-Lantern” faces! 🙂
This does look like a cute and fun and creative game. The kids would definitely enjoy it!
Those are really cute. I’ve never seen those acrylic cake pans in the store. I guess I’ve missed them somehow. Thanks for posting!
How fun! I am seeing this as a great idea for Christmas, too—Snowmen! Santa Hats!
That is cute and easy! I bet it could be adapted to most holidays using different material. I like it.
This is such a cute idea. It does not look difficult.
These are so adorable!!!