DIY Essential Oil Roller Bottles – 10 Remedy Blends
Essential oil roller bottles are an easy and convenient way to apply your favorite blends of oils. Some companies sell premixed rollerball bottles for a no-fuss way to carry your favorite natural remedies with you. However, once you start discovering your favorite oils, you might want to mix essential oil roller bottles for yourself.
This IS NOT MEDICAL ADVICE. Nothing here is intended to treat any ailments.
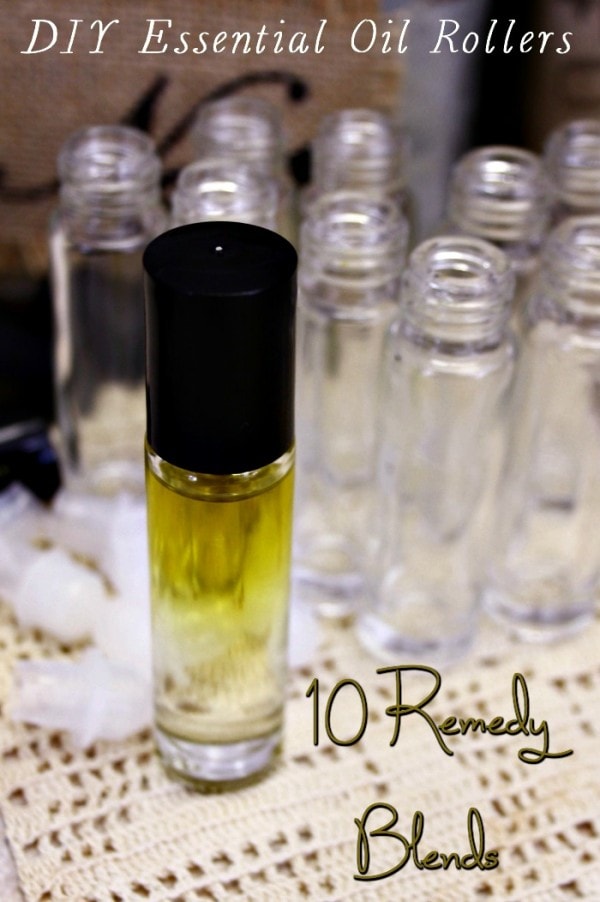
Making your own essential oil blends is quite easy once you have the proper setup. Creating your own is an excellent way to learn which oils you prefer. Perhaps a recipe calls for peppermint and lavender, but you aren’t the biggest lavender fan.
Making your own allows you to tweak the recipe to your liking. Plus, buying premixed rollerball bottles is a lot more expensive. If you have all the supplies, making your own is the way to go. You can make several, and even give them as gifts.
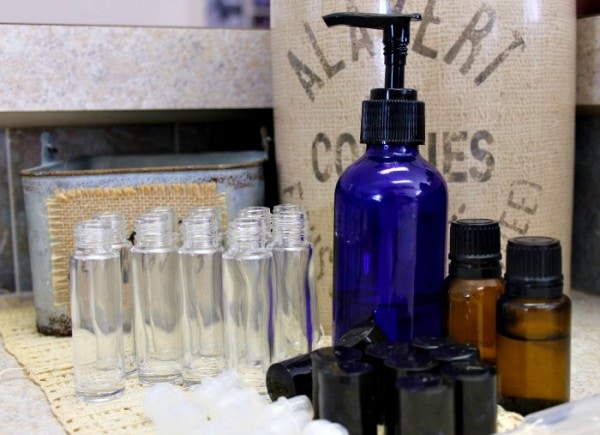
Most of the blends don’t take a lot of drops, as pure essential oils are very potent. Plus, the carrier oil is going to fill about ½ to ¾ of the bottle.
The best carrier I have found is fractionated coconut oil, because it’s not sticky at all, so it won’t clog up the roller after time, and it has no scent, so it doesn’t interfere with the essential oils.
You can substitute it for another carrier, though, if you prefer to, or if it’s just more convenient because you already have some. Sweet almond oil, jojoba, or even olive oil will work nicely.
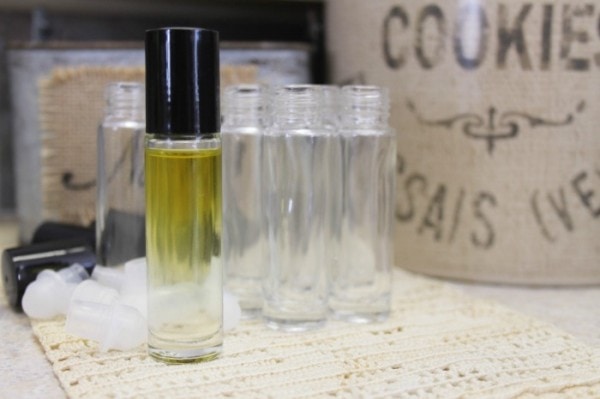
Make your Own Essential Oil Roller Bottles
What you will need:
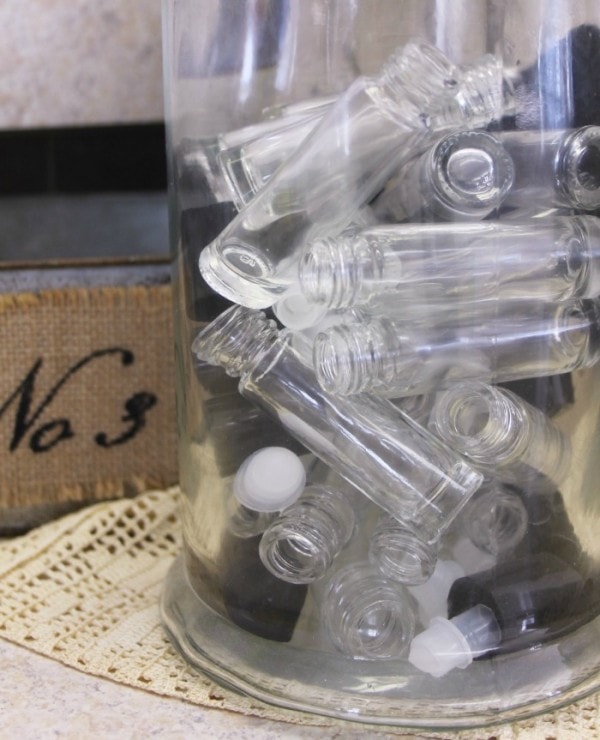
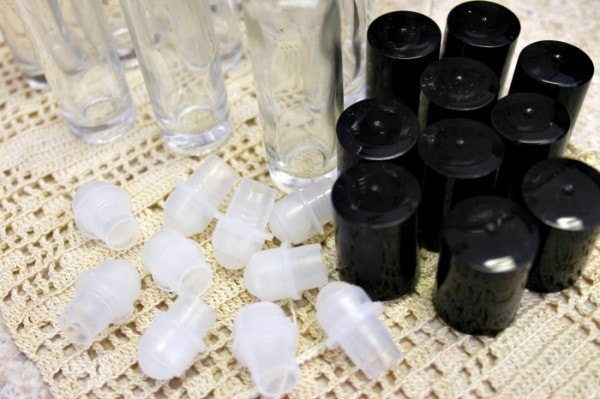
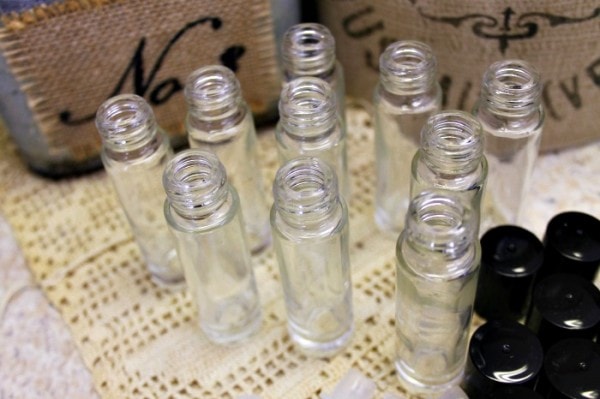
- 10 glass roller bottles – complete with roller top and lids (The best place to find these, that I have found, is on Amazon.com. You need to use glass, not plastic ones because the oils will literally break down the plastic with time. The roller ball part is a thicker, different plastic and you don’t need to worry about that happening with it.)
- Pipette for dispensing the oils
- Glass 8 oz pump bottle (like a lotion dispenser)
- Carrier oil
- Kitchen towel
- Labels, marker, and scotch tape
There are 20 essential oils needed for the ten recipes:
Note: If you don’t have one of these, look online to see what you can substitute for it as many have similar benefits, and you can just swap one if you need to.
- Melaleuca
- Cedarwood
- Geranium
- Lavender
- Ylang Ylang
- Juniper Berry
- Myrrh
- Ginger
- Fennel
- Basil
- Clary Sage
- Frankincense
- Lemon
- Bergamot
- Orange
- Peppermint
- Marjoram
- Lemongrass
- Rosemary
- Lime
Directions:
Each recipe blend is listed below, so just follow the instructions and tips for each one, using the oils listed for each specific one.
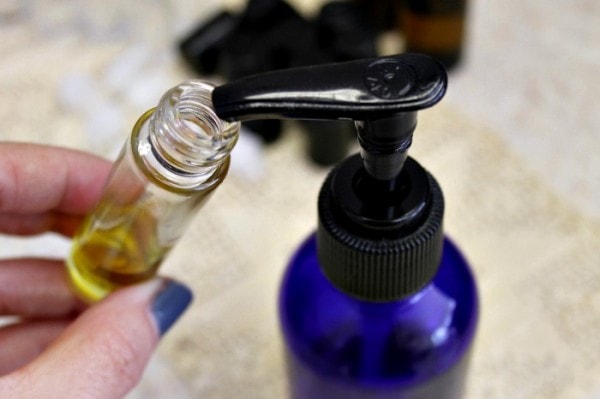
First, fill your pump bottle with the carrier oil, so it’s ready when you need it. This allows it to be really easy to top the bottles off with that oil and not have it running down the sides or all over your hands.
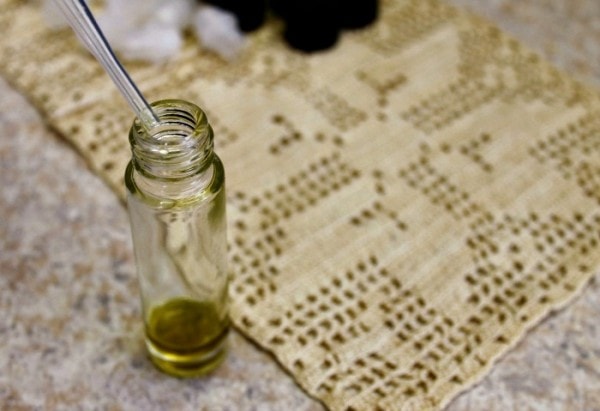
The essential oil bottles come with an orifice in them, and it slows down the way they pour out, but sometimes, especially with citrus oils, they will come out super-fast, and it’s hard to count the drops without either spilling them or getting too many.
So, you can choose to fill your bottles one of two ways: Either slowly count the drops out of the bottle the way it is, or remove the orifice and use a pipette to get the drops out and fill them that way.
(Pipettes normally can be purchased on amazon as well, and come in sets of about 25 or more, for very little money. They also come with some medicines as the lid, like an ear dropper for example, so you can always use one of those if you have it.)
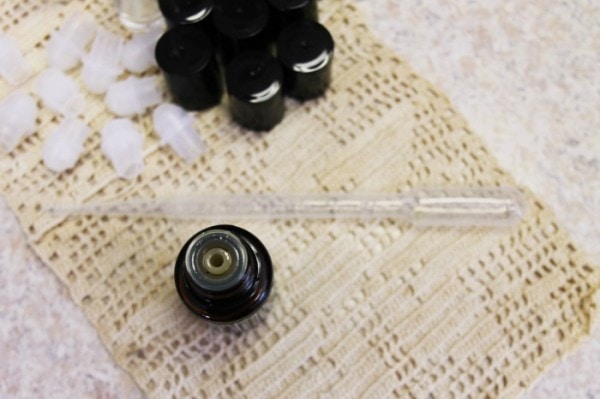
Now, you can begin filling – take your time counting out your drops, and I would suggest replacing the lid right away when you’re done with an oil because it’s easy to accidentally knock it over as you’re working and lose half the bottle on your counter! Been there, done that…
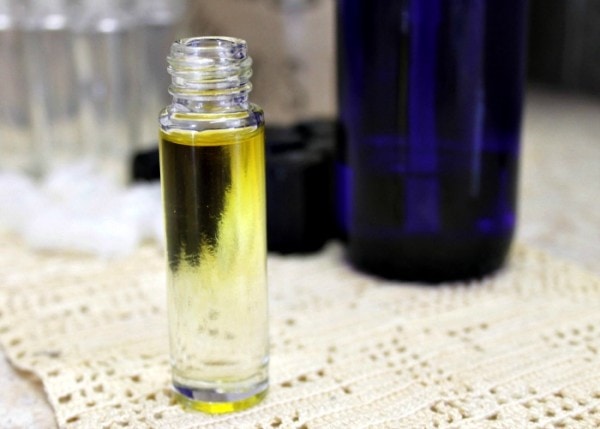
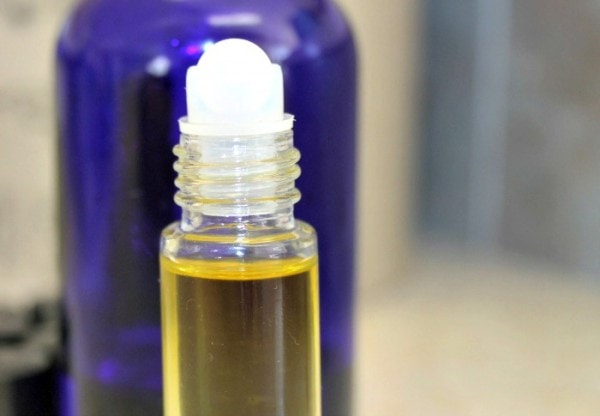
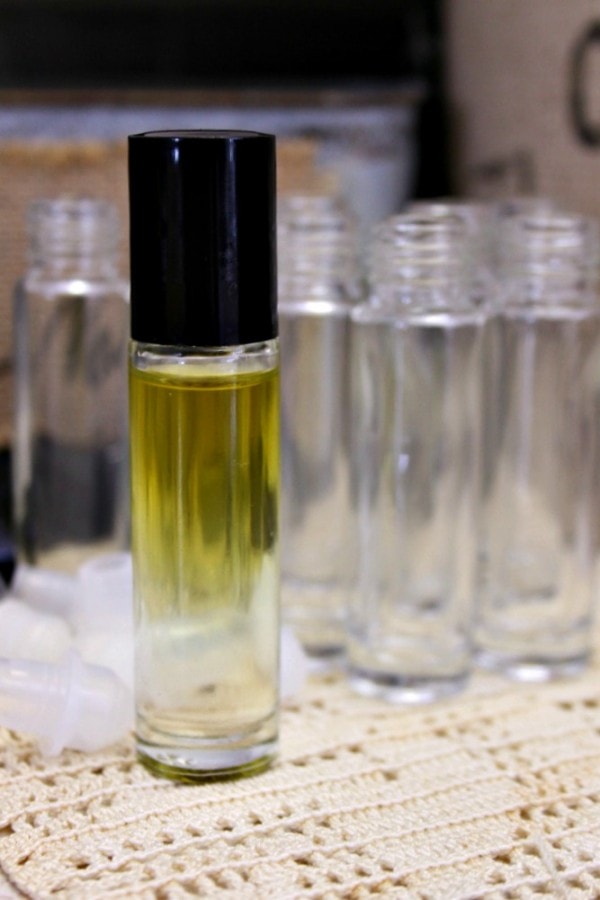
Get all the drops counted out and into the roller bottle, and then add your carrier oil, one pump at a time, until the bottle is filled up just to the spot that is right underneath where the lid screws on. (See photo.) If you go past that line, then when you push the roller ball down in, it can make the oils overflow and run out.
Now, push the roller ball top into the bottle carefully. Some are harder to get in than others. This is where the kitchen towel comes in handy! If it hurts your hand to push it down in there, then cover the roller ball with the towel, and use the palm of your hand to push it down, this always works for me, without feeling like I am going to bruise my hand.
Most roller balls have two notches on them, so when you push them down in, they need to click two times. You want to be sure it is all the way down, and flush with the glass top of the bottle, and there is no space between the glass and the roller top. It should sit flat.
Next, you are set to put on your lid and make yourself a label.
(TIP: you may want to make a note of how many drops you used of what, in case you decide you need a few more of one of them – it’s helpful for the next time you refill the bottle. For example, I may write: “Lavender 10, peppermint 12,” etc.)
Cover your label with the scotch tape to keep it from getting ruined if it gets wet with the oils.
Here are the recipes: I will list the oils needed and number of drops, then all you need to do is top off with the carrier, so there is no measurement for the carrier itself.
- Women’s hormone blend: 10 lavender, 12 ylang ylang, 8 juniper berry, 8 myrrh
- Ear piercing daily treatment: 15 melaleuca, 10 lavender
- Monthly cramps & Nausea: 10 ginger, 8 basil, 12 clary sage, 8 fennel
- Clearing up the skin: 12 melaleuca, 10 cedar wood, 12 geranium
- Happy mood / Uplifting spirits: 12 frankincense, 10 lemon, 12 bergamot, 10 clary sage
- Anti-aging blend for skin: 10 lemon, 12 frankincense, 12 sandalwood, 10 geranium
- General pain: 10 peppermint, 12 marjoram, 10 lemongrass, 8 basil
- Eye makeup remover – fractionated coconut oil is recommended for this one: 12 lavender, 10 frankincense, 6 rosemary
- Alertness / Mid-afternoon slumps: 12 peppermint, 8 ylang ylang, 8 lemon, 8 rosemary
- Calming for anxiety or anxiousness: 12 lavender, 12 orange, 8 juniper berry, 10 lime
To use: Apply these to the area of pain, if that is what the remedy is for, for example, to temples if head is hurting, to tummy for cramps, etc.
Also, use a reflexology chart as reference to use essential oil roller bottles on bottom of the feet.
Apply to wrists, temples, and pulse points for any of these as well. And for aromatherapy, you can always roll a little in the palm of your hand and then inhale. If it is a blend for mood, this is a great way to use it. Wrists or on chest for mood works well too.
The great thing about using the essential oil roller bottles is, you can reapply as needed and it’s not like taking a pill that can only be taken every 8 hours. Trial and error is a necessary part to using the oils, so just be cautious and observant if you are new to them.
Please note that we are not medical professionals. None of the info in this post is intended to treat a medical problem. Please see your doctor before treating yourself.
Do you have any favorite essential oil roller bottles that you have tried?


Great post! Going to try some of these recipes for sure!
Now this is right up my alley! I bought an essential oil kit from Amazon quite awhile back and have only been using it here and there. I’d LOVE to give it more use and I think this is perfect 🙂 Plus I need to brush up on my reflexology and hopefully help myself and my temperamental body in the process. It’s a win win win win!
I love this. My daughter is really into essential oils and this would be a great way for her to use them. I would like to make a couple for myself too. Thanks for the great way to use essential oils. I’m loving it….
I see a lot about essential oils online. I have never tried them nor personally know anyone who has. But it all seems interesting.
This is a nice article, thank you!
Quick question: for the carrier oil, is it going into a 10mL container? I’m trying to figure out the dilution.
We have it going into these 8oz pump jars here:
Hope that helps!