Magical DIY Makeup Bag or Binder Supply Bag
This DIY makeup bag is the absolute cutest and can be customized however you’d like with various designer tape patterns.
After seeing Sweet Silly Sara’s post on how to make this magical pouch, our friend Michelle Dudas, of Thrifty DIY Diva, made one for us to share.
This is excellent for makeup, brushes, or school supplies and can easily be made to clip into a binder.
We plan on making several for each subject, so the kids are always prepared for every class.
With only two supplies required and infinite creative liberties, these bags can be made into virtually anything.
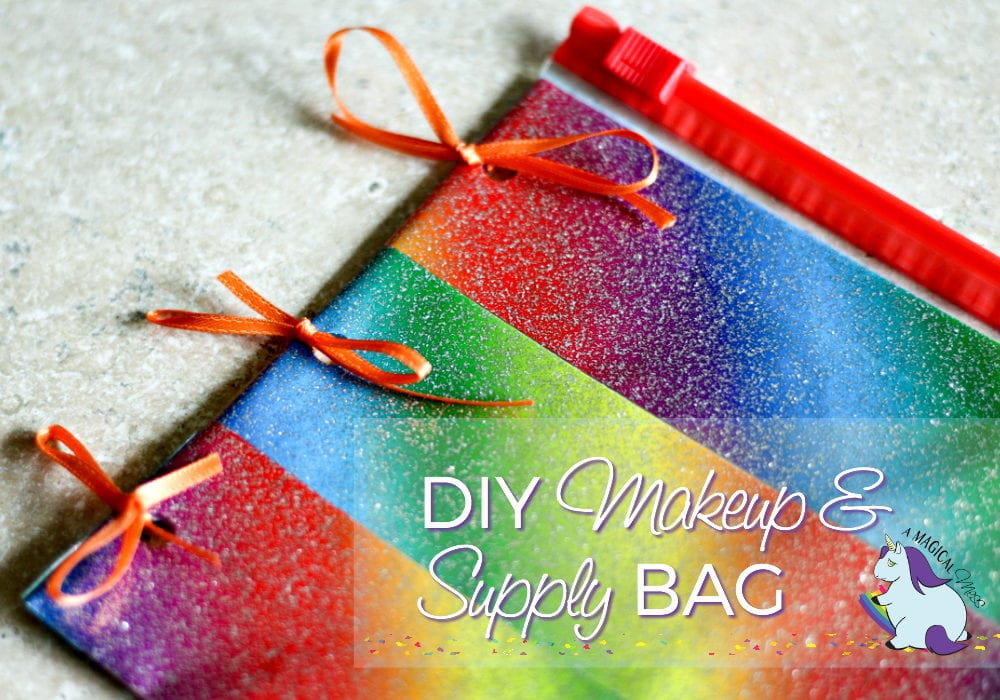
DIY Makeup Bag
No sewing, crocheting, hot gluing, or any of those skill sets are necessary to whip up these sweet organizers.
Just find your favorite Duck Tape patterns–good luck, there are a ton, and I love them all–and a box of slider top freezer bags.
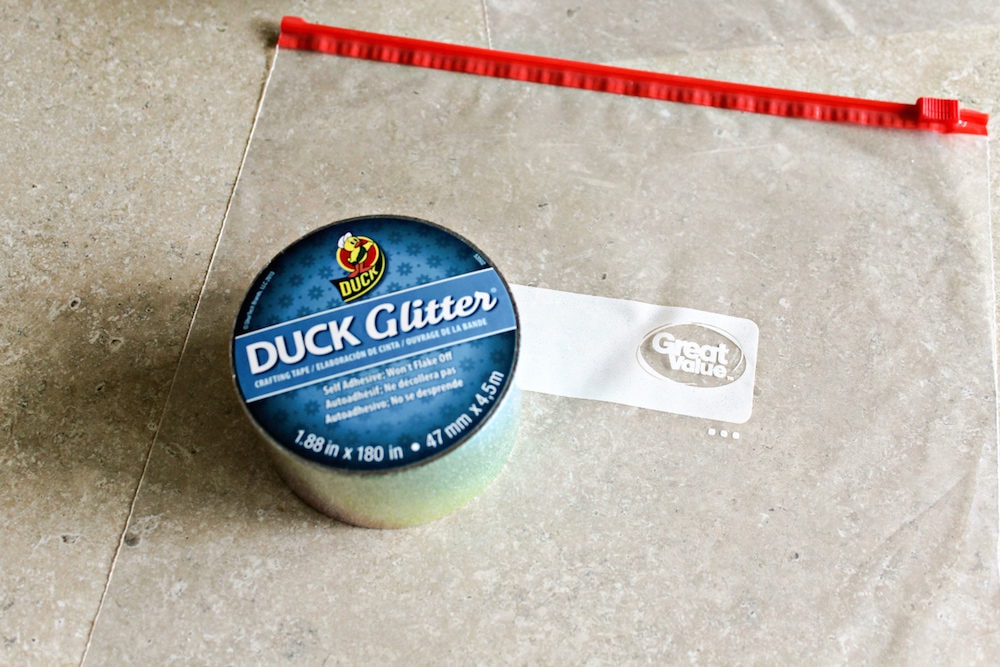
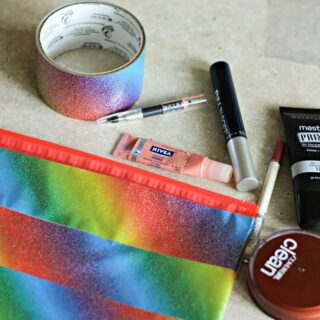
Supplies and Tools Needed:
- Gallon size zipper freezer bag
- Duck Tape in your preferred fabulous design
- Scissors
- Hole Punch (optional)
- Ribbons, stickers, jewels, etc. (optional)
Instructions:
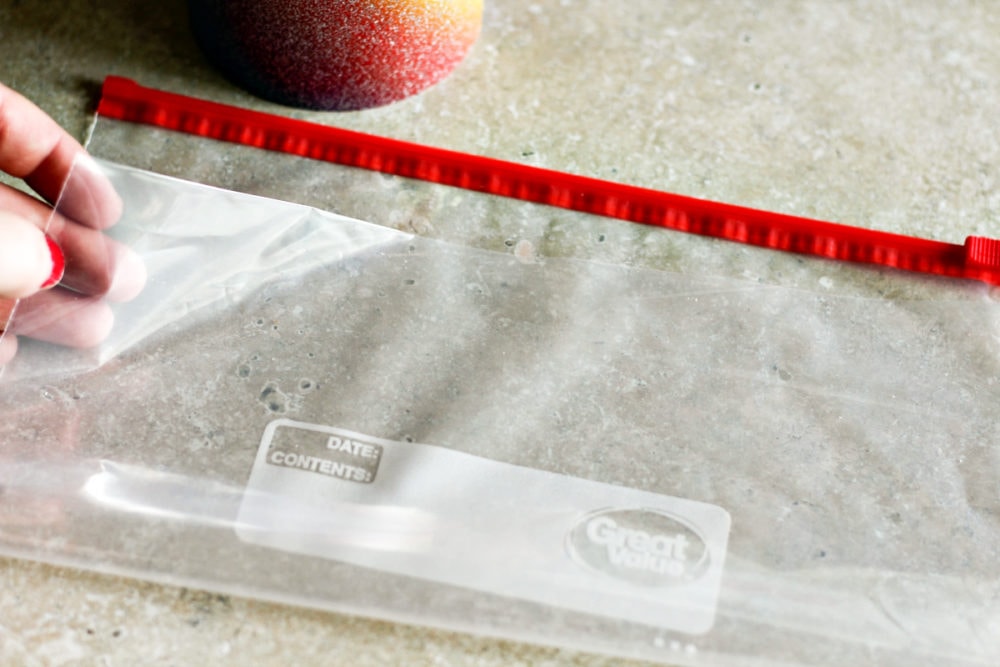
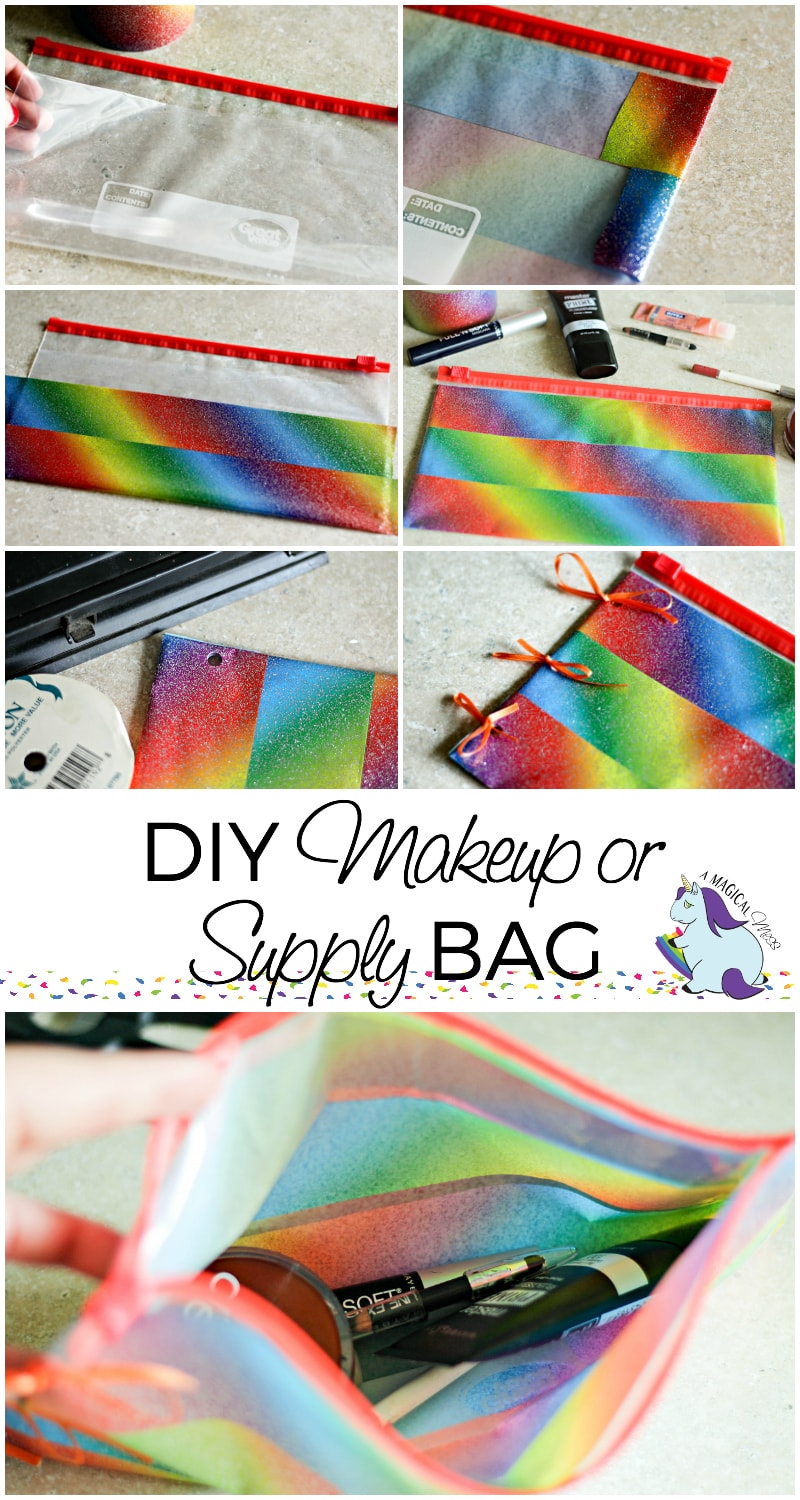
Lay the bag flat and fold it about ¾ of the way to the top, like shown below:
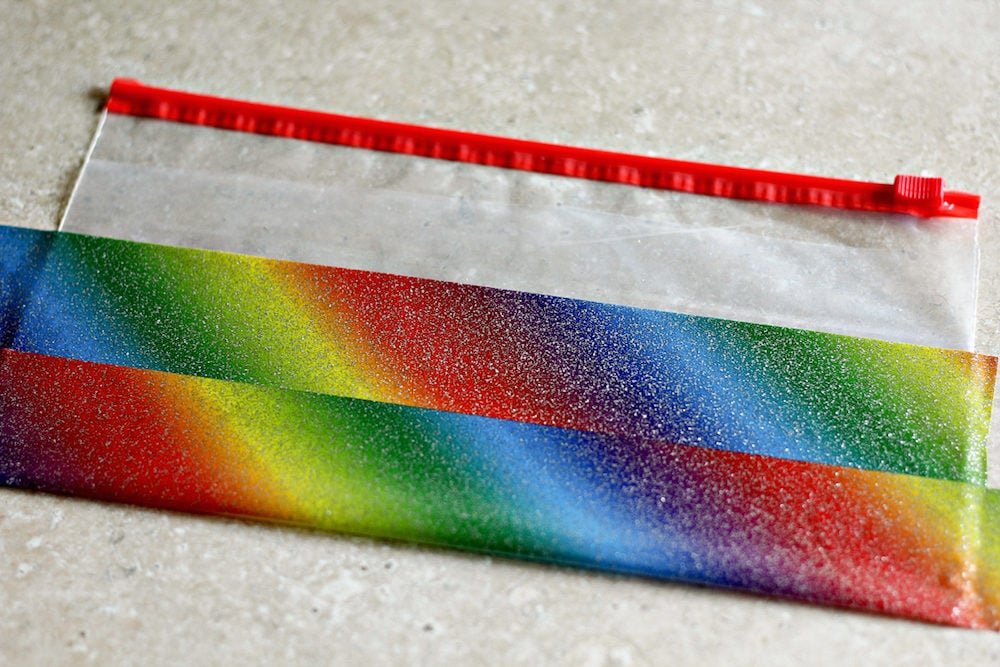
Tear off the appropriate amount of tape and place it evenly over the bag, starting at the bottom and working your way up towards the zipper, leaving a little bit of overlay along the sides.
Once you’ve taped up to the zipper, turn the bag over and fold over the edges of the tape.
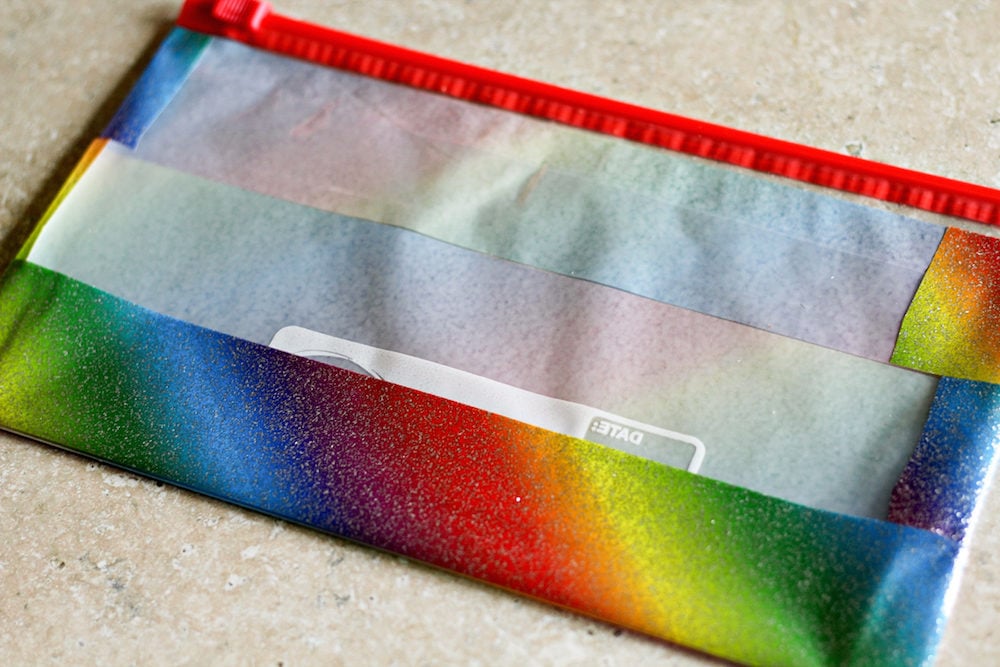
Now just like you did the front, place the tape on the backside–it’s okay if it over hangs on the edges, you can fold them over, or cut them off very carefully.
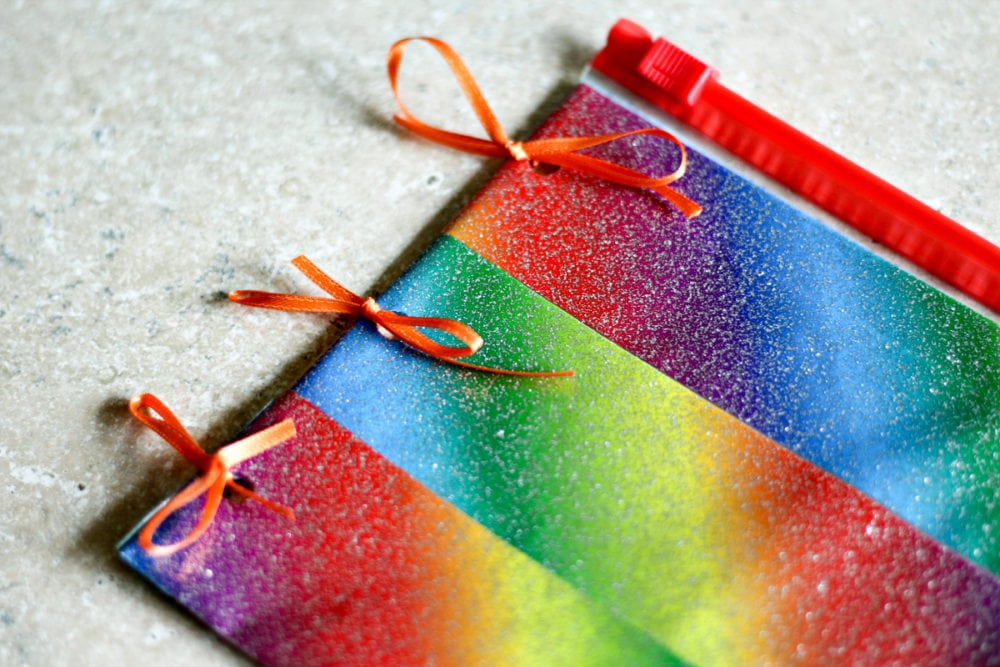
If you want, grab a hole punch and some ribbon. Punch holes along the side (if planning to put into a binder, line them up according to the spaces between the rings.)
Place the ribbon through the holes and make a bow.
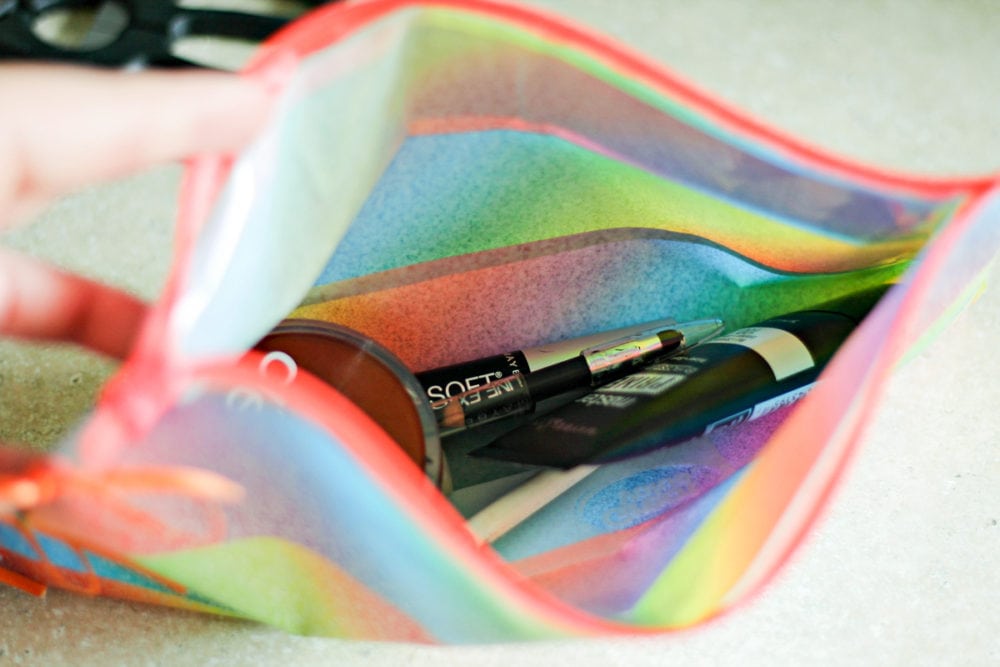
Fill with your new bag with makeup, colored pencils, glue sticks, or whatever tools you need to keep handy.
Get creative as you decorate your bag. Draw on it, add glitter, bedazzle it, go nuts!
Between the Duck Tape designs available and your imagination for embellishments, these can be made for any occasion.
I can’t think of any other way to make going back-to-school more fun.
Each binder pouch can have its own theme, and kids can have a blast picking their patterns.
Also, try using different size freezer bags for smaller supplies.
Or, use the Ziploc bags that have expandable bottoms so they can stand on their own!
Just skip folding the bag up and cover with tape along the bottom as well for more of a standing lunch box style.
DIY Makeup Bag
Equipment
- Scissors
- Hole Punch optional
This post contains affiliate links. As an Amazon Associate, I earn from qualifying purchases at no extra cost to you.
Ingredients
- 1 gallon freezer bag
- Duck Tape in your choice of design
- Ribbons stickers, jewels, etc. (optional)
Instructions
- Lay the bag flat and fold it about ¾ of the way to the top.1 gallon freezer bag
- Tear off the proportionate size tape and place evenly over the bag, starting at the bottom and working your way up towards the zipper, leaving a little bit of overlay along the sides.Duck Tape
- Once you've taped up to the zipper, turn the bag over and fold over the edges of the tape.
- Now just like you did the front, place the tape on the backside–it's okay if it over hangs on the edges, you can fold them over, or cut them off very carefully.
- If you want, grab a hole punch and some ribbon. Punch holes along the side (if planning to put into a binder, line them up according to the spaces between the rings.)
- Place the ribbon through the holes and make a bow.Ribbons
- Fill with your bag with makeup, colored pencils, glue sticks, or whatever tools you need to keep handy.
Pin this image to your craft board to save and share!
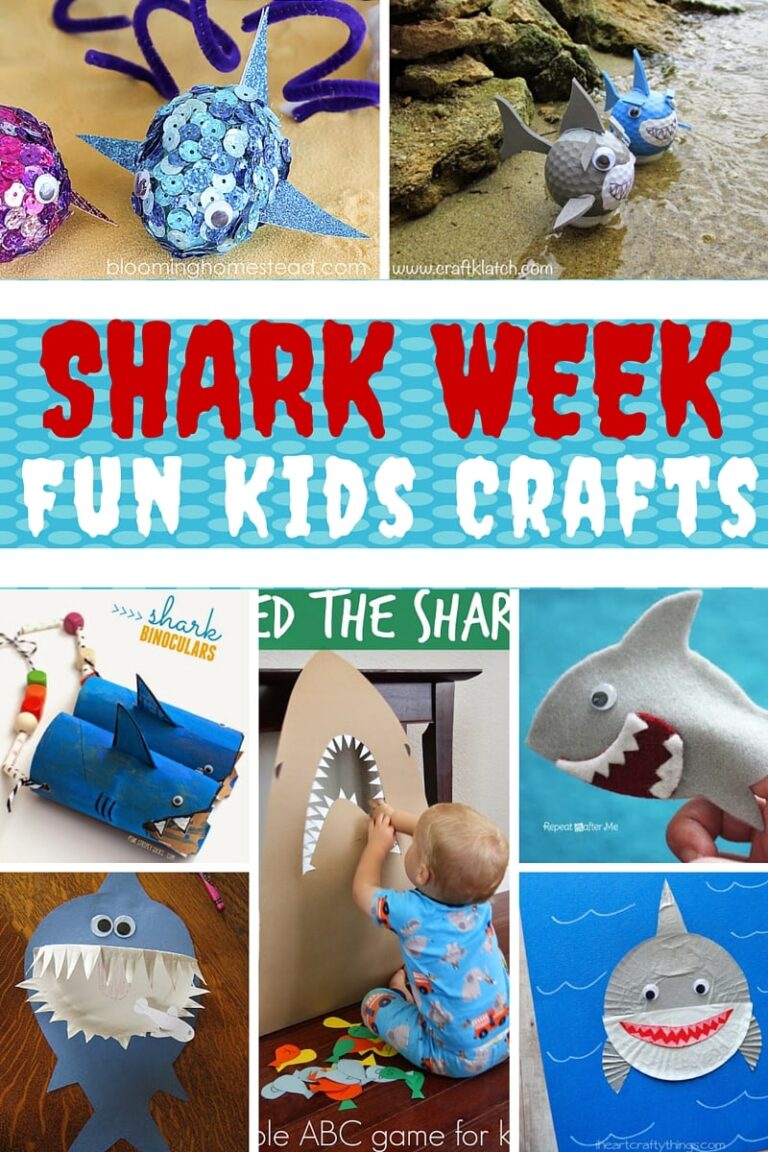
Here’s another fun Duck Tape craft for the rest of your tape leftovers!
Craft Ideas
Leave a comment and let us know what you think about this DIY makeup bag!