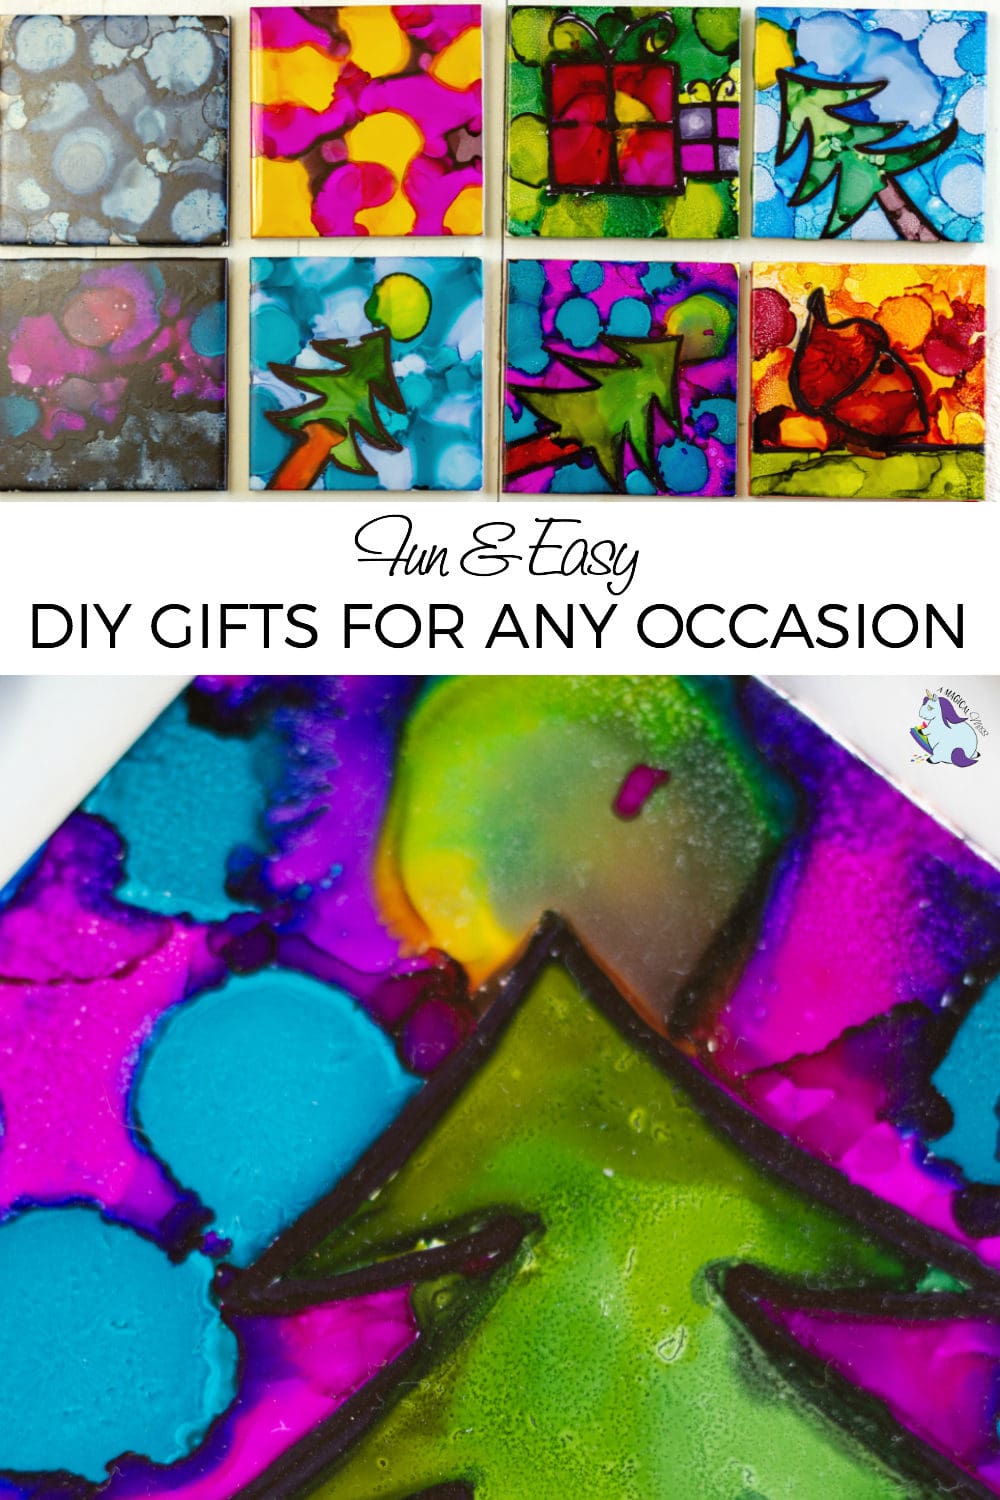
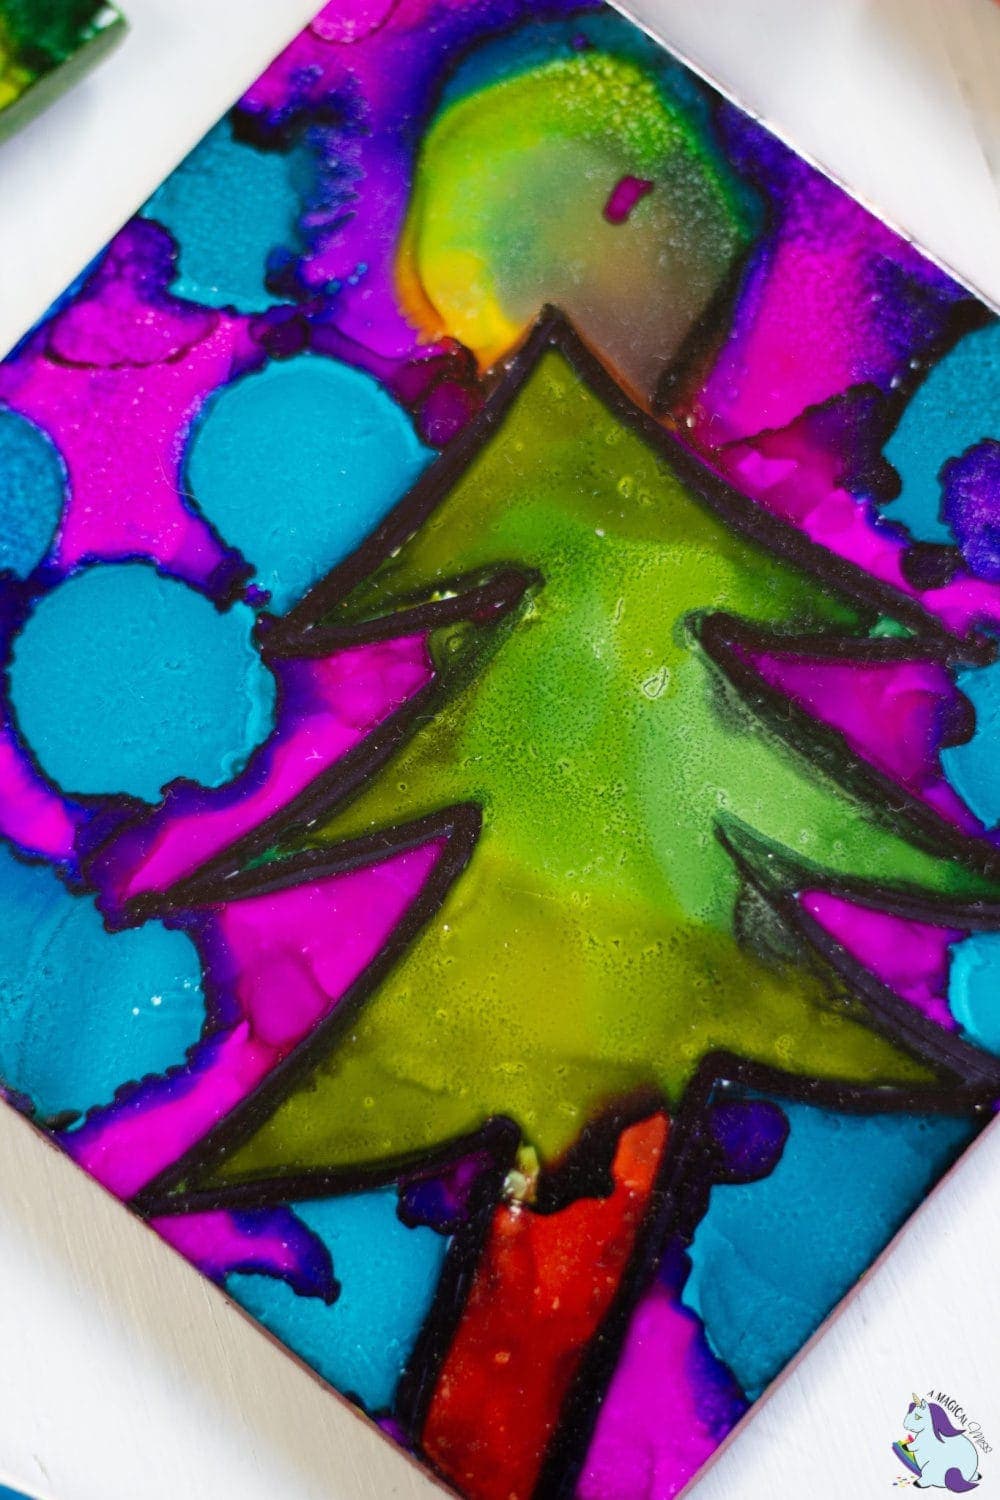
Alcohol Ink Ideas for Creative DIY Gifts

If this isn’t a magical mess, I don’t know what is!
You don’t have to be a skilled artist to create stunning masterpieces with
This is a medium that is incredibly freeing–it does most of the work for you. The colors bleed and flow together to make surprise shapes and imagery.
To make creative DIY gifts for any season, I developed a few new
Alcohol Ink Ideas
We’ve been playing with alcohol inks for several years. Applying droplets to ceramic tiles and watching the magic unfold is fun and kind of therapeutic.
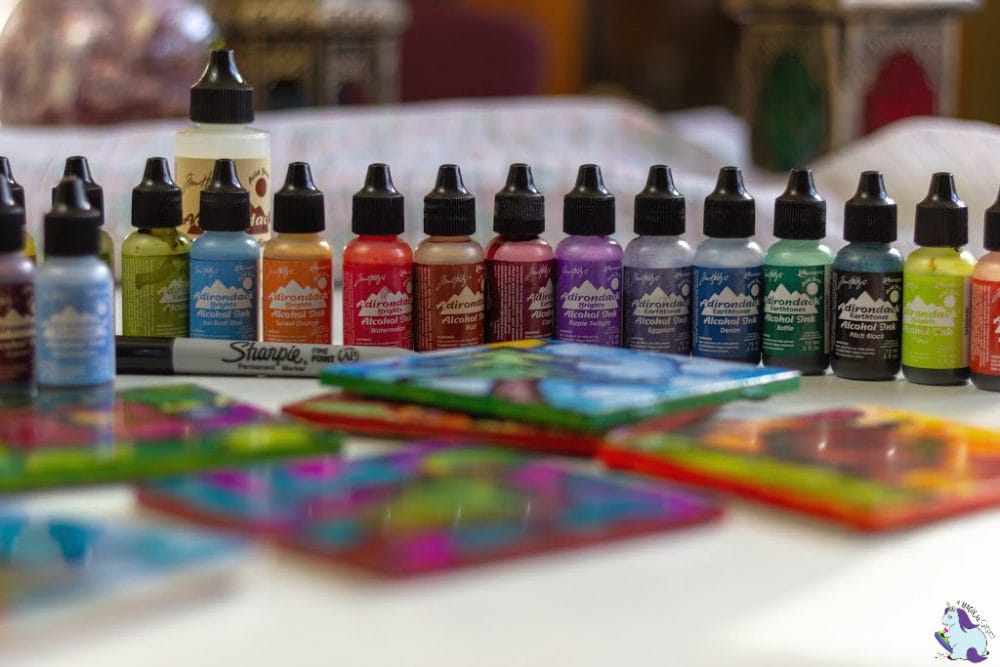
The whole family gets in on it, and it never gets old. You should know up front that alcohol inks aren’t cheap.
To get a decent variety of colors takes a bit of an investment up front–somewhere around $100.
However, it’s super worth it. I’ve been using the same set of inks for close to 8 years! The tiles are inexpensive and can be reused if you “erase” them–see the video and note below.
I buy individual glossy ceramic tiles for 16 cents each at Lowes or Home Depot. Kits are available on Amazon, but they’re overpriced.
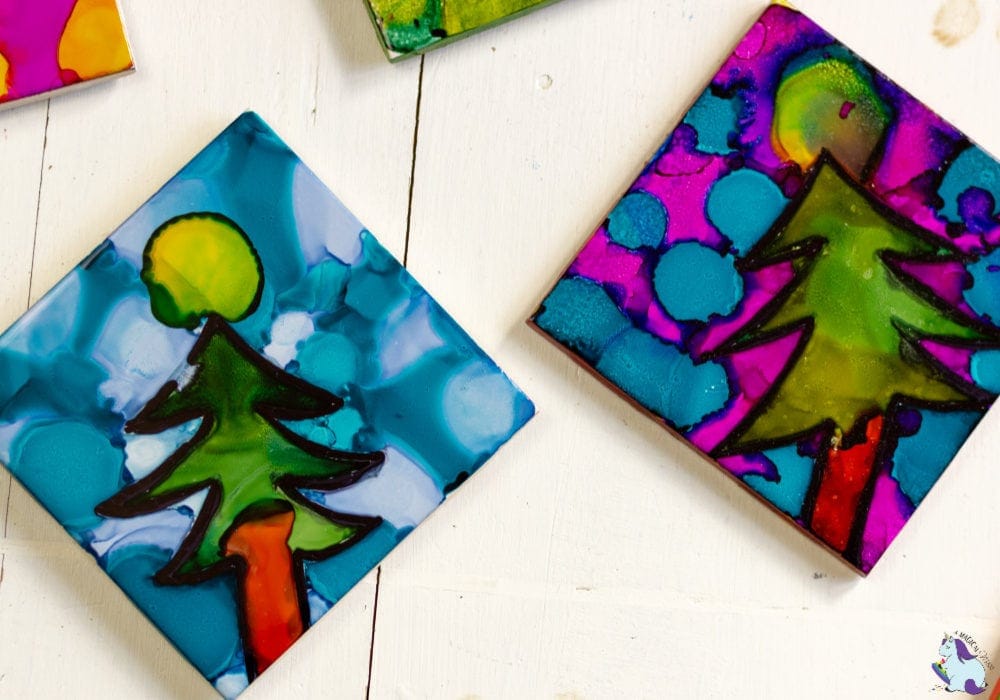
While making pretty abstract color swatches is fun, I wanted to create something a little more deliberate.
Using a Sharpie permanent marker, I drew a basic image on the tile and applied the blending solution to the areas where I wanted the
The technique isn’t foolproof; if you smudge the line with blending solution (amazon), it will bleed, and your intended image will change.
However, I never like to be too rigid with art–mistakes make everything unique.
Alcohol Ink Tutorial
I apologize for the shakiness of the video. I hadn’t realized one of the legs of my tripod was touching my table!
I’ll be making more DIY
Creative DIY Gifts
These alcohol inks are available in 61 colors, and there are also seven mixatives I can’t wait to get my hands on.
With the Sharpie marker drawings, creative DIY gifts can be made for any occasion.
From Christmas trees to Easter eggs, and acorns, hearts, and clovers, the ideas are endless.
I’m currently researching how to seal these so they can withstand heat and moisture. These tiles are great for coasters, but unless properly sealed with lacquer or resin, your artwork will suffer.
I’ll be back with a solution soon!
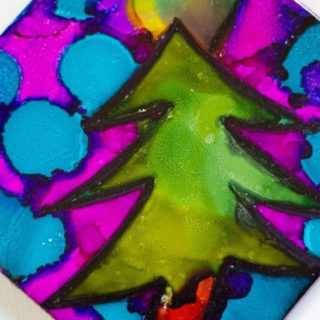
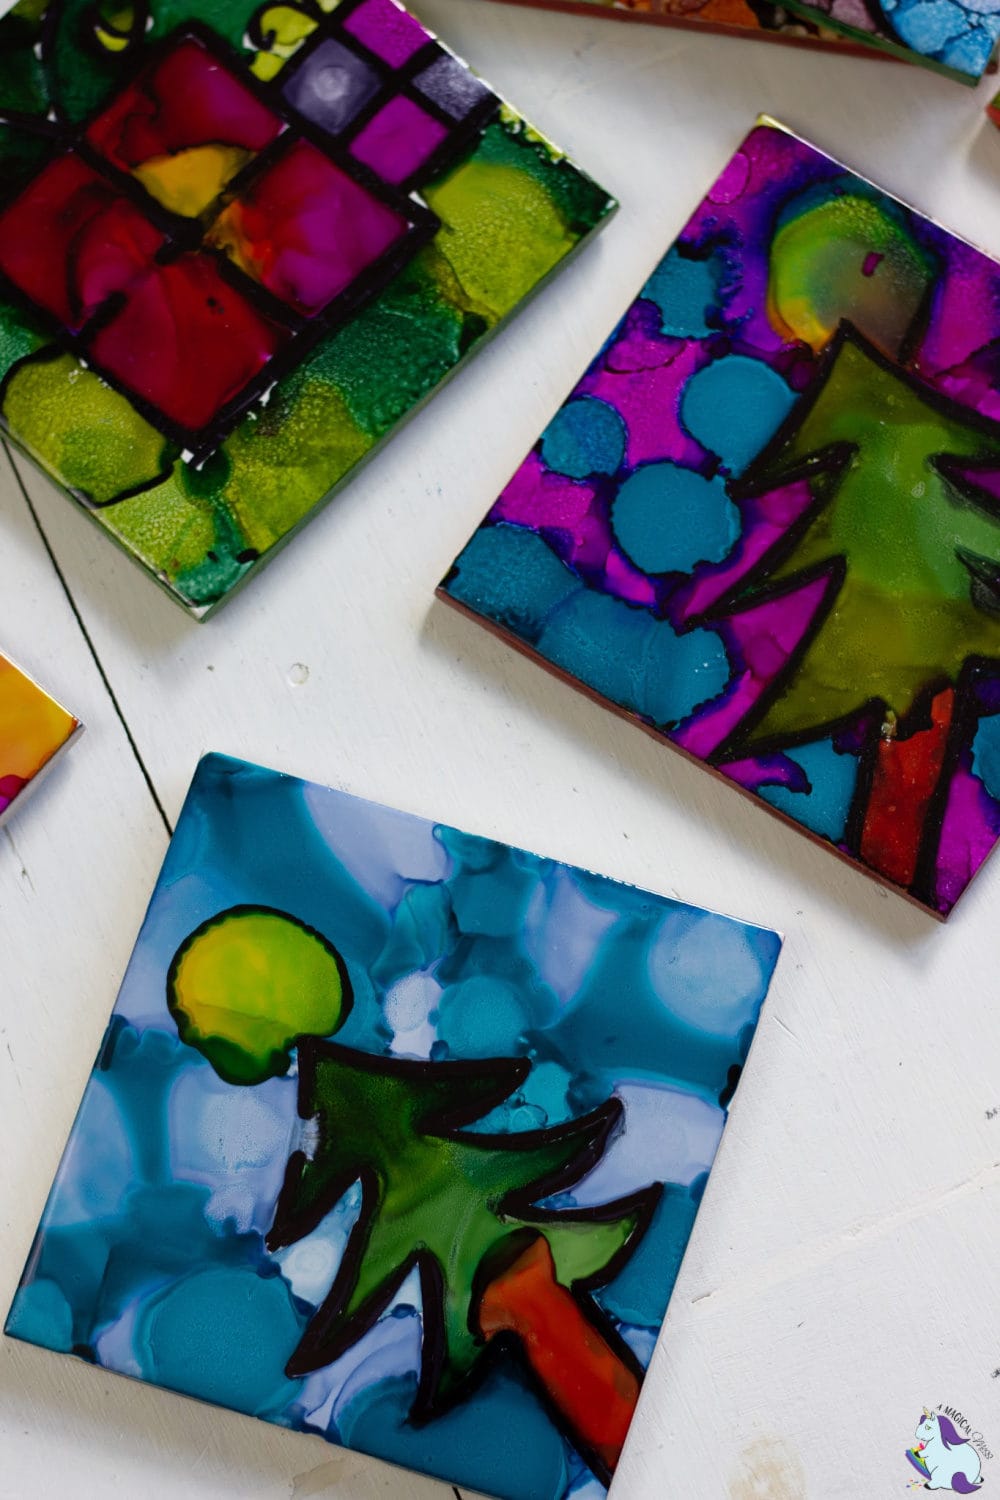
Christmas Tree Alcohol Ink Art Tiles
This post contains affiliate links. As an Amazon Associate, I earn from qualifying purchases at no extra cost to you.
Ingredients
- 3 bottle alcohol ink in a variety of colors
- 1 bottle alcohol ink blending solution
- 1 ceramic tile any size
- 1 Sharpie permanent marker in preferred thickness and color
- 4 felt stickers
Instructions
- With the tile face down, apply felt stickers to each corner.1 ceramic tile, 4 felt stickers
- Make sure the front of the tile is clean and dry.
- Use the Sharpie permanent marker to draw the image of your choice. Go over your lines to make sure they’re about 3-5 mm thick.1 Sharpie permanent marker
- Apply the blending solution with a fine tip brush to the inside of your image–or wherever you want to add color. Be sure to stay at least 1 mm away from your marker line, or it will bleed, and the alcohol ink will run through it.1 bottle alcohol ink blending solution
- Add droplets of alcohol ink to the areas with blending solution. Be mindful of your color choices because they will mix. (Too many colors will create a dark mess.)3 bottle alcohol ink
- If areas are not getting colored, try using a toothpick to drag the ink to those black spots.
- Once the inside of your image is colored, apply blending solution to your background and repeat steps 4 and 5.
- When you’re satisfied with your creation, allow it to dry on a flat surface.
Video
Notes
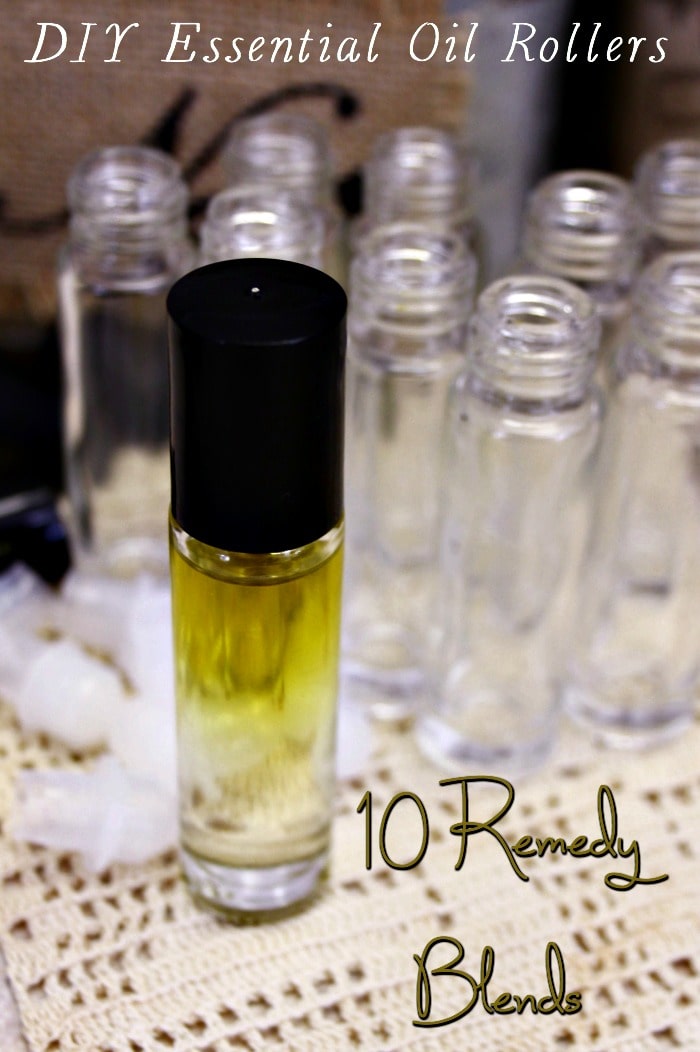
More Creative DIY Ideas:
- Crystal soap that looks like gemstones
- Make a kitchen utensil holder with wine corks
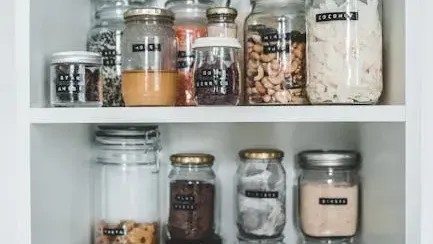
- Turn empty food jars into storage containers
Share this post with someone who loves making DIY Christmas gifts!

These are so colorful and fun! I’d like to try my own version and see how I do.