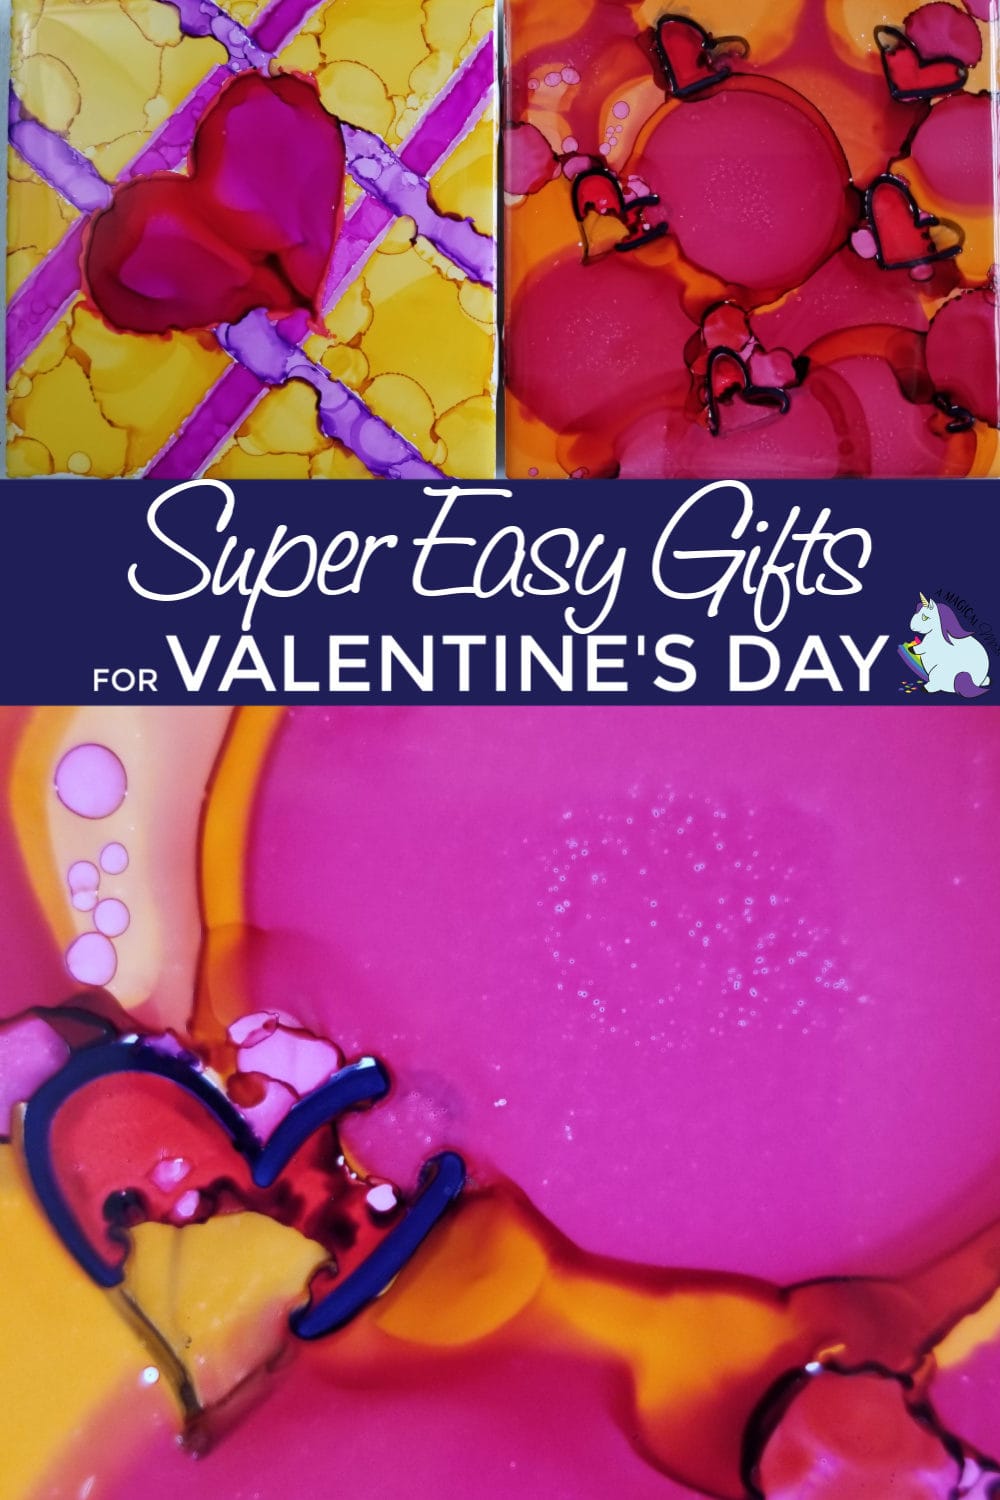
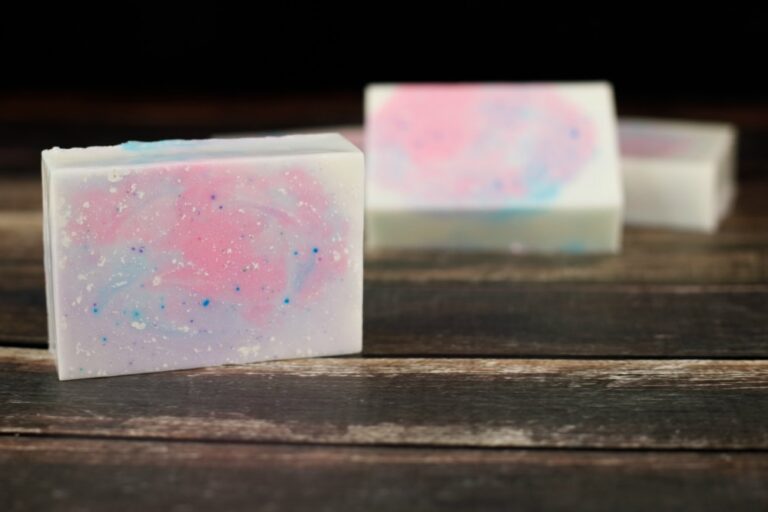
Alcohol Ink Art with Heart Designs

Nothing shows you care like a handmade gift. These
The inks have a mind of their own, and the final image is usually a surprise masterpiece!
Fear not, if you create something undesirable, erasing is simple.
Alcohol Ink Art
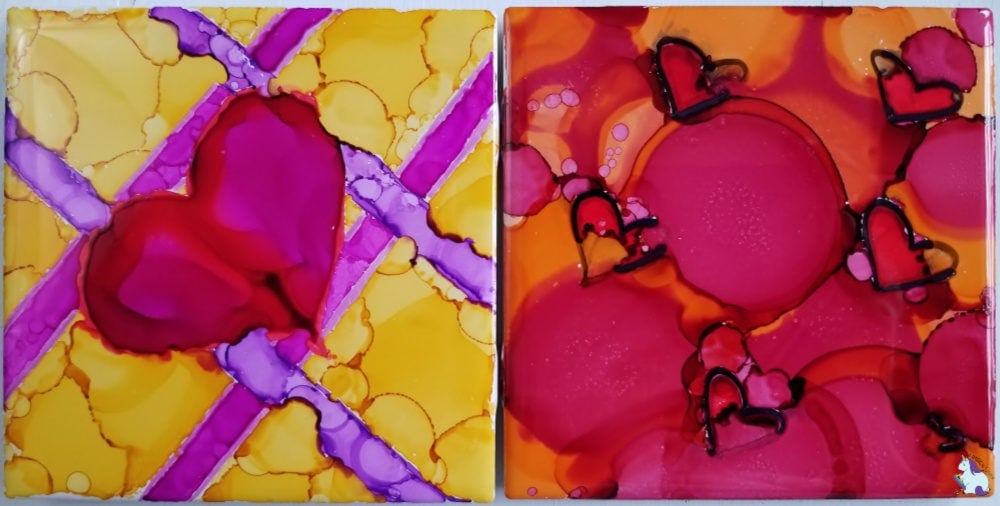
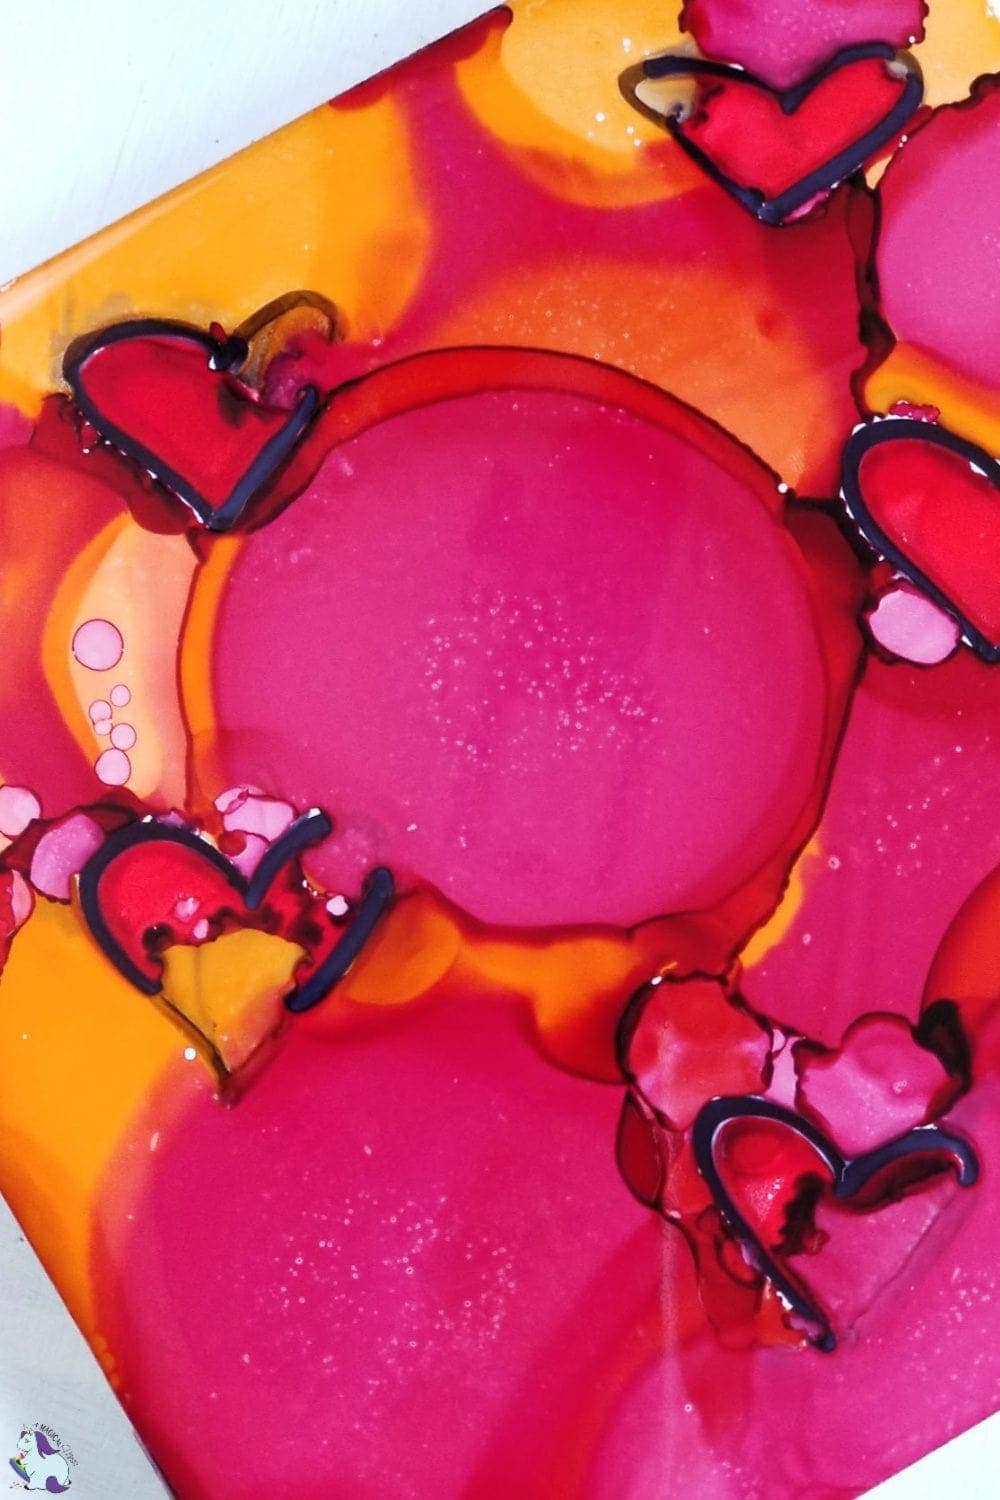
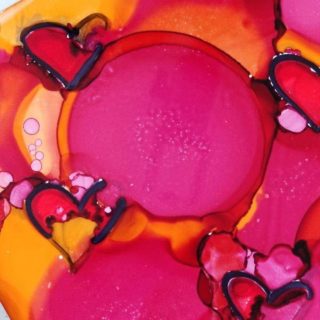
Heart designs are not reserved exclusively for Valentine’s Day–although, these do make perfect Valentine’s Day gifts.
These alcohol ink ideas start simple and transform into abstract works of art right before your eyes.
The whole family can enjoy the process– for the wee ones still in the habit of sticking things in their mouths, it’s probably best to let them watch, rather than partake in the handling of the dyes.
Heart Designs
If you cannot bring yourself to draw freehand hearts, it’s quite alright; that is why stencils were created!
There is no shame using a tool to create the images you want.
Be sure to watch the video to see the process in action.
Alcohol Ink Art with Heart Designs
This post contains affiliate links. As an Amazon Associate, I earn from qualifying purchases at no extra cost to you.
Ingredients
- 5 bottle alcohol ink in a variety of colors
- 1 bottle alcohol ink blending solution
- 1 ceramic tile any size
- 2 Sharpie permanent marker in preferred thickness and color
- 4 felt stickers
Instructions
- With the tile face down, apply felt stickers to each corner.1 ceramic tile, 4 felt stickers
- Make sure the front of the tile is clean and dry.
- Use the Sharpie permanent marker to draw minimalistic heart designs–the simpler, the better. Go over your lines to make sure they’re about 3-5 mm thick.2 Sharpie permanent marker
- Apply the blending solution with a fine tip brush to the inside of your image–or wherever you want to add color. Be sure to stay at least 1 mm away from your marker line, or it will bleed, and the alcohol ink will run through it. (Sometimes this is awesome and creates something unexpected and neat!)1 bottle alcohol ink blending solution
- Add droplets of alcohol ink to the areas with blending solution. Be mindful of your color choices because they will mix. (Too many colors will create a dark mess.)5 bottle alcohol ink
- If areas are not getting colored, try using a toothpick to drag the ink to those blank spots.
- Once the inside of your image is colored, apply blending solution to your background and repeat steps 4 and 5.
- When you’re satisfied with your creation, allow it to dry on a flat surface.
Video
Notes
For more heartfelt and heart-shaped gift ideas, visit these posts:
- DIY Seed Paper Valentine Cards
- Chocolate Dipped Spoons with Printable Valentine’s Day Labels
- Camouflage Almond Butter Truffles
- Marshmallow Creme Valentine Candies
Have you ever made alcohol ink art? Do you gift handmade gifts?


These are so cute! I still have mine that Ava made with you! She loved doing it and it really is very pretty!! Thank you for posting how to make our own!
I love that you still have them! <3 <3
Super tut! You’ve always been the alcohol ink tile-master. Thanks for sharing your fun and easy (looking) method for creating shapes. I’m going to give this a try next time the opportunity presents!
Thank you! Yeah, I will let you know the next time I bust out all of the inks! 🙂
These came out so beautifully! So abstract and so pretty! Thank you for sharing your process with us.
Thank you, Jaclyn!
This looks so fun and you could use the same process for any design. My son would love making these!
Hi Merry!
You really can use it for any design/occasion! The creative freedom is limitless!