Woodland Fairy Edible Terrarium Dessert Recipe

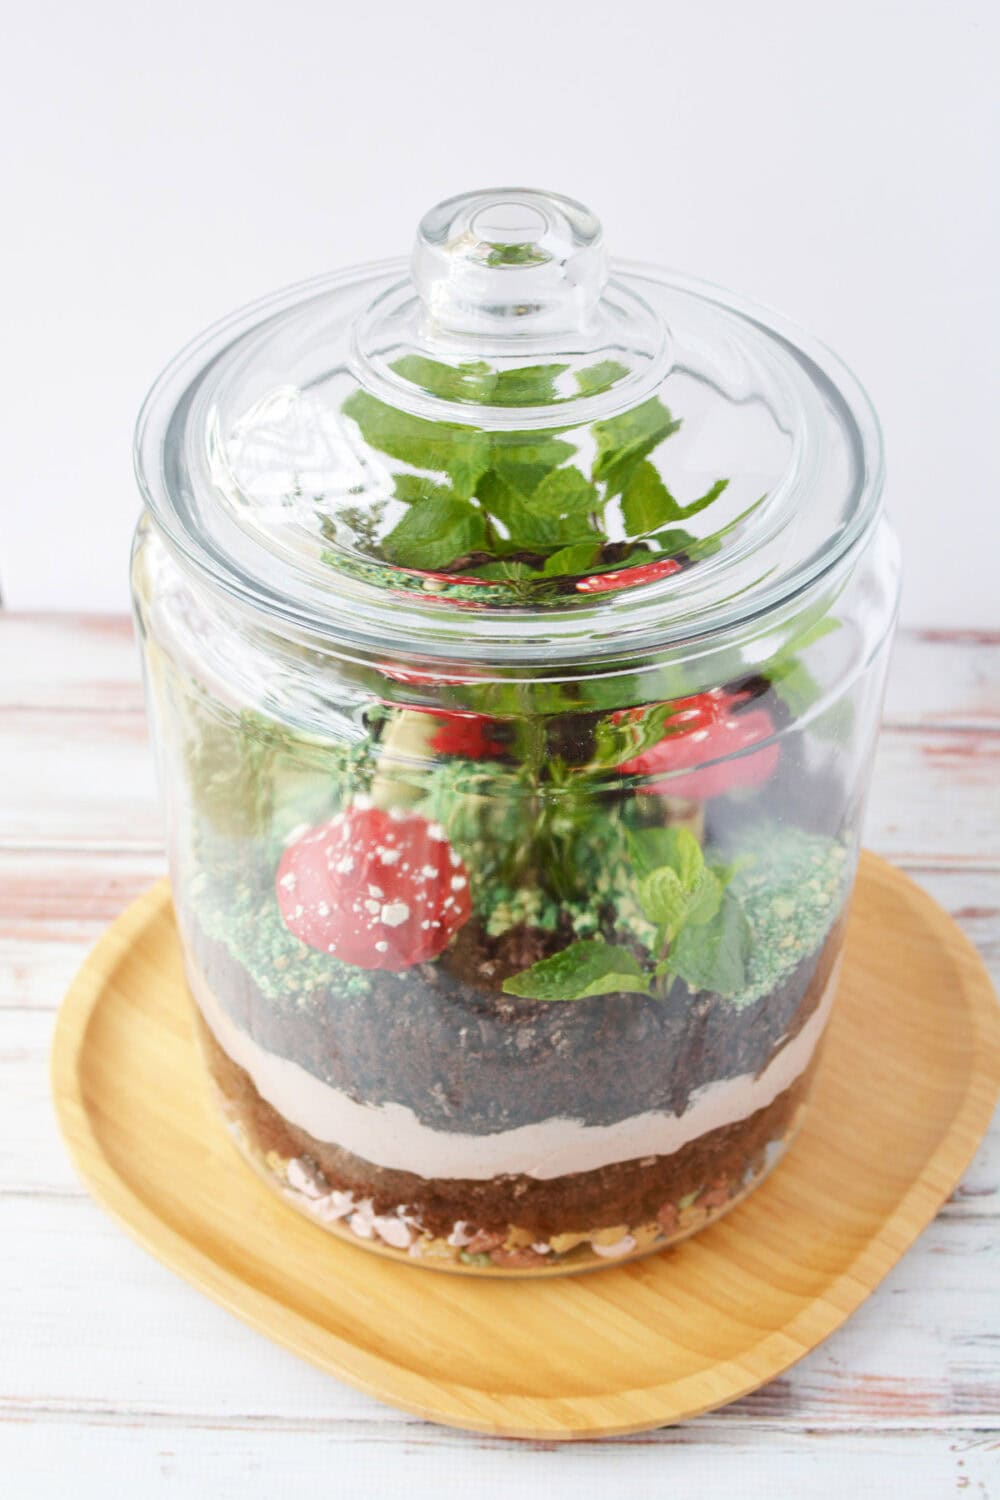
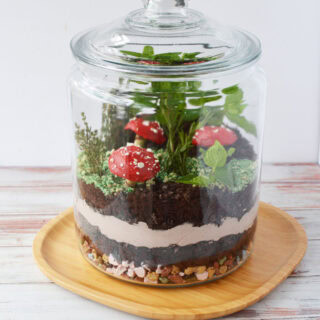
A magical centerpiece you can eat? That’s right. Add this Woodland Fairy Edible Terrarium to the dessert table of your next spring or summer bash. Inspired by our Woodland Fairy Trifle Recipe, this version of the layered dessert is tweaked to look like a real terrarium.
This edible terrarium brings an enchanting lush forest right to your dessert table with layers of dirt made from crushed cookies and chocolate cake. Take it step-by-step so you can make your own little toadstool forest terrarium.
I’ve always been fascinated by miniature little worlds, especially terrariums. When I was a kid, I would definitely assume that’s where all the gnomes and fairies were living. So, as an adult, it’s fun to create magical little lands, and even more fun to make them edible. Each layer of this dessert not only looks like a legit lush forest, but also tastes like a creamy and crunchy chocolatey treat.
What you’ll love about this recipe:
Be sure to check out the full recipe and ingredient list below
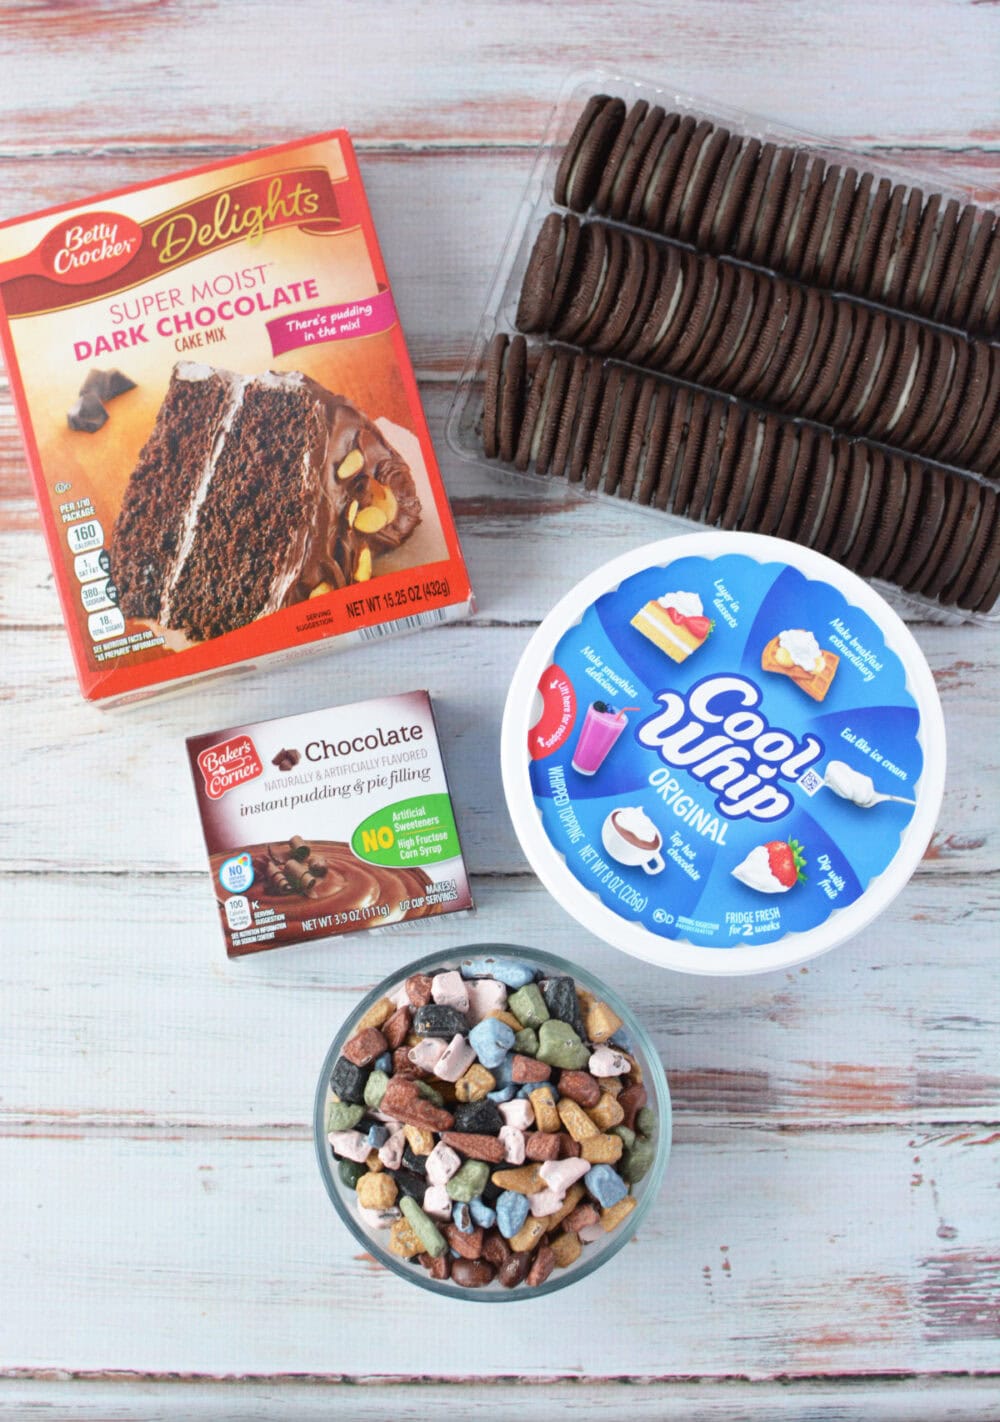
What you’ll need
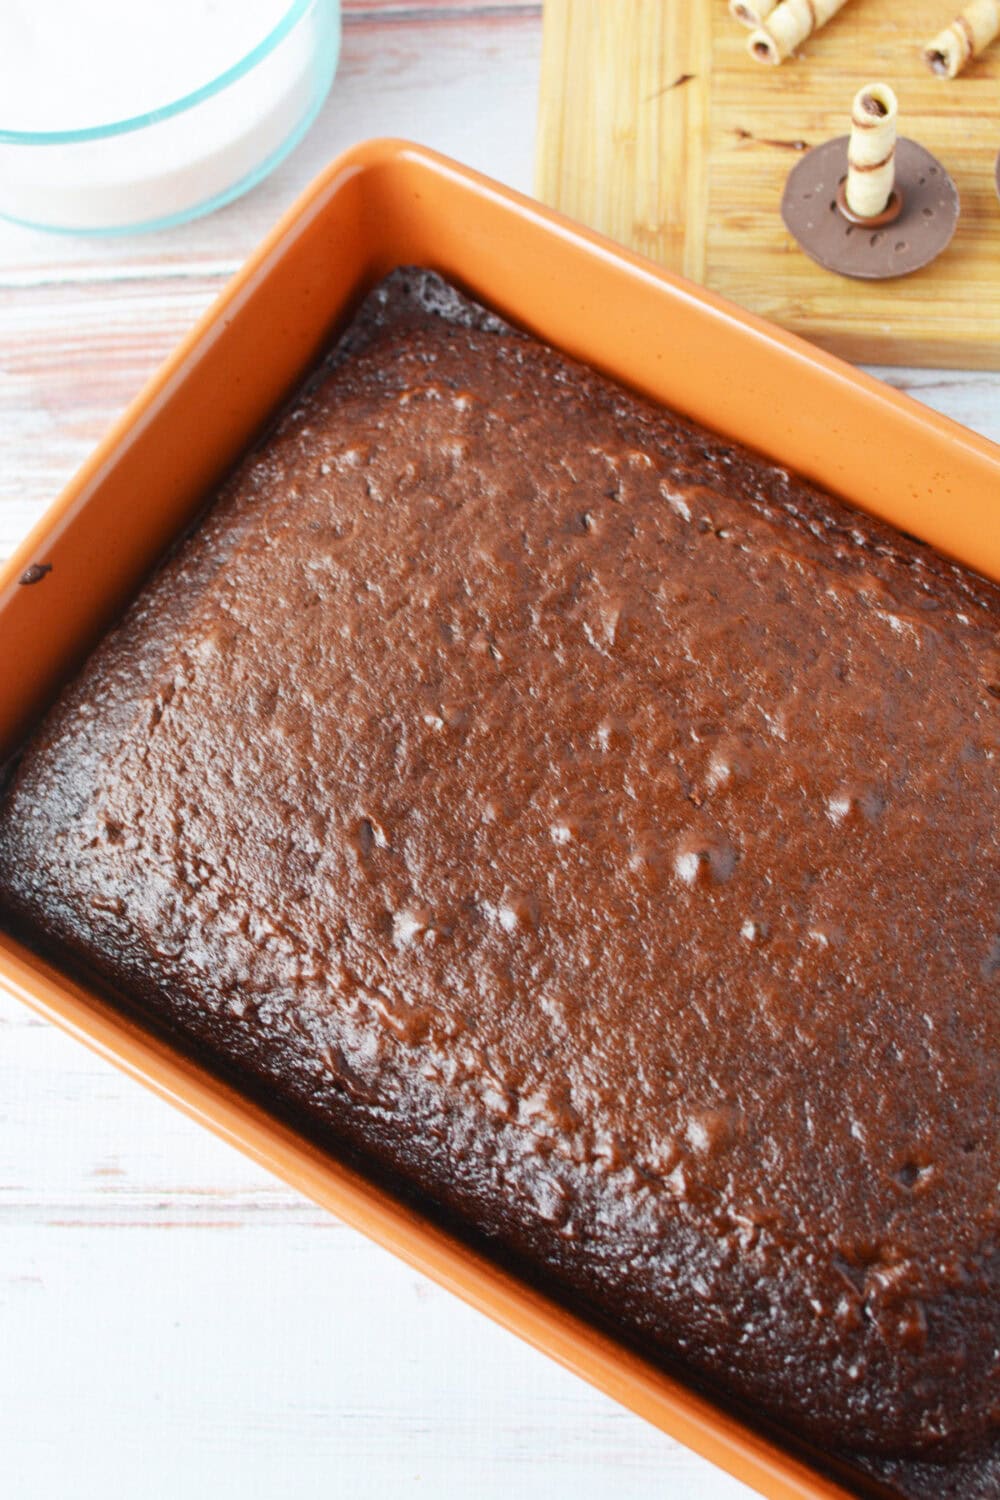
Step 1: Bake the Cake
- Bake your chocolate cake according to the package directions. You can make one 9×13 cake or two round cakes. Allow the cake to cool completely before using. You can also use a cake from the bakery if you’re short on time.
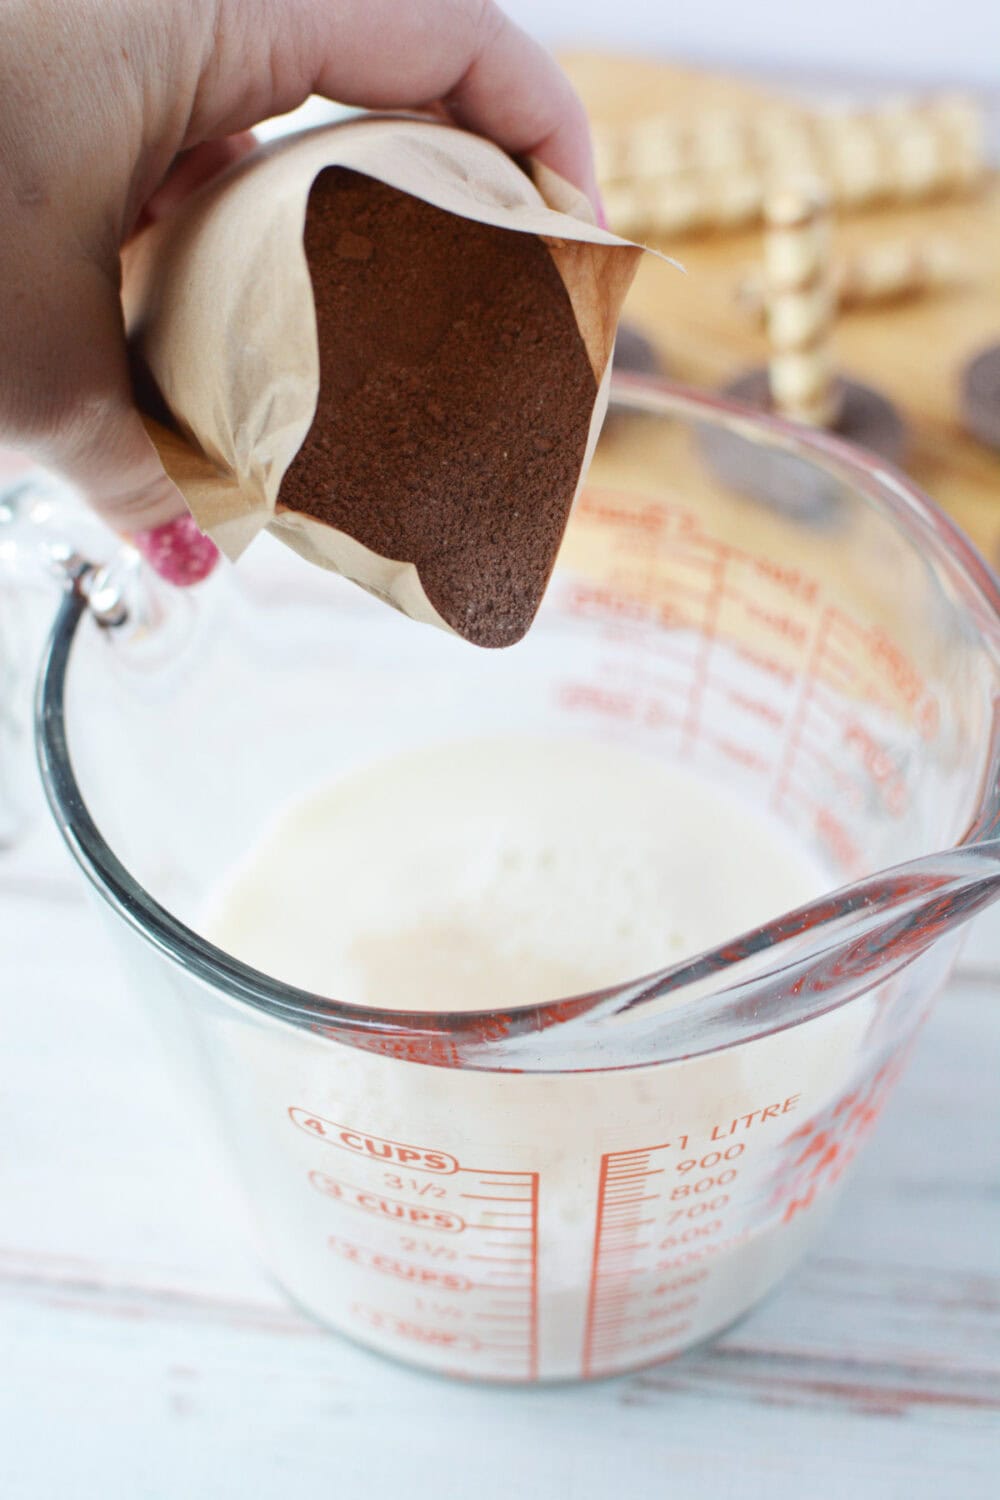
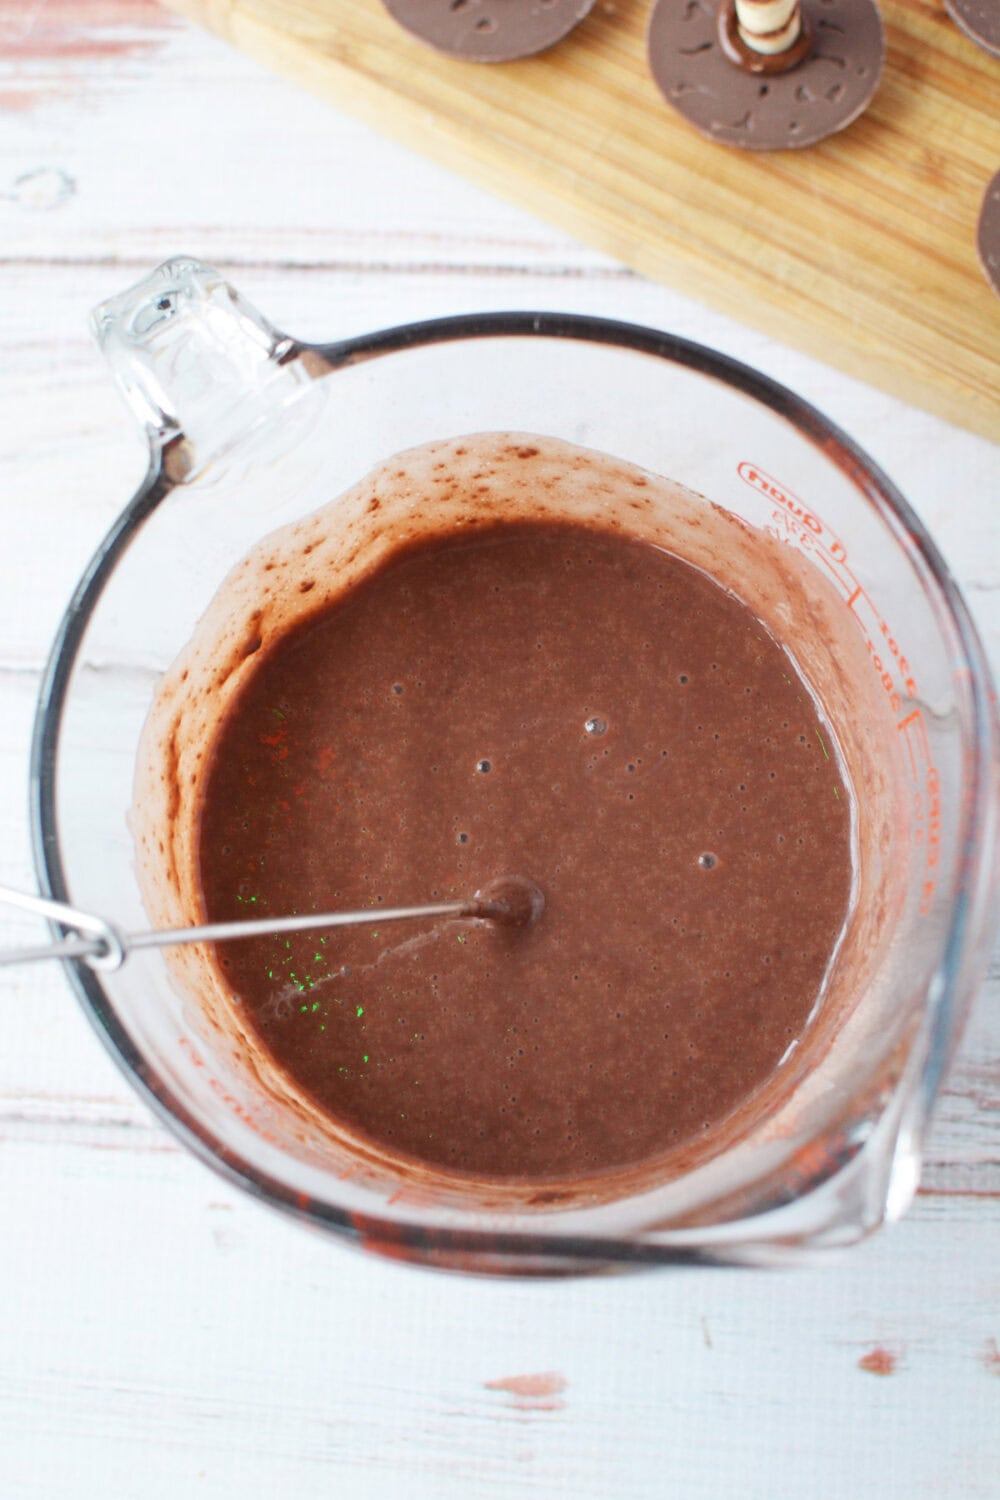
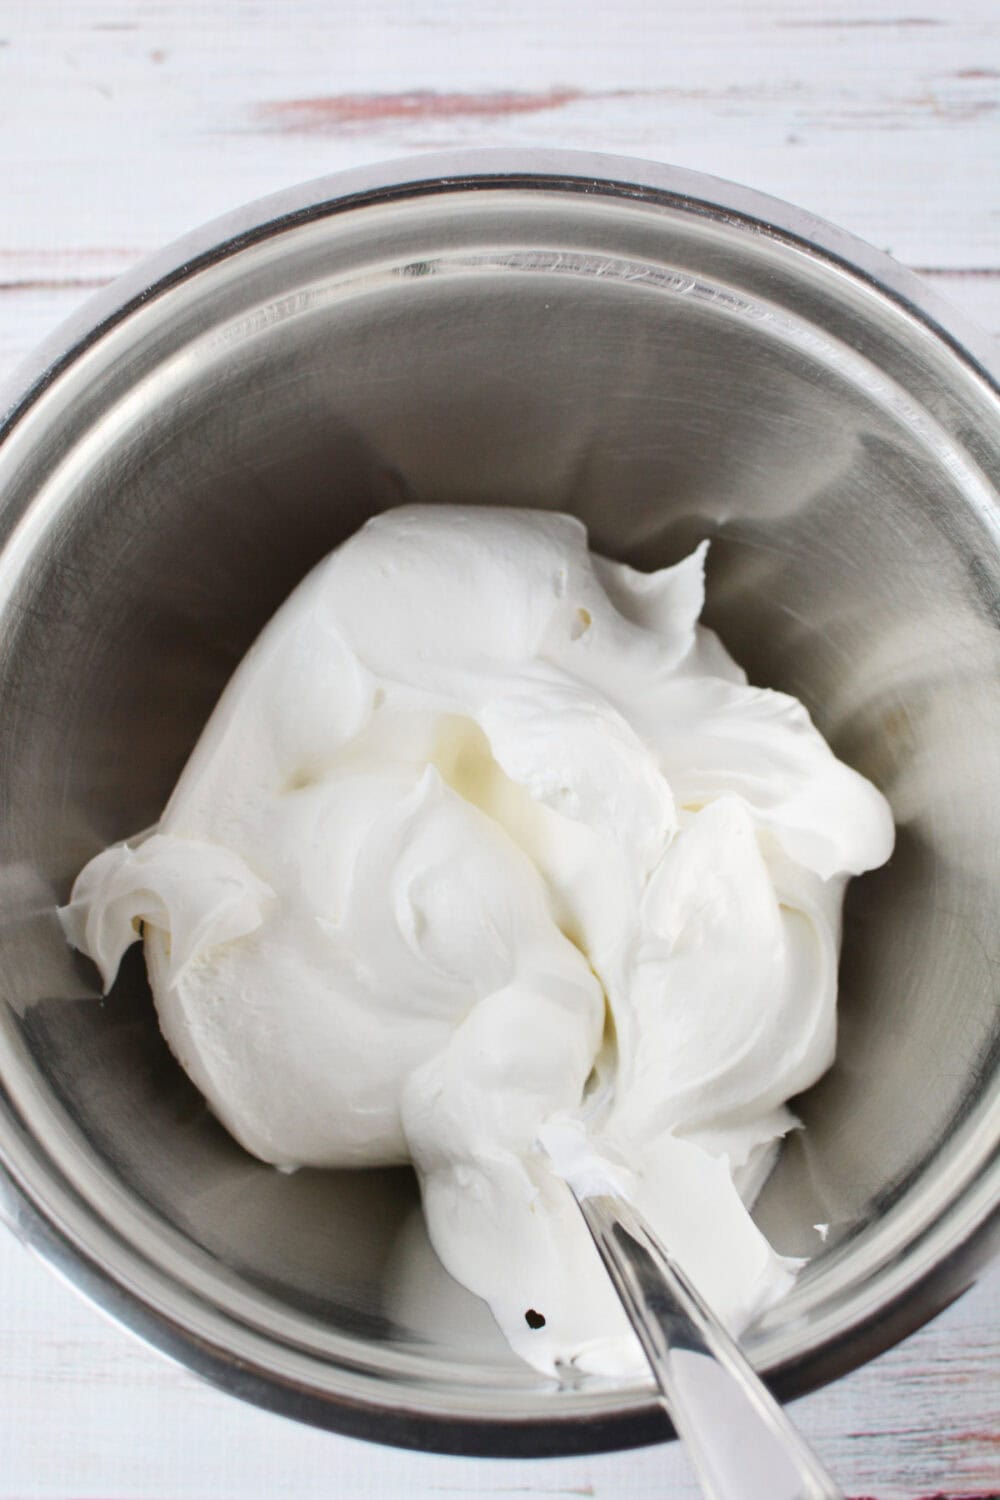
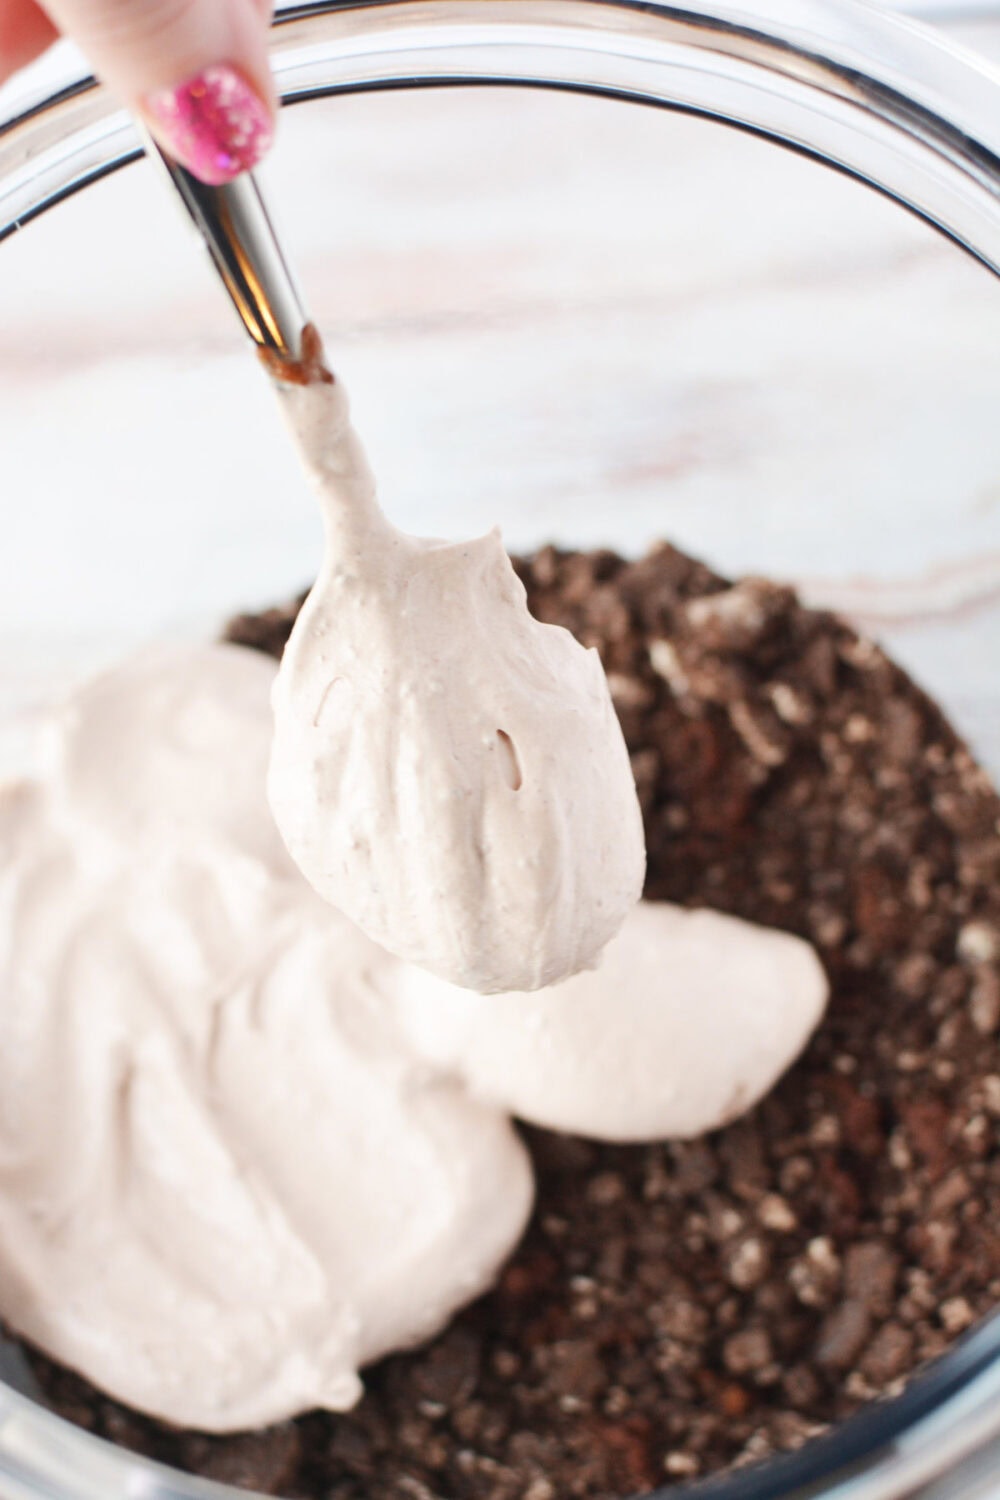
Step 2: Prepare the Mousse
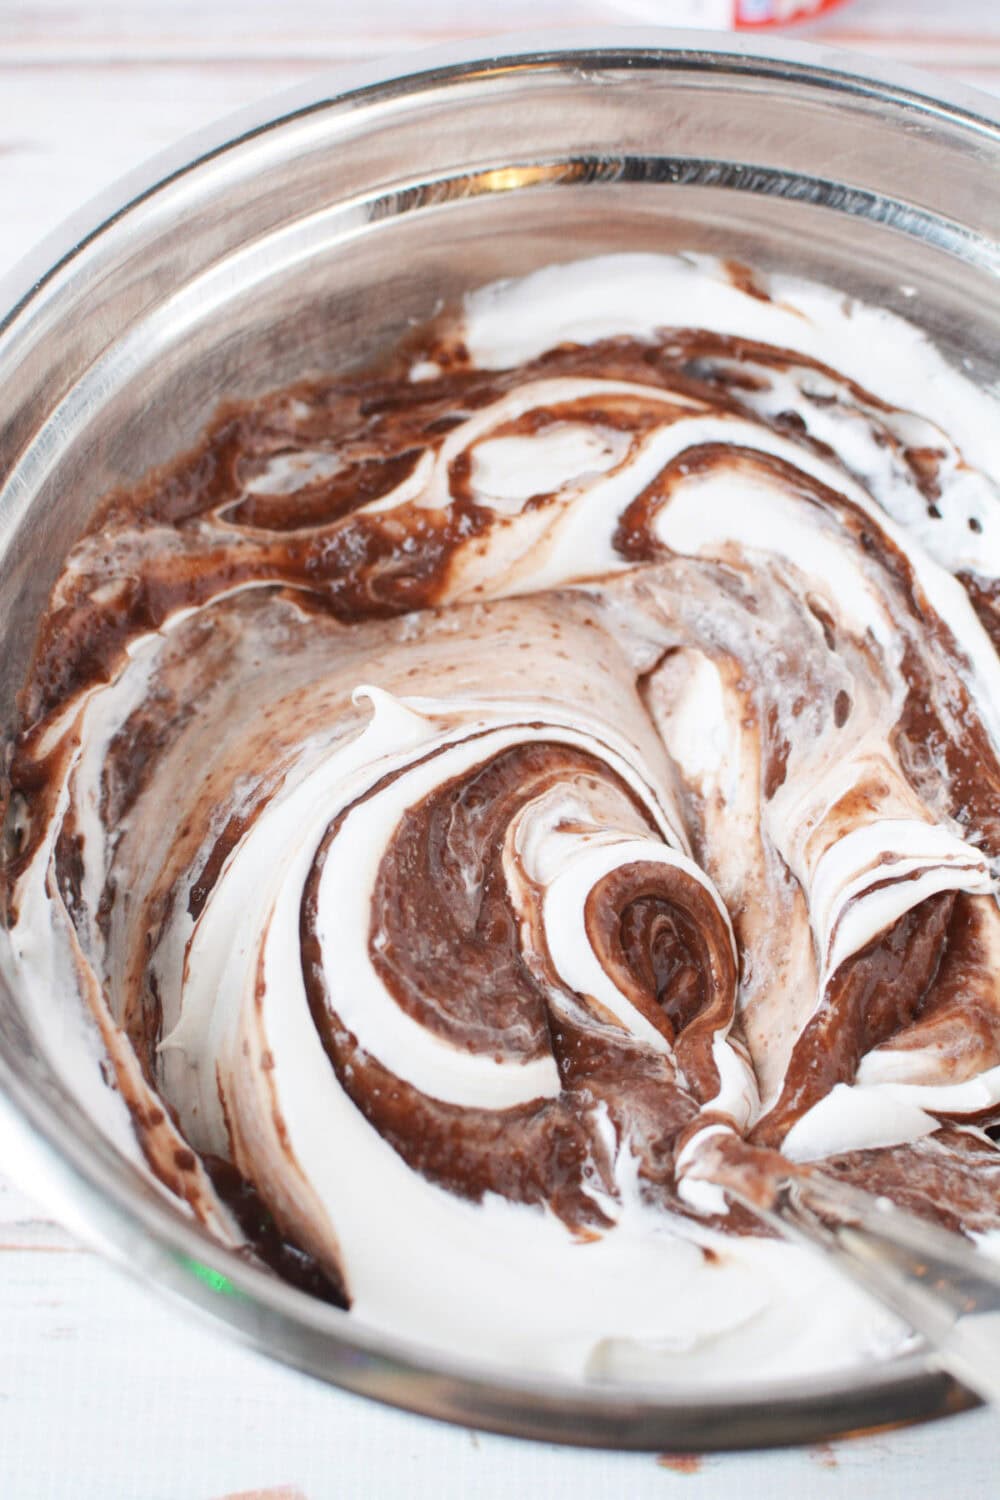
- Whisk together milk and instant chocolate pudding. Refrigerate until it sets, which usually takes about 5 minutes. Fold in the whipped topping to create a smooth mousse. Set this aside for layering later. You can also use pudding cups as a time-saver.
Step 3: Crush the Cookies
- Place 12 Oreo cookies in a resealable bag and crush them coarsely with a rolling pin. Transfer the crushed cookies to a bowl. Repeat this step so you end up with two separate bowls of crushed Oreos.
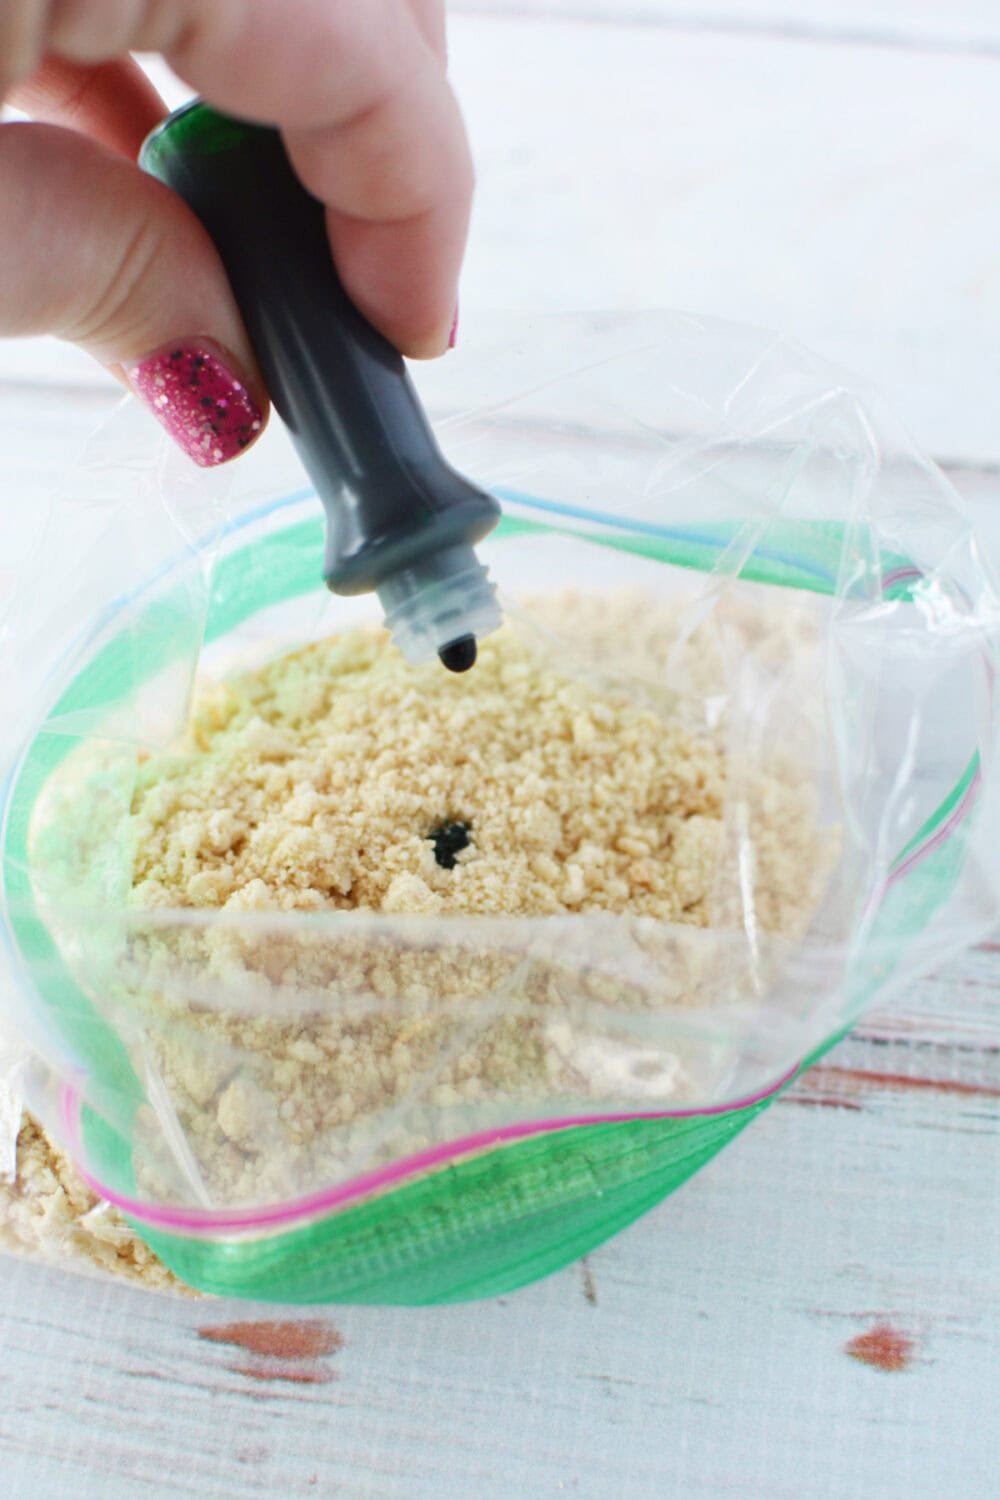
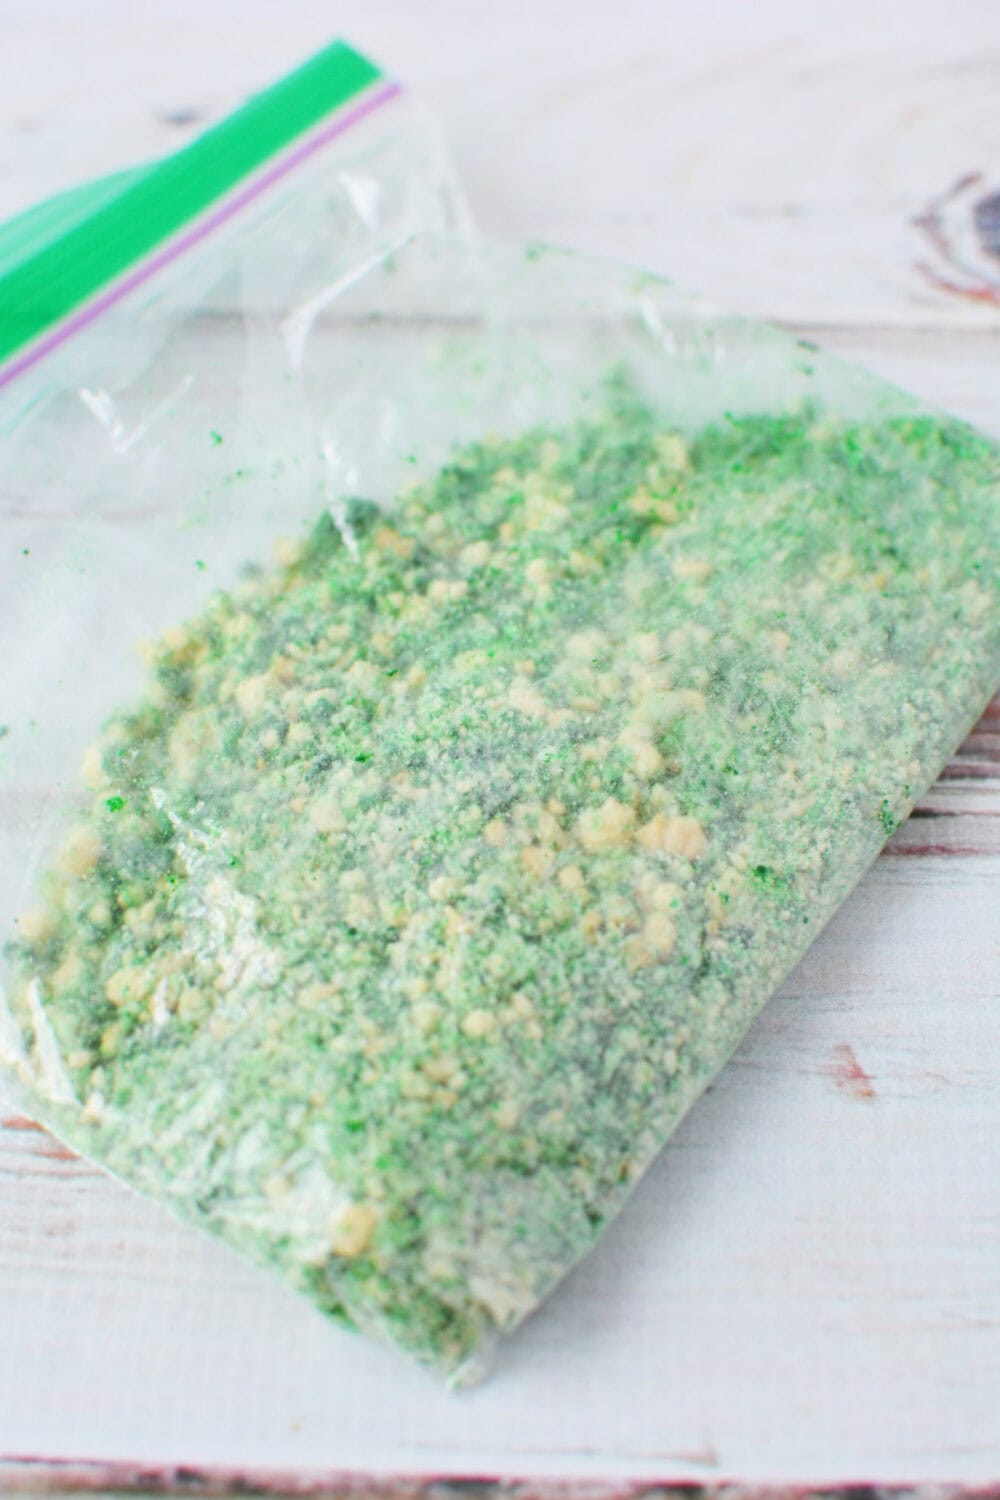
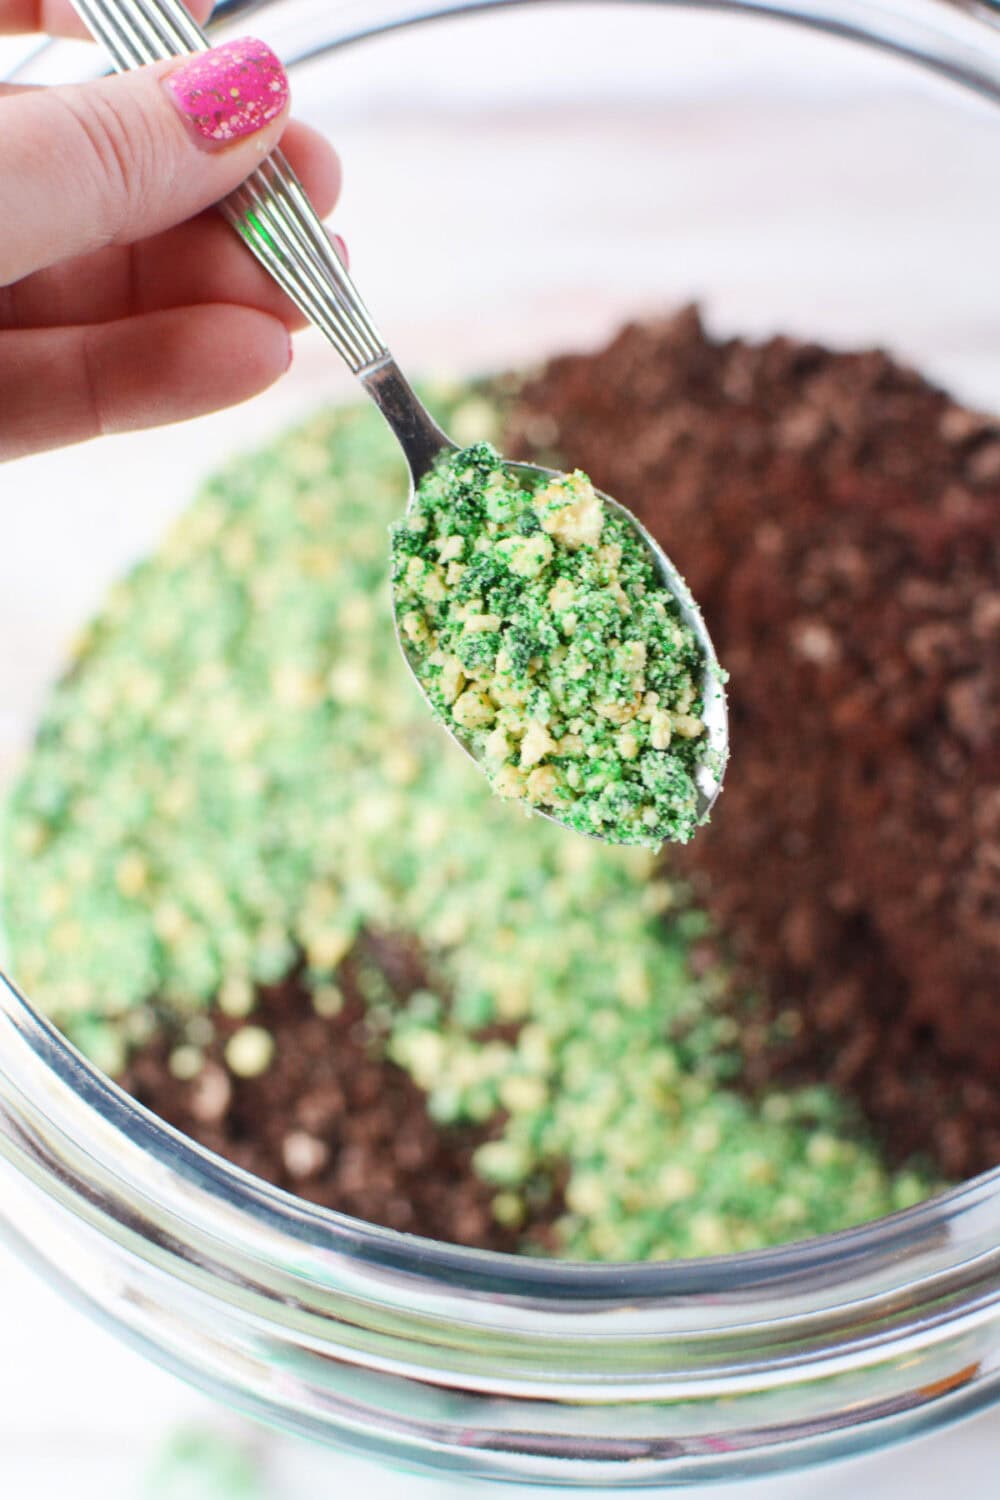
Step 4: Create Green ‘Moss’
- For the moss effect, put 6 Golden Oreo cookies in a resealable bag and add 10-12 drops of green food coloring. Seal the bag and knead the cookies until they reach your desired shade of green. Set these aside.
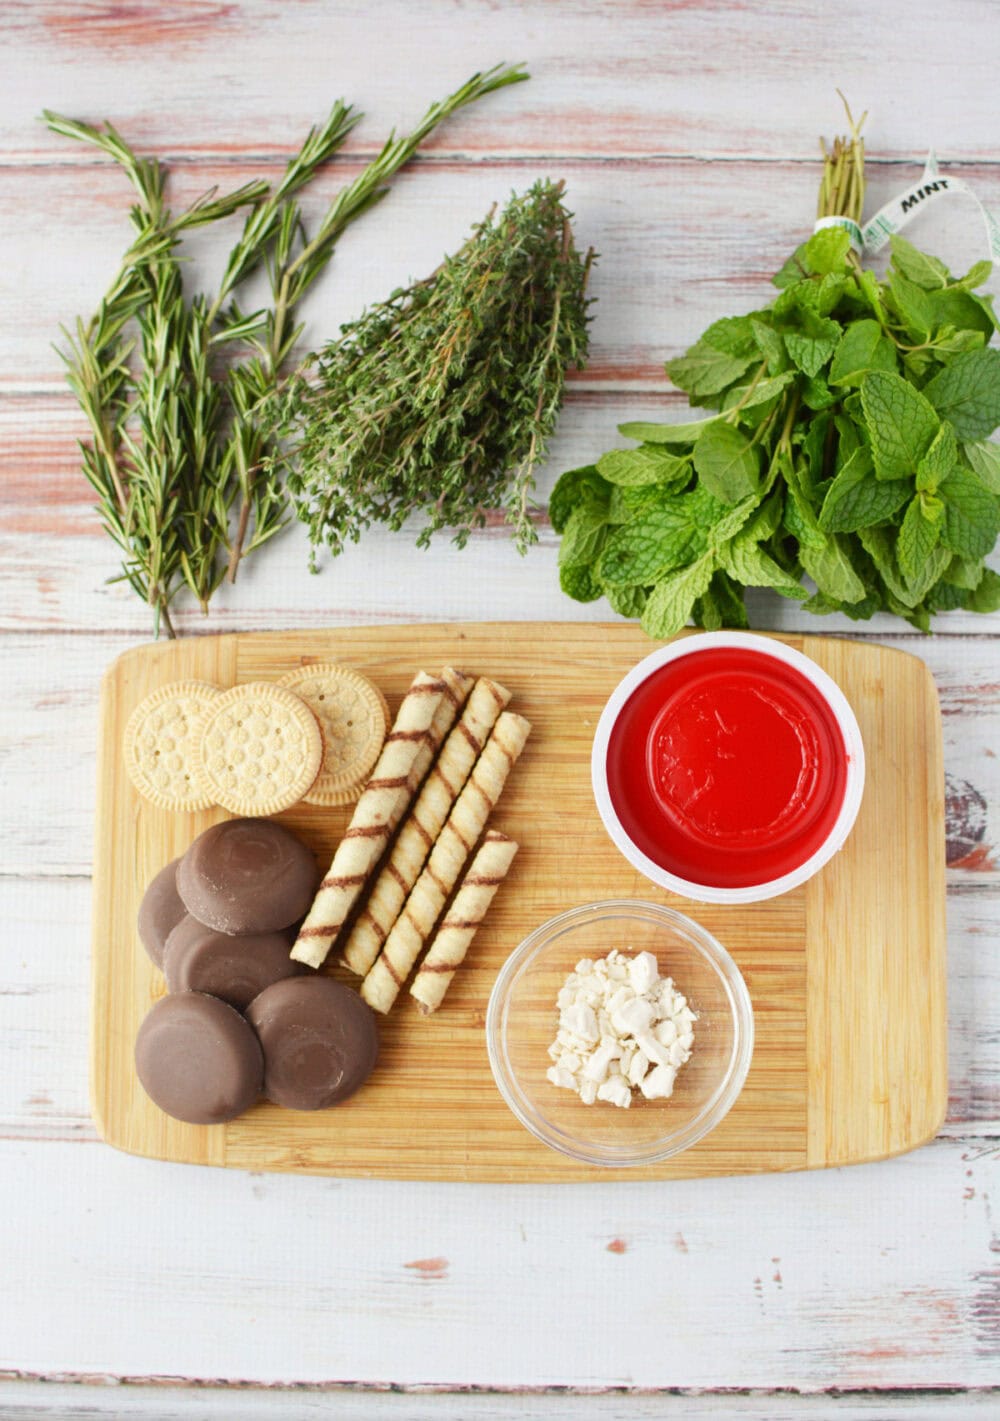
Step 5: Make Chocolate Mushrooms
Note: this is the same mushroom technique used in the Fairy Toadstool Trifle.
- Melt the chocolate chips in a microwave-safe resealable bag for 60 seconds at 50% power. Knead the bag and continue microwaving in 30-second bursts until the chocolate is completely melted and smooth.
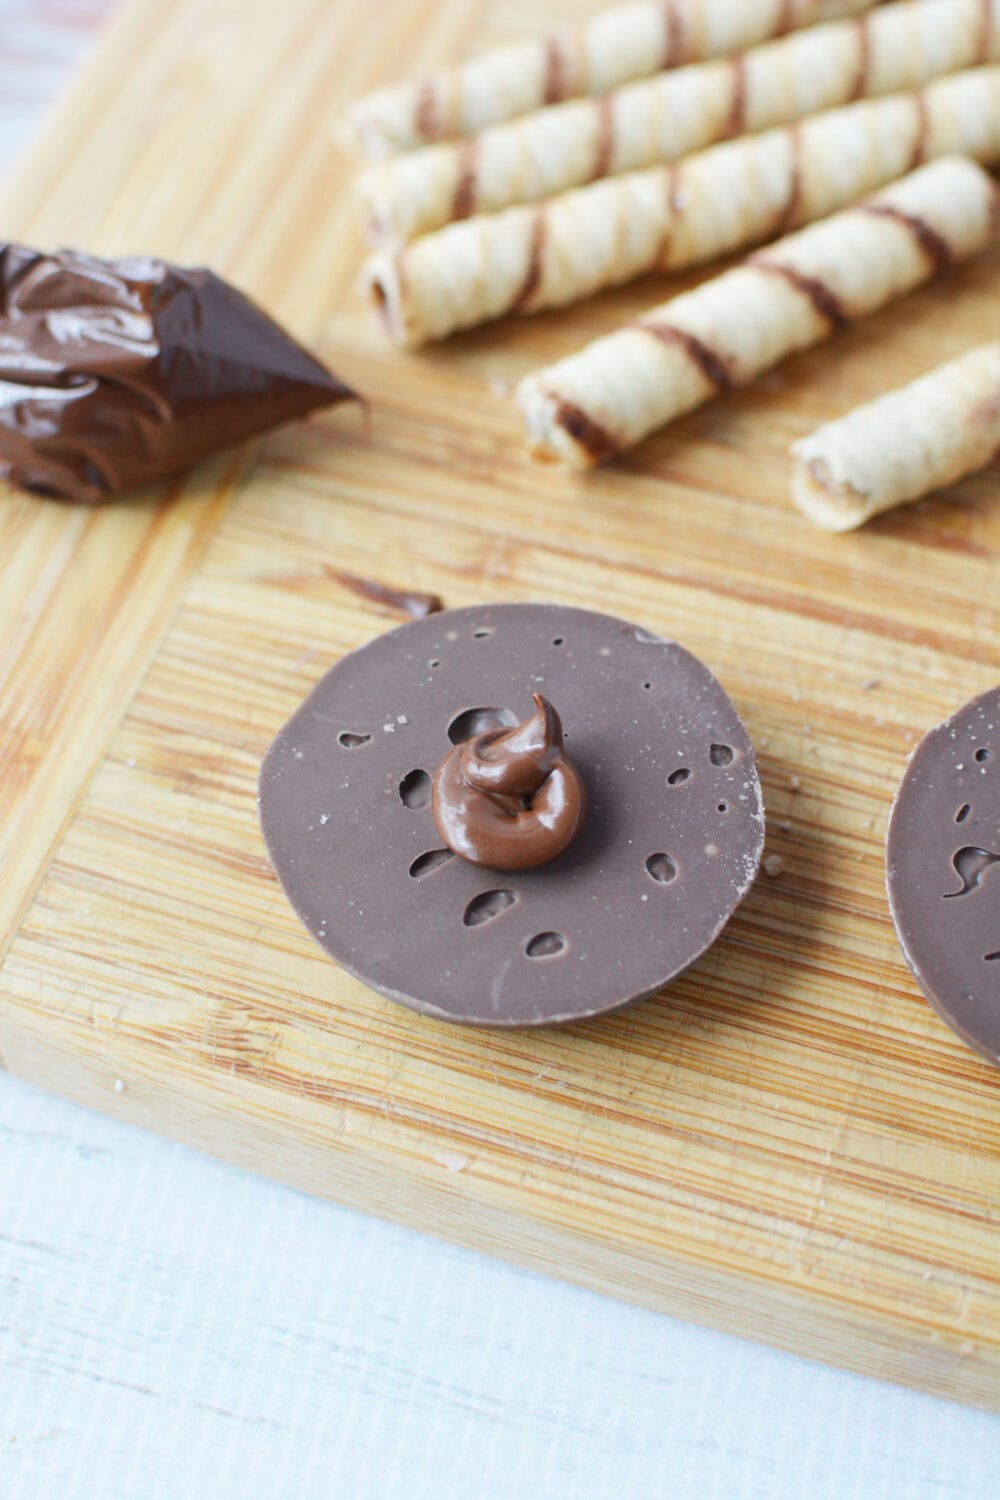
- Cut the chocolate creme-filled wafers to create stems for your mushrooms. Place a fudge cookie upside down on a flat surface, add a dollop of melted chocolate, and press a wafer into the chocolate to form the stem. Hold the wafer in place until the chocolate starts to set. Refrigerate these mushrooms until they’re firm, about 10 minutes.

Step 6: Decorate the Mushrooms
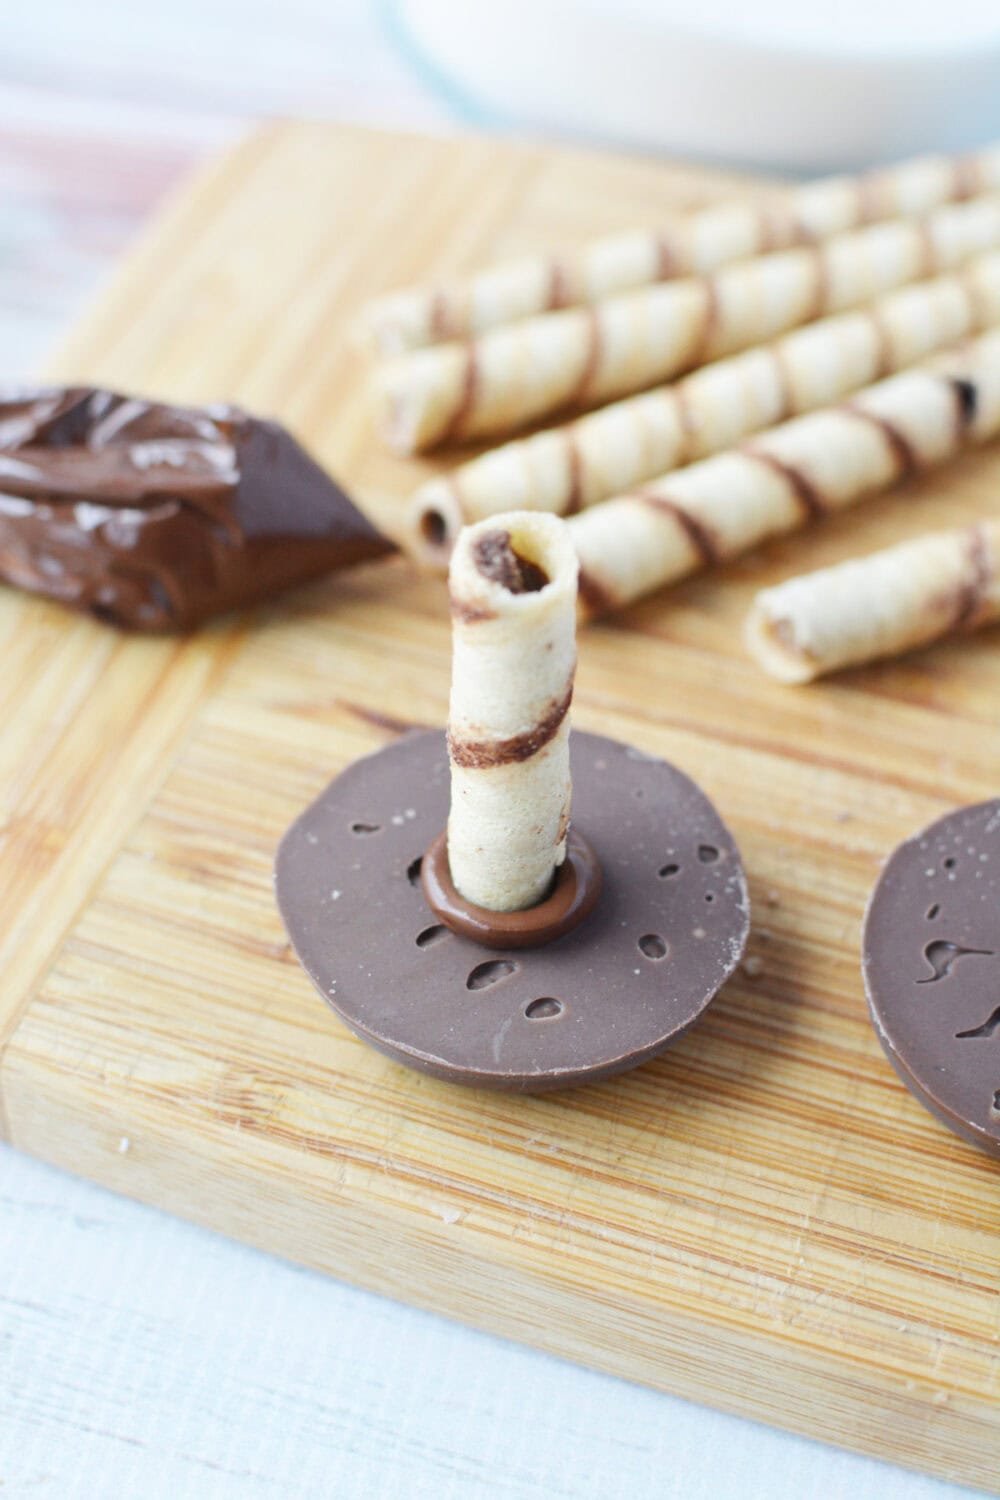
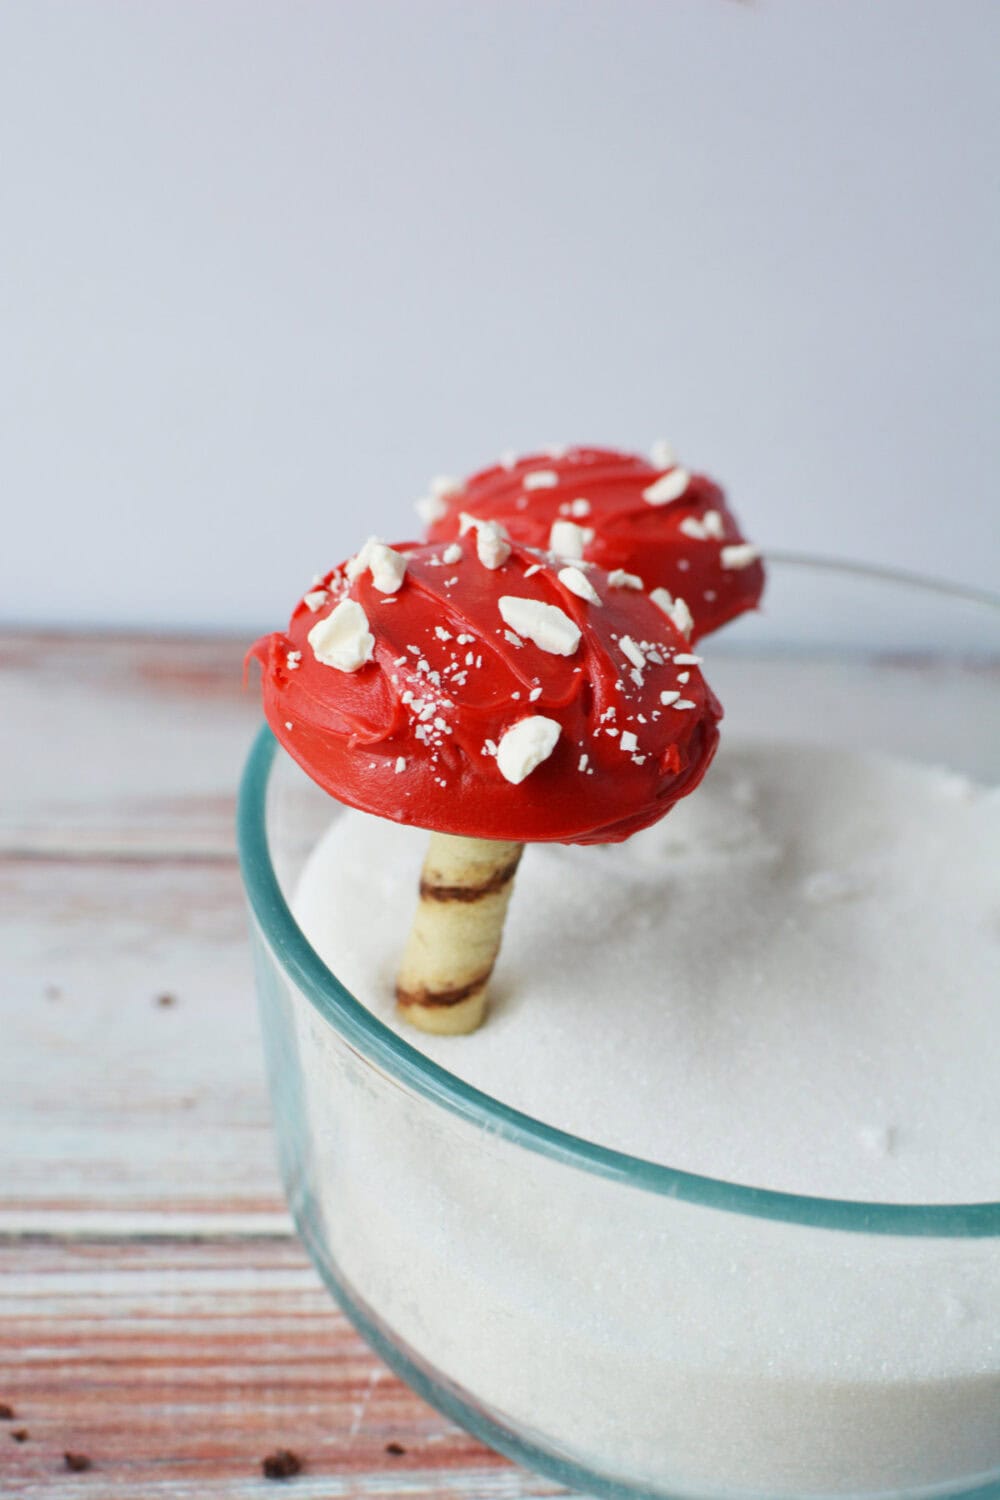
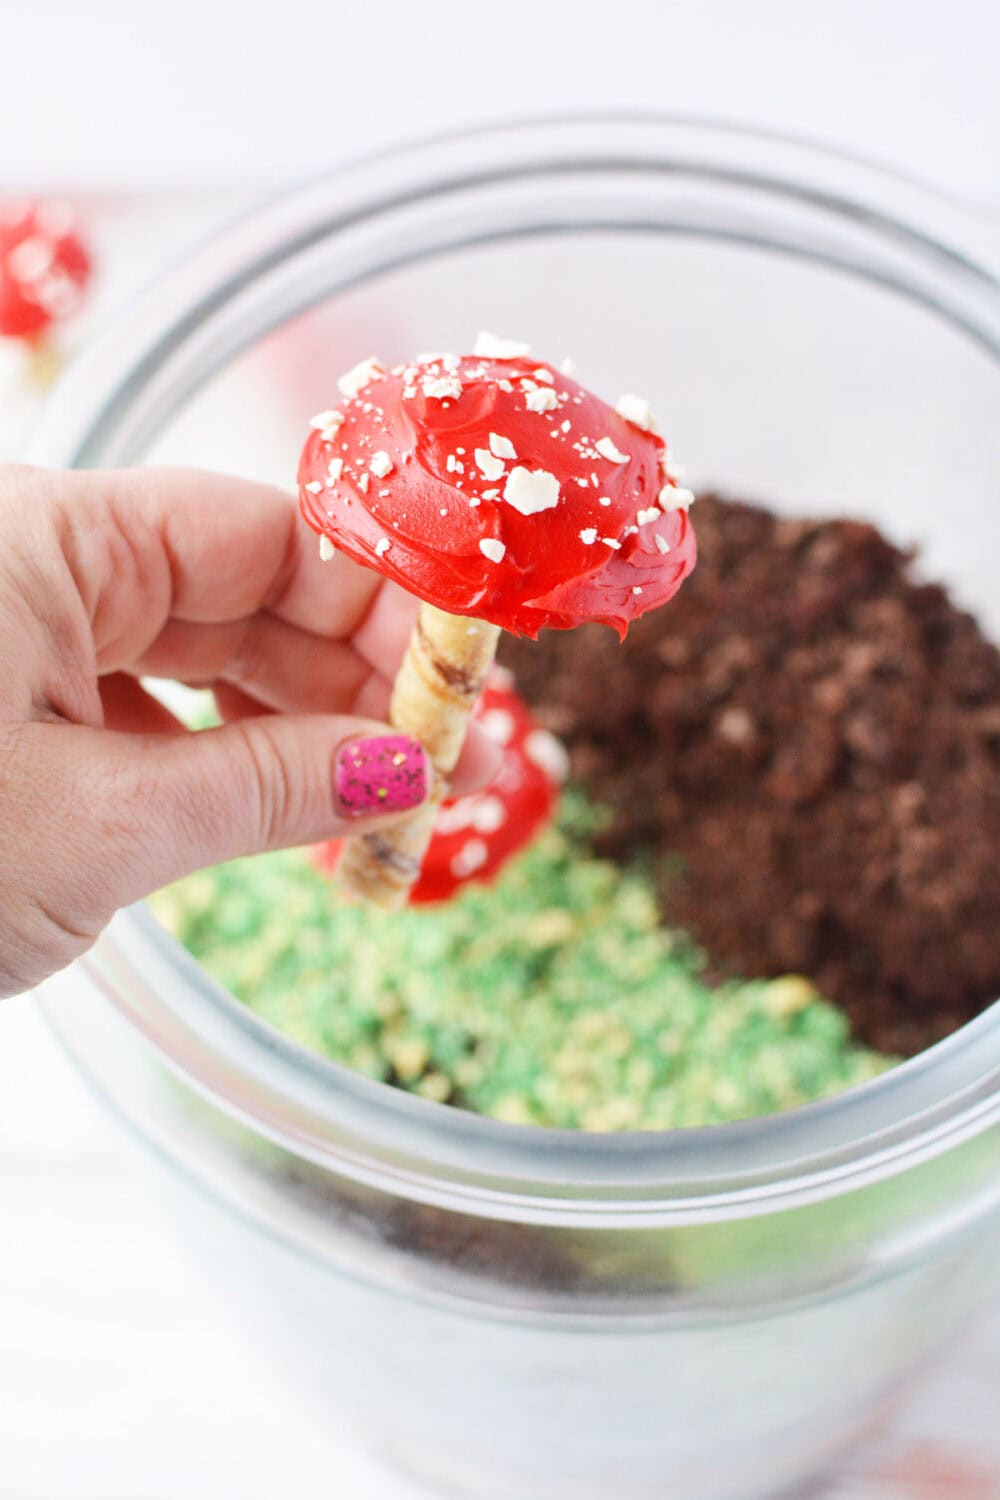
- Once firm, frost the mushrooms with red frosting and sprinkle crushed white candy melts over them to resemble spots. Set the mushrooms in a bowl of sugar to allow the icing to harden slightly.
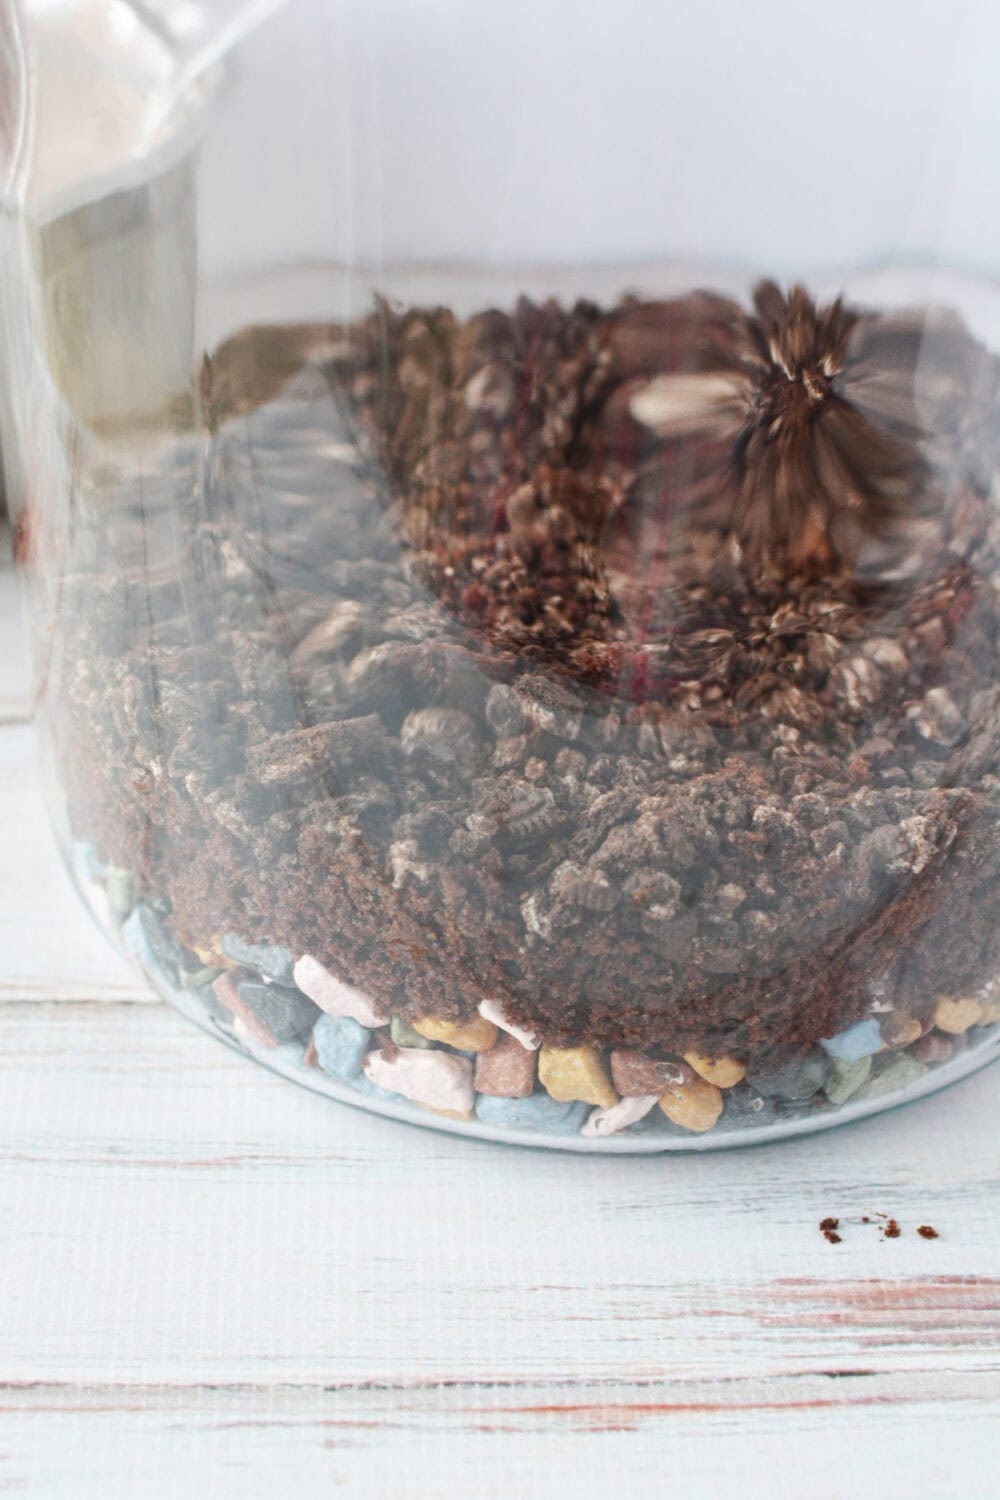
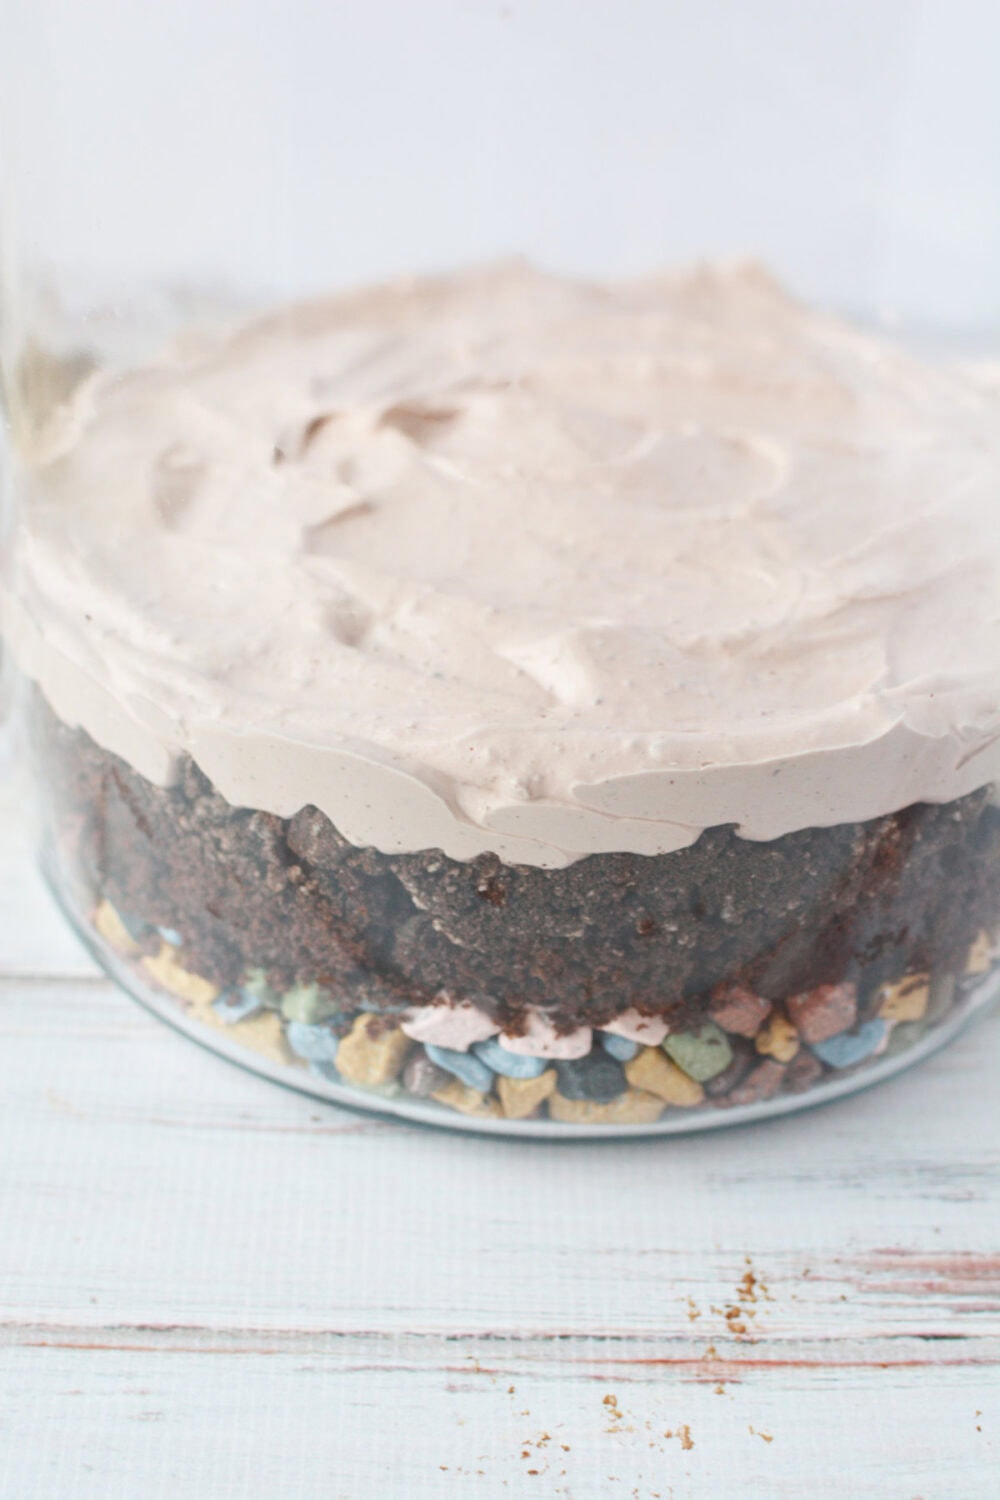
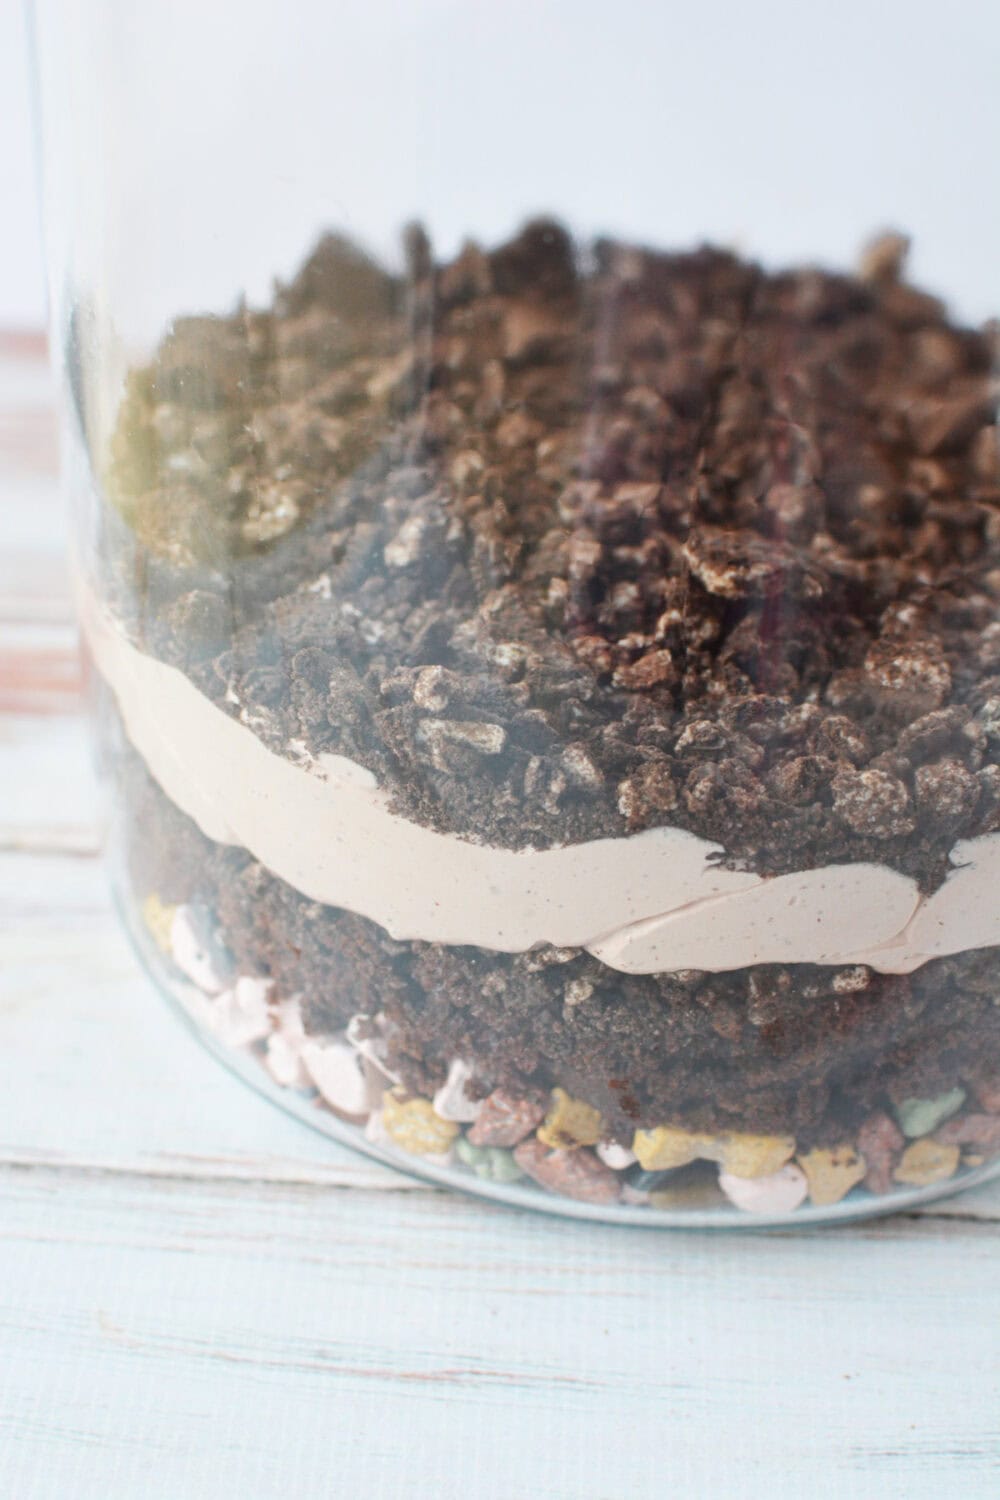
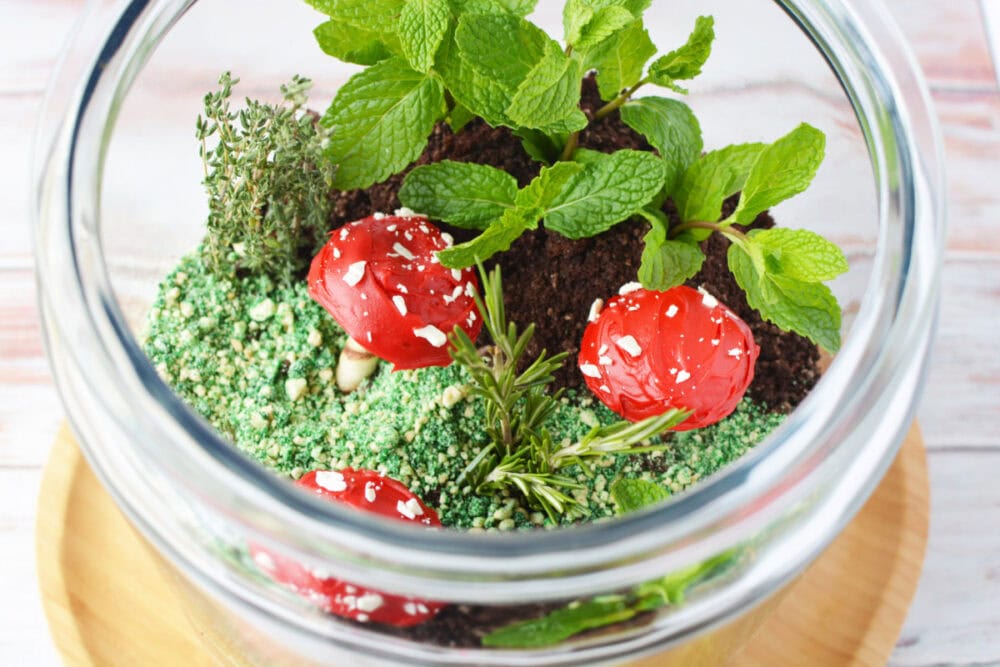
Step 7: Assemble the Terrarium
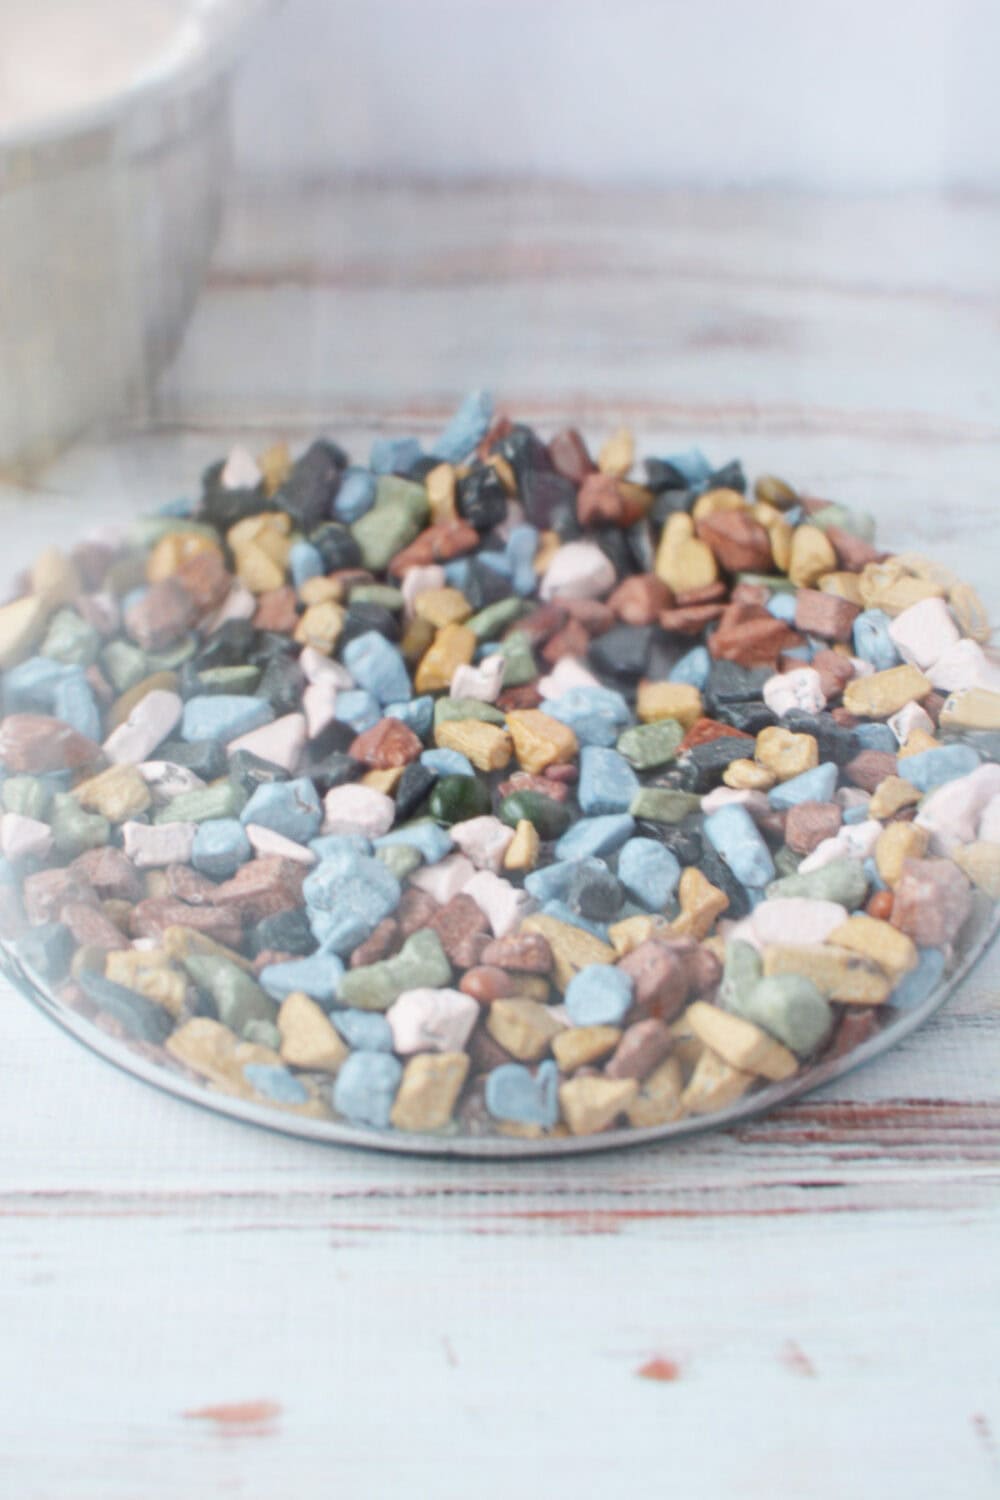
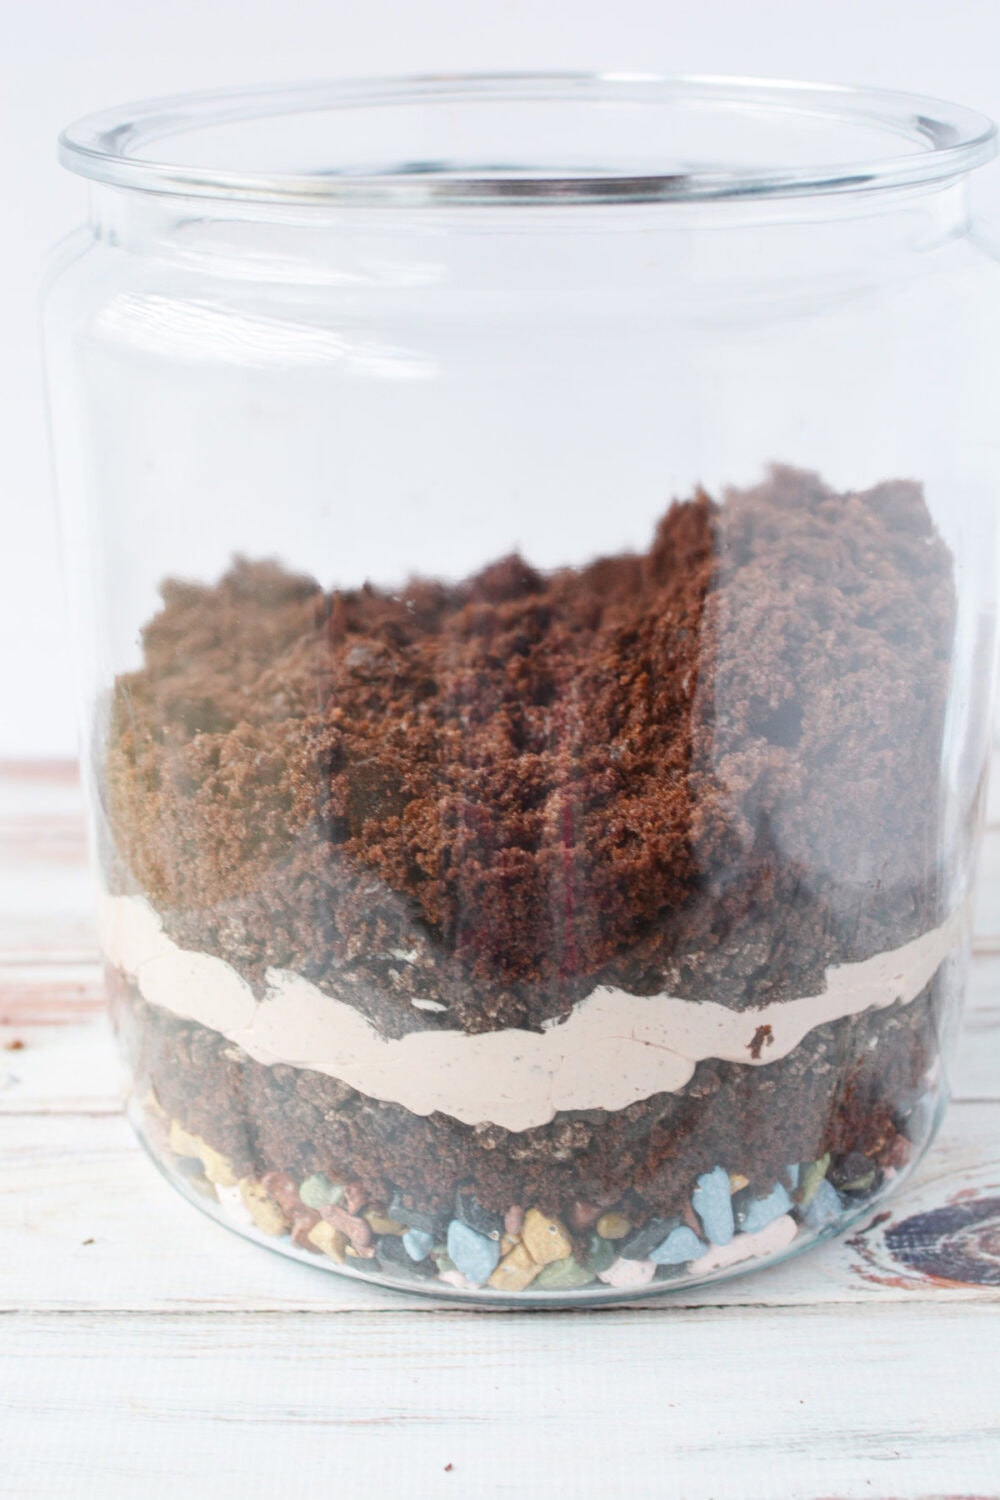
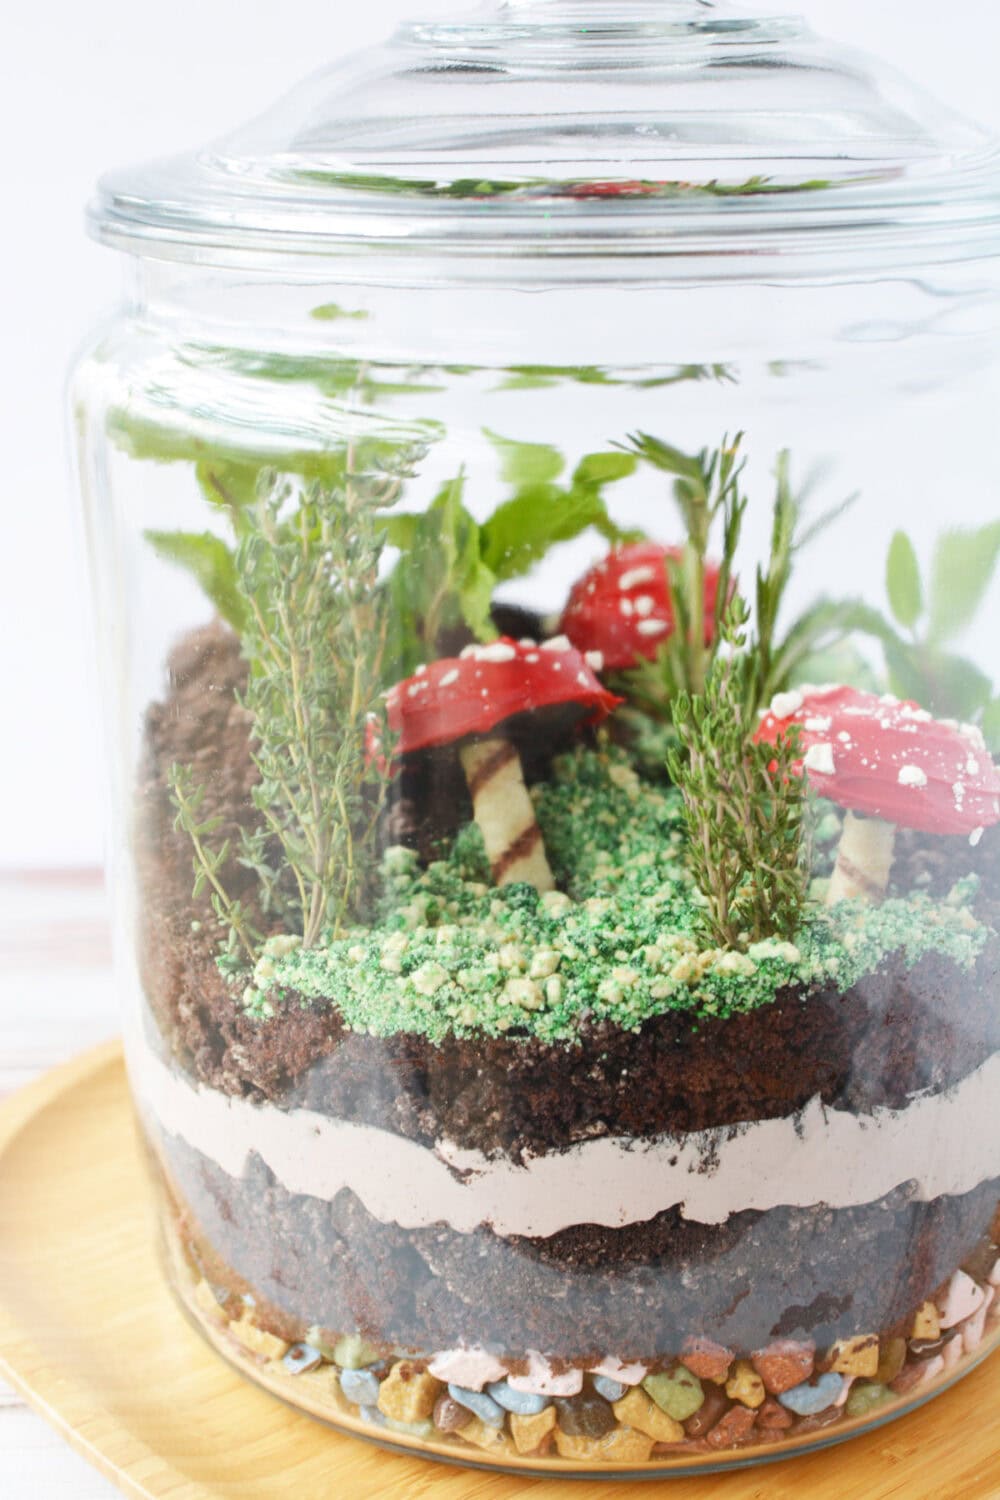
- Start by pouring chocolate rocks into the bottom of your glass jar.
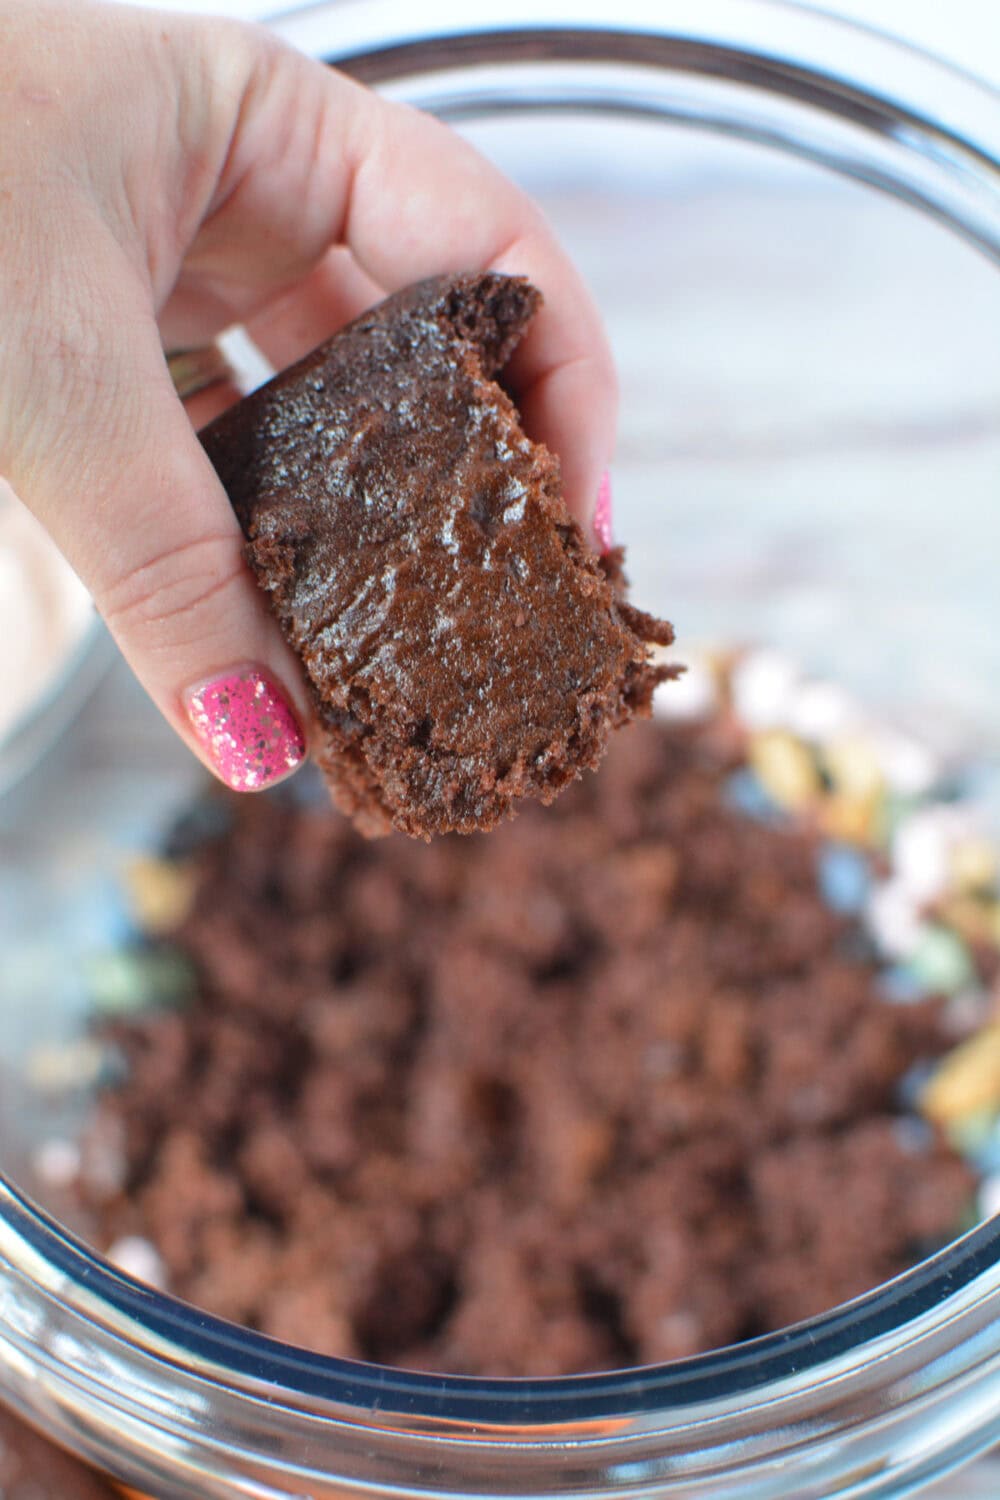
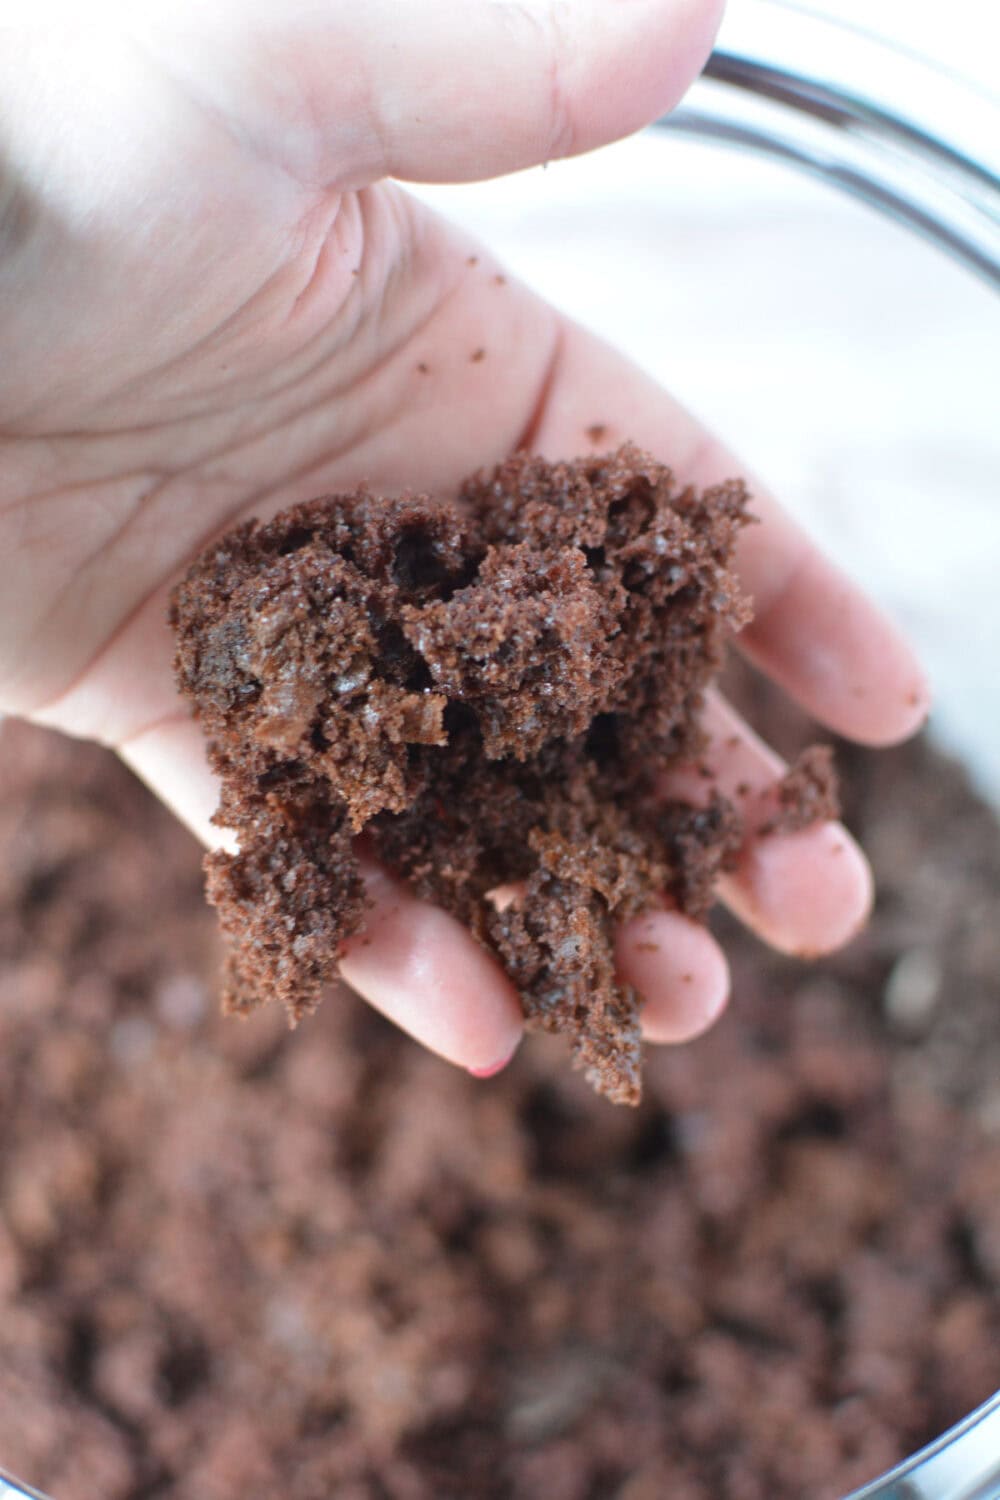
- Break the cooled cake into pieces and layer half over the rocks, pressing down to form an even base.
- Add a layer of 12 crushed Oreos, followed by a generous spread of chocolate mousse.
- Repeat with another layer of 12 crushed Oreos and the remaining cake crumbled on top.
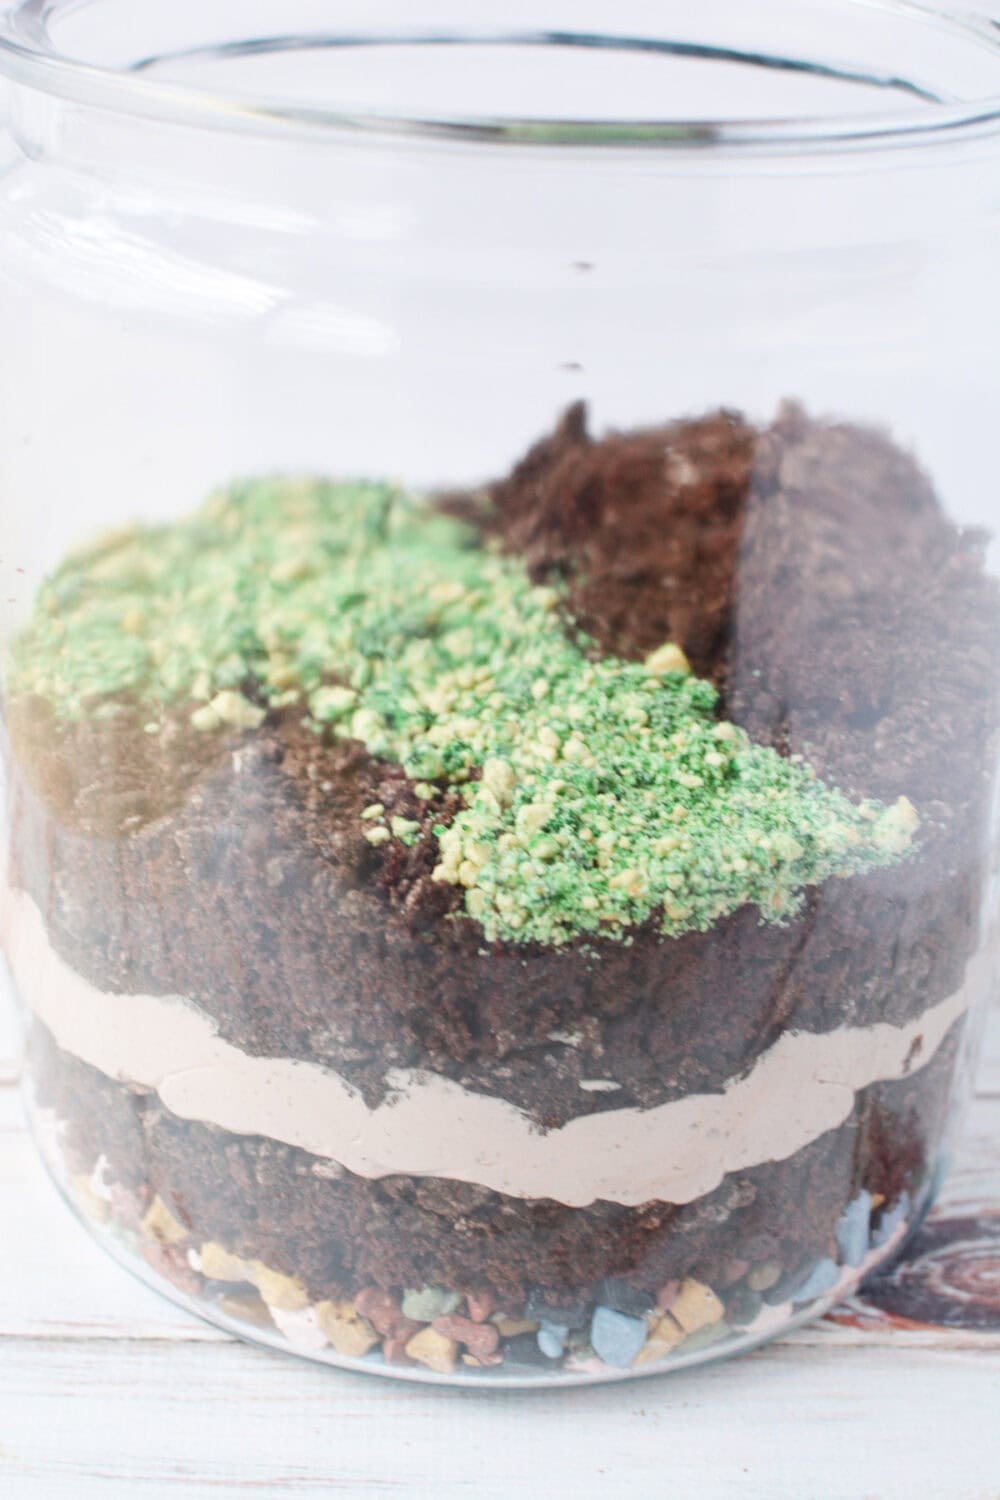
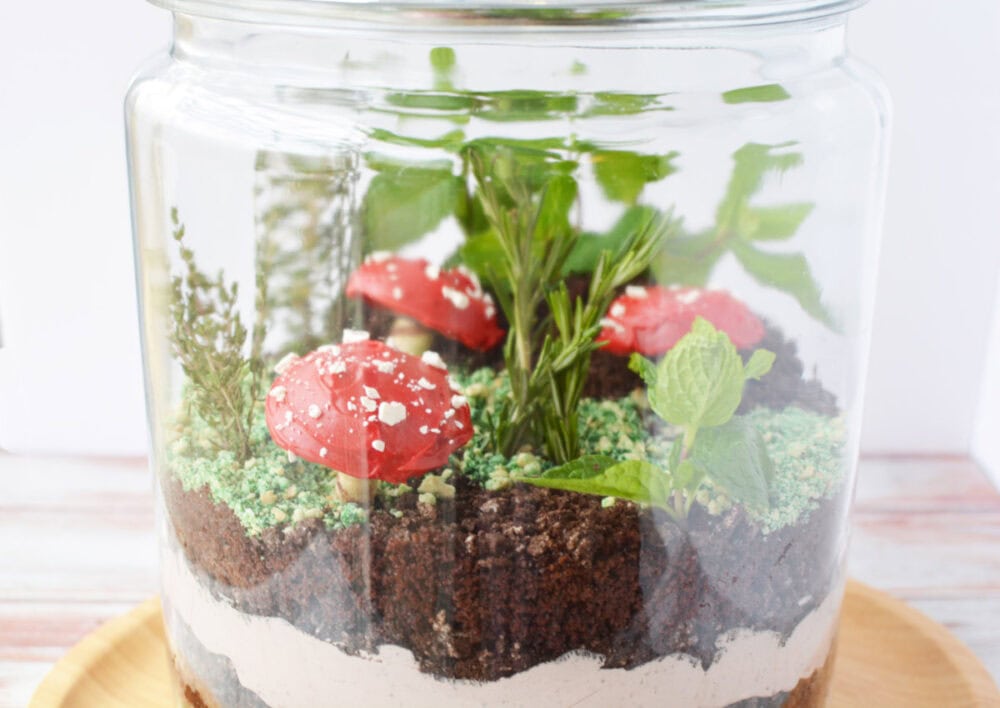
- For the top layer, finely crush 6 more Oreo cookies to create a ‘dirt’ effect, and sprinkle it over.
- Scatter the green ‘moss’ cookies over the top to add color and texture.
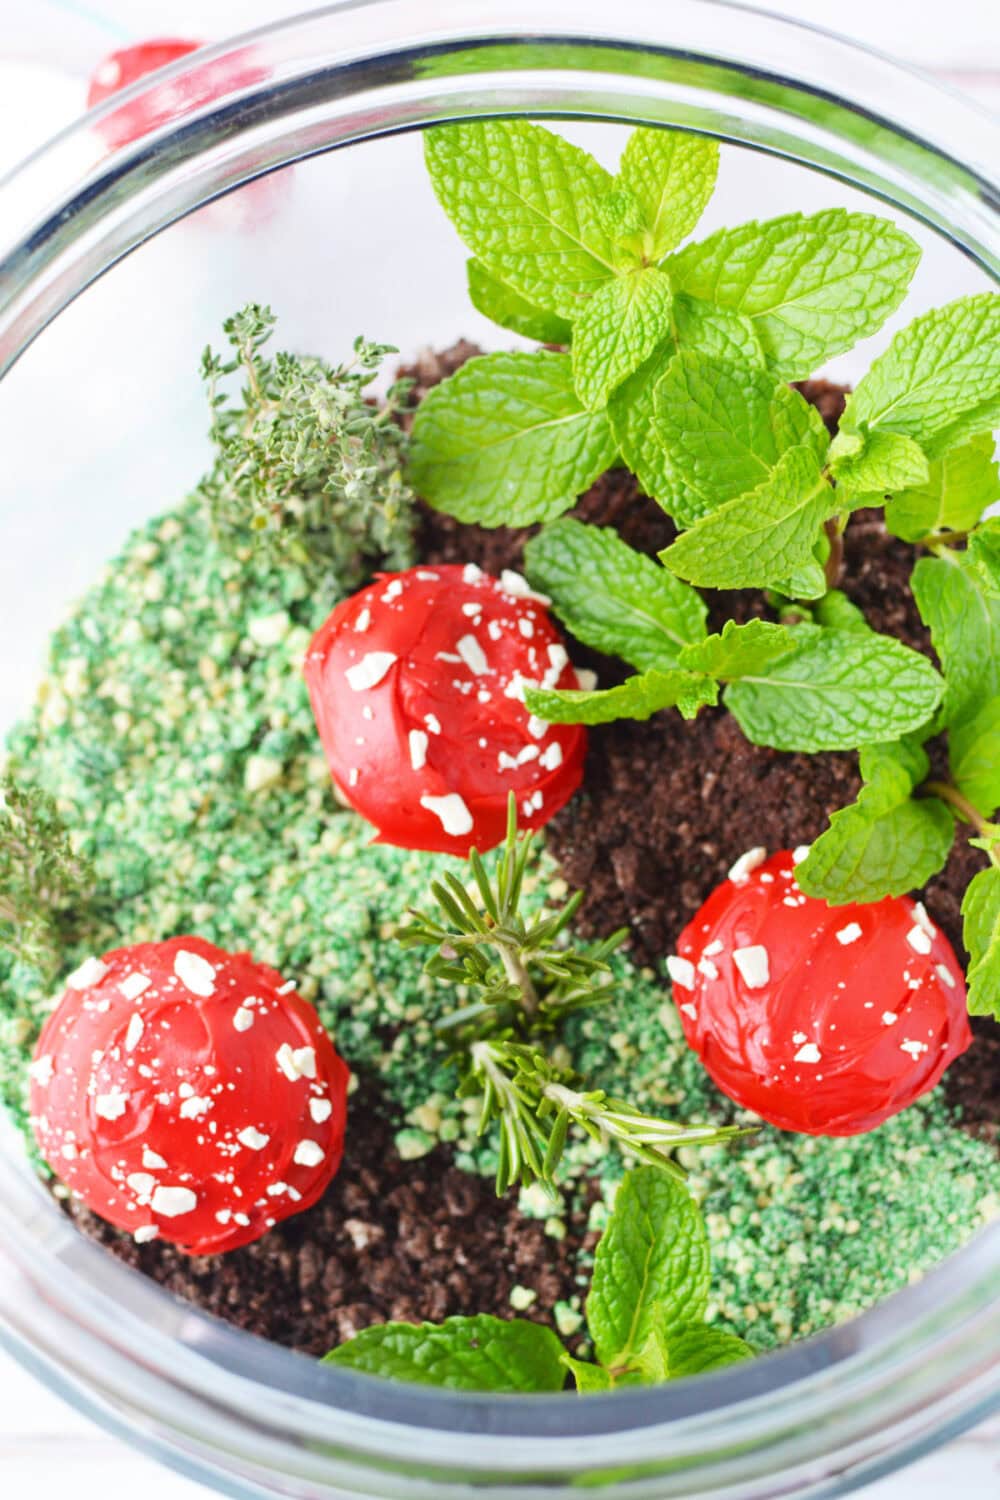
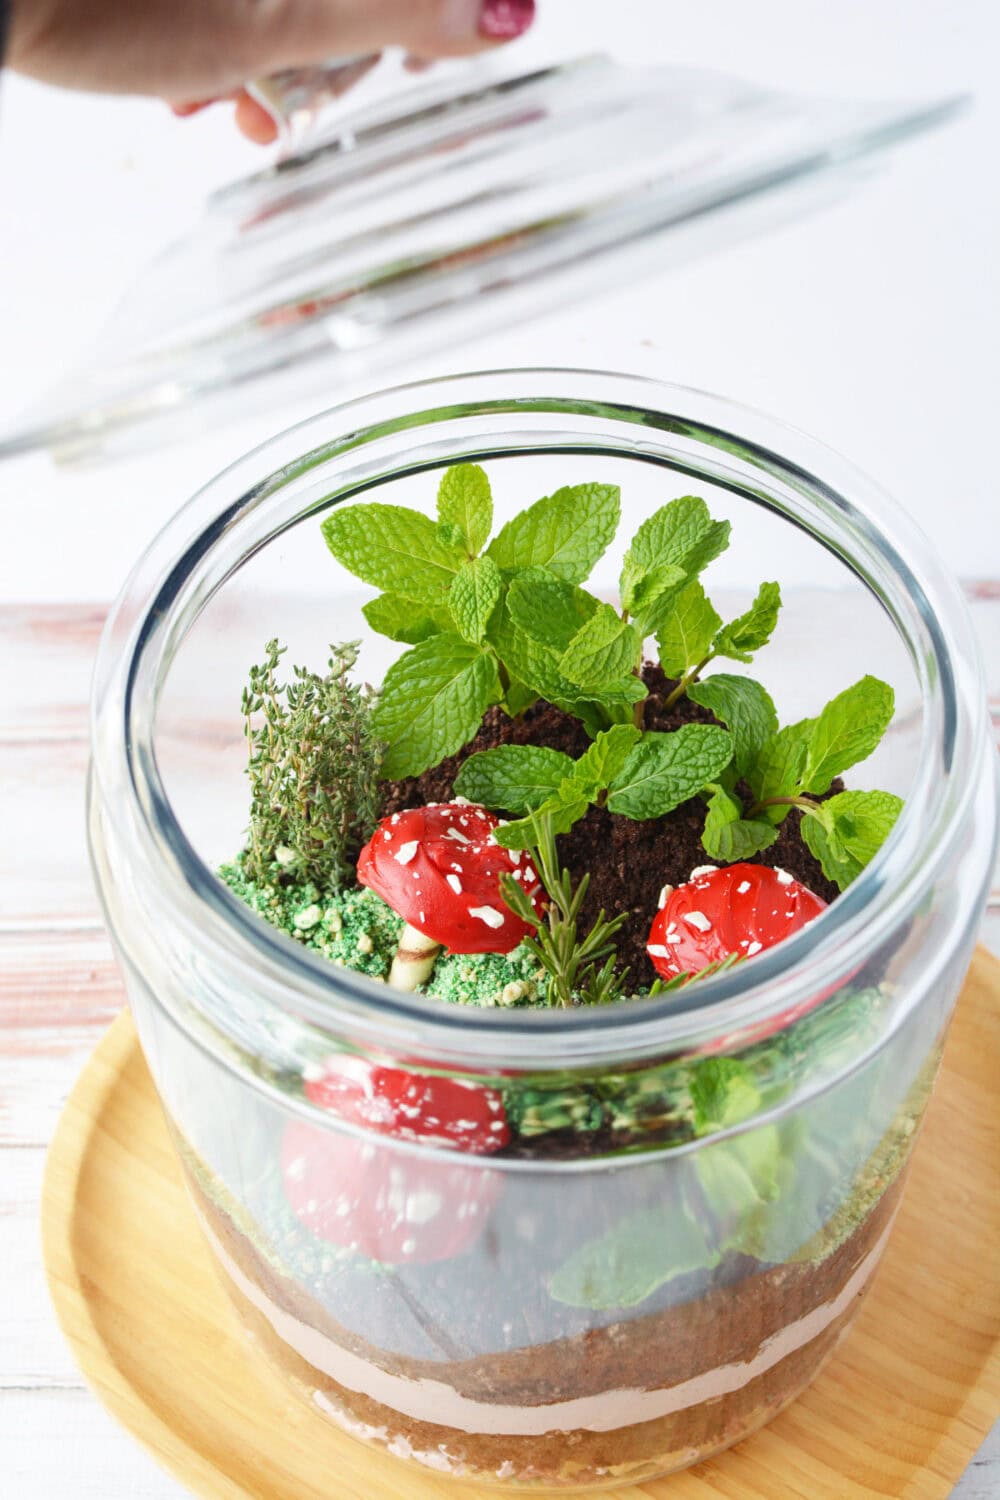
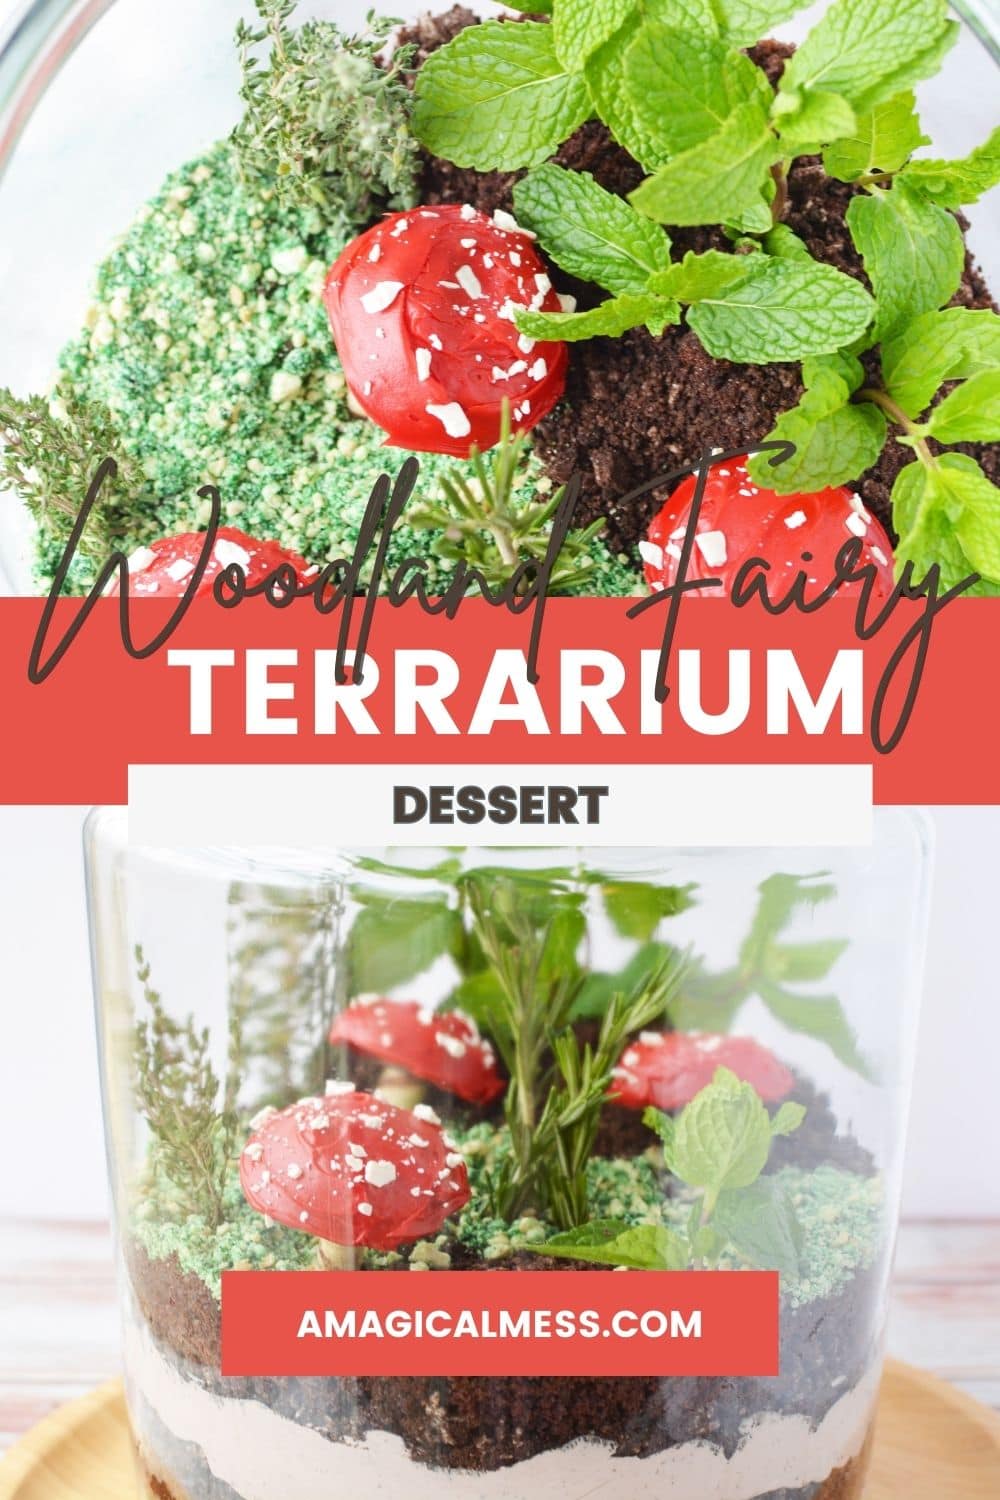
- Carefully press the chocolate mushrooms into the cake, positioning them as you like.
- Tuck fresh mint, rosemary, and thyme around the mushrooms to mimic plants.
Final Step: Chill and Serve
- Cover the terrarium and refrigerate until you’re ready to serve. Pull it out of the fridge at least 10 minutes before serving to allow the glass to clear up from any condensation.
If you’re looking for more woodland-themed desserts, we have several on the blog. Try these Magical Toadstool Cupcakes, Fairy Door Cookies, and Fairy Shortbread Bites.
Substitutions and Variations
- Switch the Chocolate Cake: Use a vanilla or red velvet cake instead of chocolate to change the base flavor and look.
- Different Cookies: Swap Oreo cookies for graham crackers or chocolate chip cookies for a different texture or taste in the layers of dirt.
- Add Candy Clay: For more decorative elements, use candy clay to create edible
succulents and add more detail to your terrarium. - Experiment with Candy Rocks: Mix different types and colors of candy rocks to change the terrarium’s appearance.
- Play with Herbs: Use different fresh herbs like basil or edible flowers for new flavors and looks.
Used in this Recipe:
Storage
Any leftovers should be stored covered in the refrigerator. It’s best to eat them within two days, as the layers of cookie dirt and pudding will start to get soggy.
Recipe FAQ
Can I make this dessert ahead of time?
Yes, you can assemble the terrarium a day ahead, but add the final touches like mushrooms and herbs on the day of serving to keep them fresh.
How do I keep the layers distinct?
Make sure each layer is firm and set before adding the next one, and use a light hand when spreading to avoid mixing.
How many people does this serve?
This dessert can feed 12-16 people, making it great for larger gatherings.
Tips & Tricks
- Add Decorations on the Day: Place mushrooms and herbs on the day you serve. This keeps them fresh and standing tall.
- Watch Herb Flavors: To avoid herbs flavoring the cake, use them sparingly or keep them away from moist areas.
- Clear Up Fog: Let the terrarium sit outside the fridge for 10 minutes before serving to clear up any fog on the glass.
- Secure Your Layers: Press the first layer of cake firmly into the rocks to stabilize the dessert.
- Play with Colors: Use colorful frosting and candy for a more whimsical terrarium.
Edible Terrarium
Equipment
This post contains affiliate links. As an Amazon Associate, I earn from qualifying purchases at no extra cost to you.
Ingredients
- 15.25 oz chocolate cake mix (plus oil, water, and eggs as needed for the cake)
- 1 lb chocolate rocks
- 3.9 oz instant chocolate pudding
- 2 cup milk
- 8 oz whipped topping thawed
- 30 Oreo cookies
- 6 Golden Oreo cookies
- Green food coloring
- Chocolate-covered peanut butter fudge cookies
- Pirouline creme filled wafers chocolate-filled
- 2 tbsp chocolate chips
- Red frosting Pillsbury Radiant Red Vanilla
- 3 white candy melts crushed
- Fresh mint
- Fresh rosemary
- Fresh thyme
Instructions
- Bake cake according to package directions making one 9×13 size or 2 rounds. Let cool completely before using.15.25 oz chocolate cake mix
- Whisk together milk and pudding and refrigerate until firm, about 5 minutes. Fold together with whipped topping to make a mousse. Set aside.3.9 oz instant chocolate pudding, 2 cup milk, 8 oz whipped topping
- Place 12 Oreo cookies into a resealable bag and seal shut. Use a rolling pin to coarsely crush cookies. Place into a bowl and set aside. Repeat, so you have 2 bowls of 12 crushed cookies.30 Oreo cookies
- Place 6 Golden Oreo cookies into a resealable bag and add 10-12 (or more) drops of green food coloring. Seal shut and knead until green, or the desired shade for moss. Set aside.6 Golden Oreo cookies, Green food coloring
- Make mushrooms by melting chocolate chips in a resealable bag. Microwave for 60 seconds on 50% power and knead until smooth, returning to the microwave in 30-second increments at 50% power until melted and smooth.2 tbsp chocolate chips
- Cut a few chocolate creme filled wafers with a knife. Place fudge cookies face down on a flat surface. Add a dollop of melted chocolate and gently press the creme filled wafers into the chocolate to create a stem. You may need to hold the wafer for a minute or two until the chocolate begins to harden. Repeat for the desired number of mushrooms and refrigerate until firm, about 10 minutes.Pirouline creme filled wafers, Chocolate-covered peanut butter fudge cookies
- Remove mushrooms from the fridge and frost with red frosting and sprinkle with bits of white candy pieces. Place into a bowl filled with sugar for icing to harden a bit.Red frosting, 3 white candy melts
- To assemble the terrarium: Pour rocks into the bottom of the glass jar.1 lb chocolate rocks
- Cut cake in half and break apart with your fingers and sprinkle on top of the rocks. Gently press into an even layer.
- Top with the 12 crushed Oreos followed by the mousse. Top with remaining 12 crushed Oreos and half of cake, crumbling as you add the layer. If desired, add a few taller "cubes" of cake, to make some dimension within your terrarium.
- Finely crush 6 Oreo cookies and sprinkle on top to create dirt.
- Sprinkle green moss in any pattern you'd like on top of the cookies.
- Add mushrooms, the easiest way to do this is to put them between your fingers as shown and press them into the cake. The frosting, usually thick, doesn't completely harden, and this is the easiest way to press them into the cake without damaging them.
- Tuck in fresh herbs to create plants. Cover and refrigerate until ready to serve.Fresh mint, Fresh rosemary, Fresh thyme
Notes
Nutrition
Don’t forget to pin this for later!
Woodland Fairy Vibes
No posts
No posts
Please let me know if you make this edible terrarium. Tag me on social media with your creations! Don’t forget to subscribe to the blog for more fun recipes.
Feel free to leave a comment with your experience or any questions.