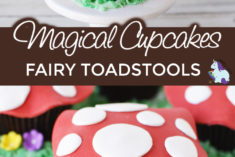
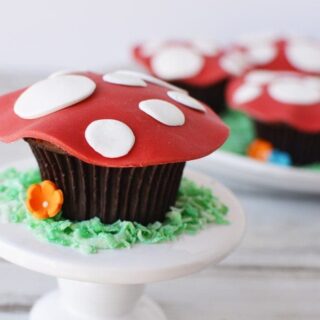
Magical Toadstool Cupcakes
These toadstool cupcakes transport me right into a magical mental place between Wonderland and Super Mario 3D World. It’s a place where I want to sip tea while I throw turtle shells at a random passersby.
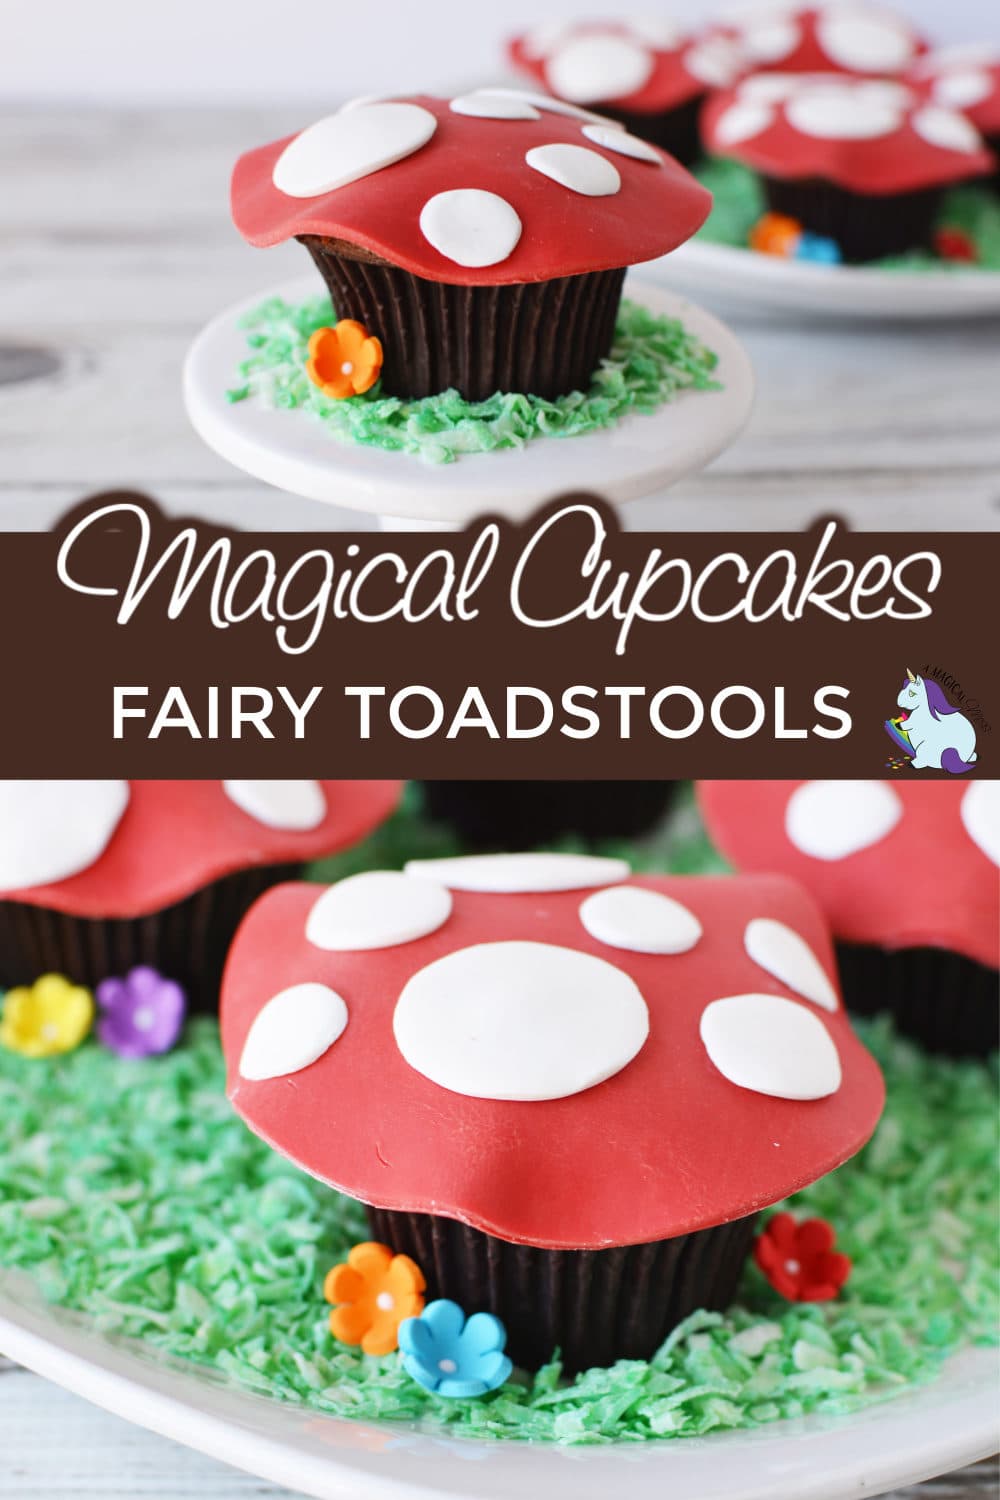
Whimsical Toadstool Cupcakes
Perhaps I’m a bit strange. However, these fantastical treats are great for themed parties, showers, weddings, or just for fun. If you’re looking to make an event or ordinary day more magical, consider making these cupcakes!
If you’ve never worked with candy clay before, have no fear, it’s surprisingly simple. Plus, kids will love working with it! Gloves are optional as the color will wash off your hands.
More Magical Recipes to Make
- Easy to make fairy bread
- Fairy toadstool donut holes
- Magical unicorn donut holes
- Fairy toadstool trifle
- Woodland fairy edible terrarium
Toadstool Cupcakes
Equipment
- Rolling Pin
This post contains affiliate links. As an Amazon Associate, I earn from qualifying purchases at no extra cost to you.
Ingredients
- 12 chocolate cupcakes baked and cooled
- ½ cup chocolate frosting
- 12 oz red candy melts
- 3 oz bright white candy melts
- ½ cup corn syrup
- 1 tbsp cornstarch
- 1 cup shredded coconut
- 2 tsp water
- 10 drops green food coloring
- Edible Icing Flowers
Instructions
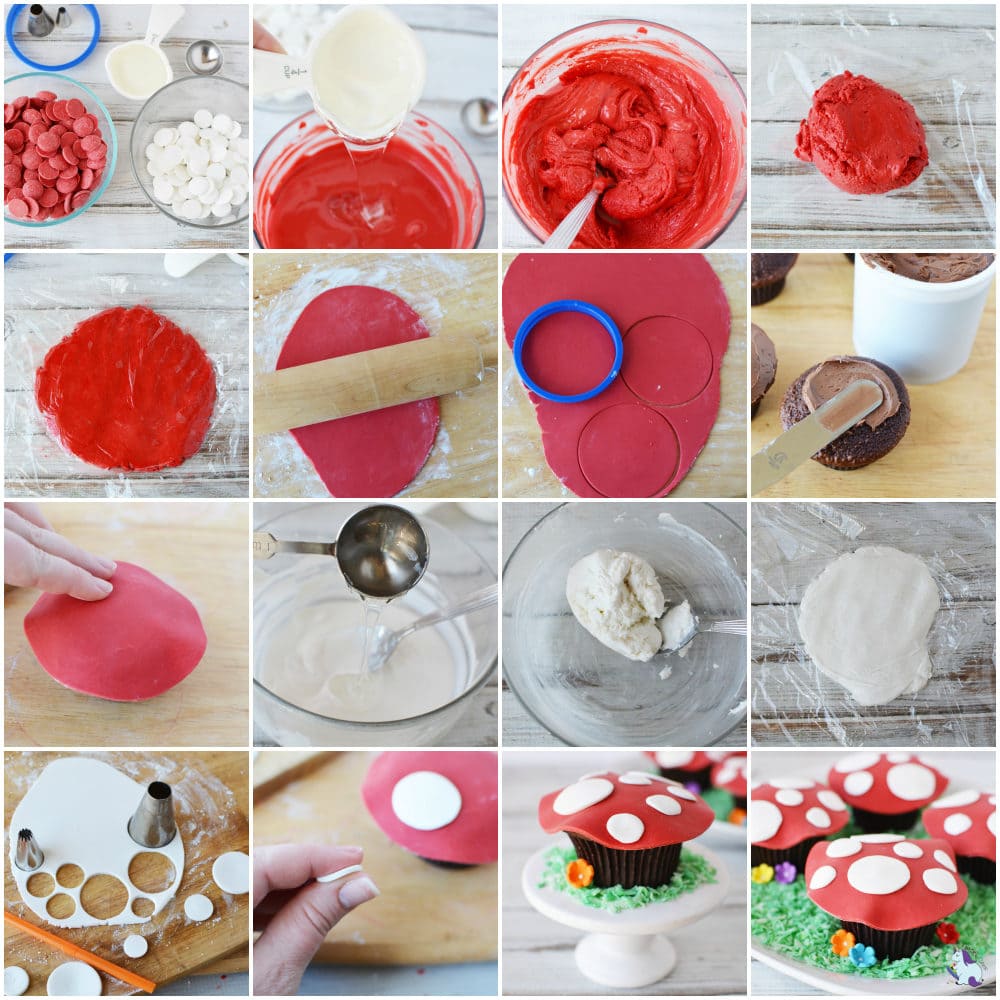
- Melt red candy melts according to package directions.12 oz red candy melts
- Stir in 1/2 cup corn syrup until a ball of clay forms.½ cup corn syrup
- Place ball of clay onto plastic wrap and press to flatten. Place another piece of plastic wrap on top and flatten to about 1/2" thick. Set aside to cool.
- Repeat with the white candy melts, adding them to a small bowl and microwaving on 50% power for 20 seconds, stirring after each interval until completely melted. Stir in 1 tablespoon corn syrup.3 oz bright white candy melts
- Frost cupcakes with a thin layer of chocolate frosting.½ cup chocolate frosting
- Remove plastic wrap from red candy clay and take half of it from the package. Knead it with your hands until soft.
- Roll onto a flat surface lightly dusted with corn starch. Roll until 1/8" thick and use a large round cookie cutter to cut rounds.1 tbsp cornstarch
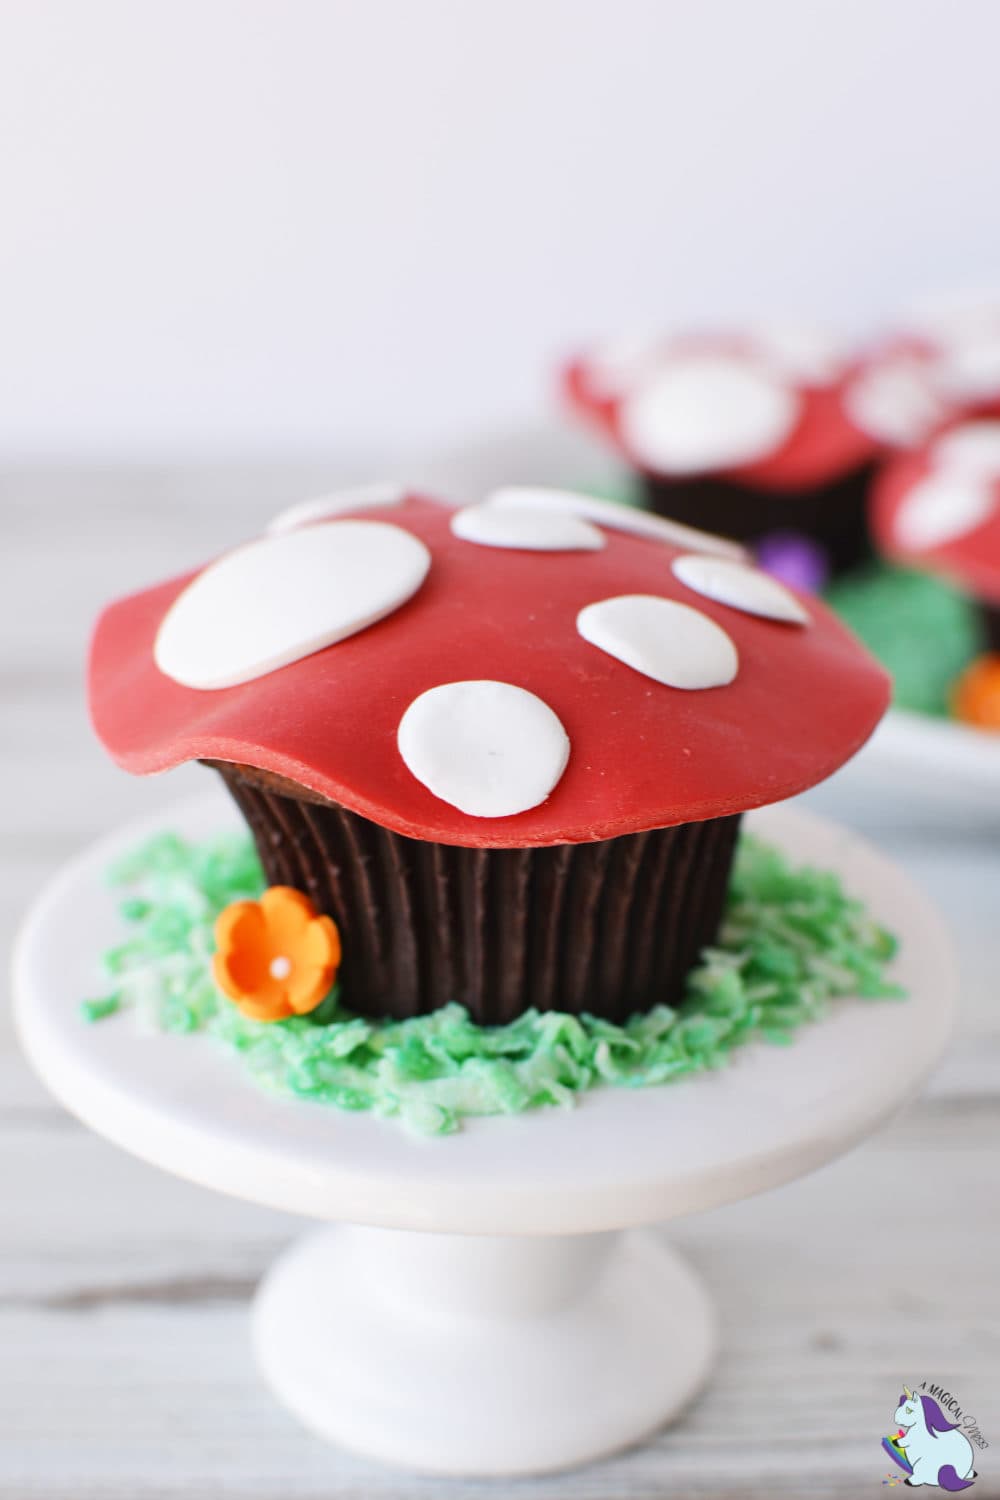
- Shape the rounds by picking them up and holding them between the palms of your hands for about 15-20 seconds. The candy clay will harden as it sets. Run your fingers around the edges of the large red circle to shape it for the top of the cupcake.
- Place on top of the cupcakes.12 chocolate cupcakes
- Roll out the white candy melts to about 1/8" thick and use a pastry tip to cut circles out of the white clay. If the clay gets stuck in the pastry tip, use a stray to gently push it out of the tip.
- Hold the circles in your fingers for them to soften and shape for the cupcake.
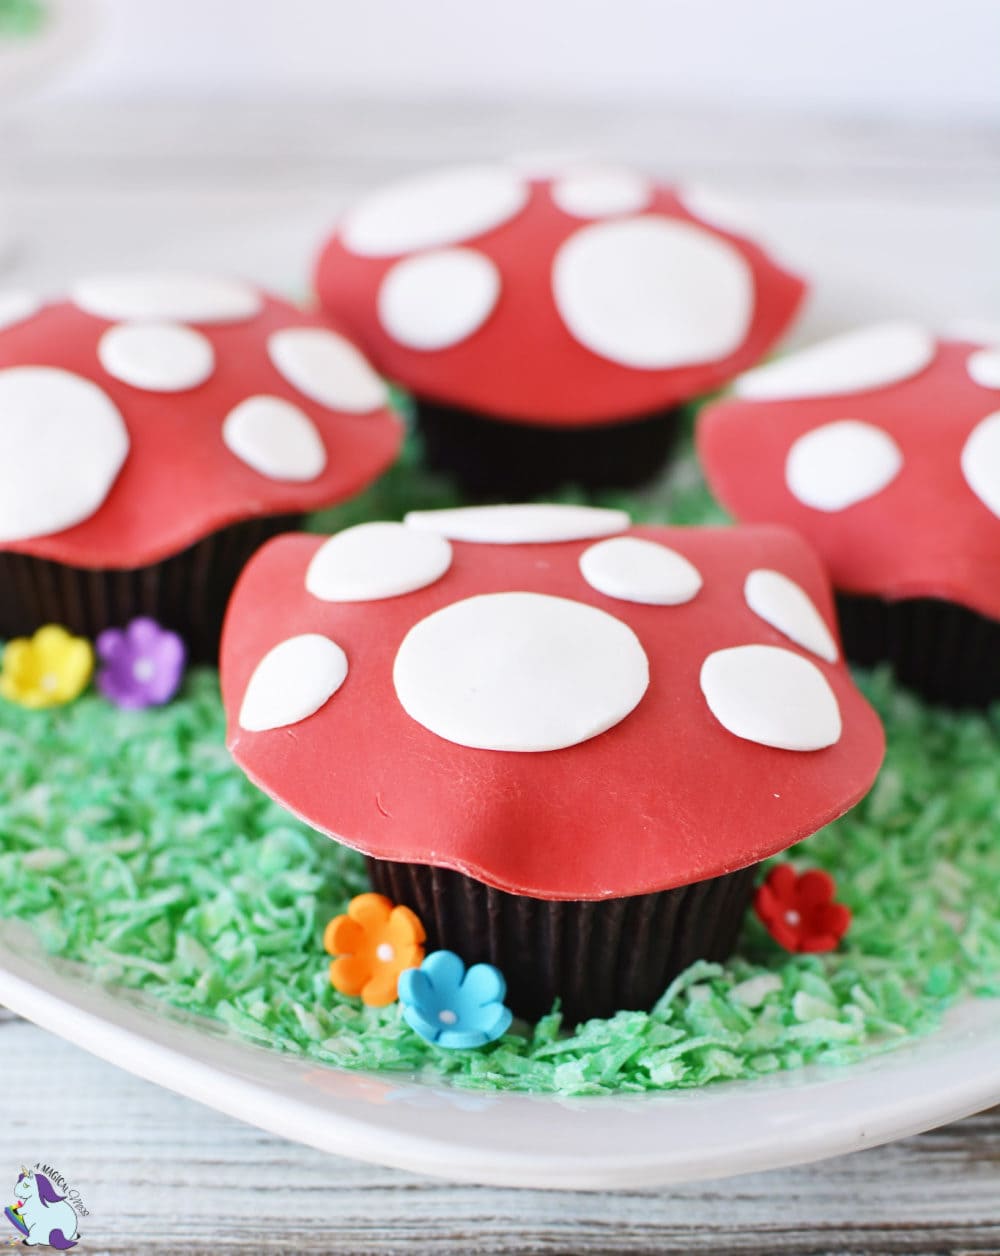
- Use a damp paper towel to wet the back of the white circle to affix it to the red on the cupcake. Continue until the cupcake is full of the desired number of circles.
- You can re-work the candy clay just like you can sugar cookie dough. Once you’ve cut your circles, add the leftover scraps of candy clay to the remaining clay and knead and roll to finish your cupcakes.
- In a small bowl, add water and food coloring. Stir.2 tsp water, 10 drops green food coloring
- Add coconut to a resealable plastic bag and pour in the colored water.1 cup shredded coconut
- Seal the bag and knead until the coconut is colored.
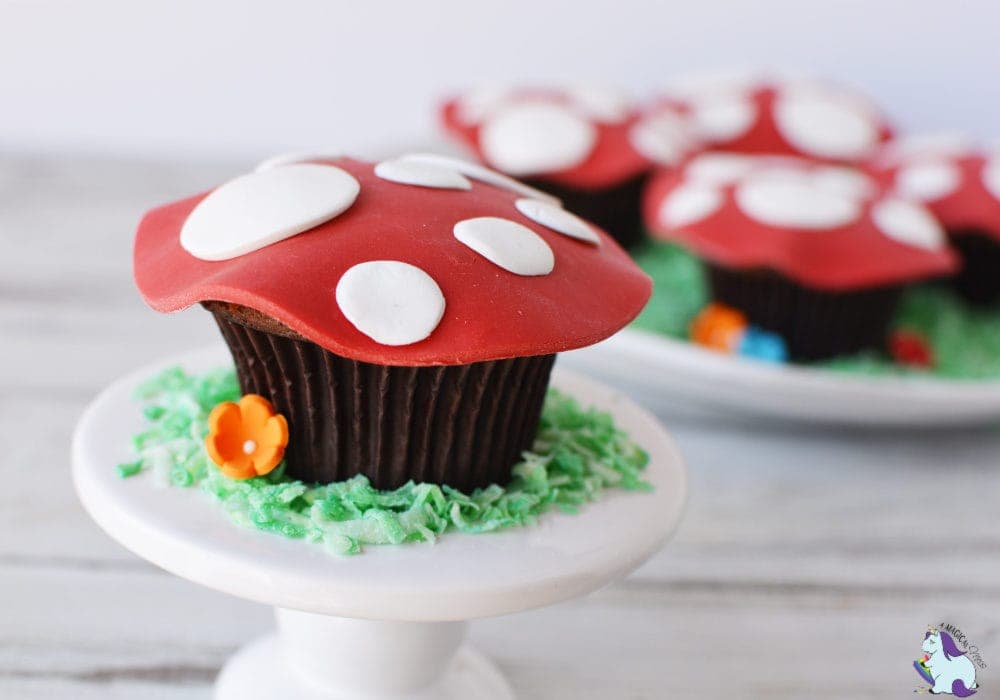
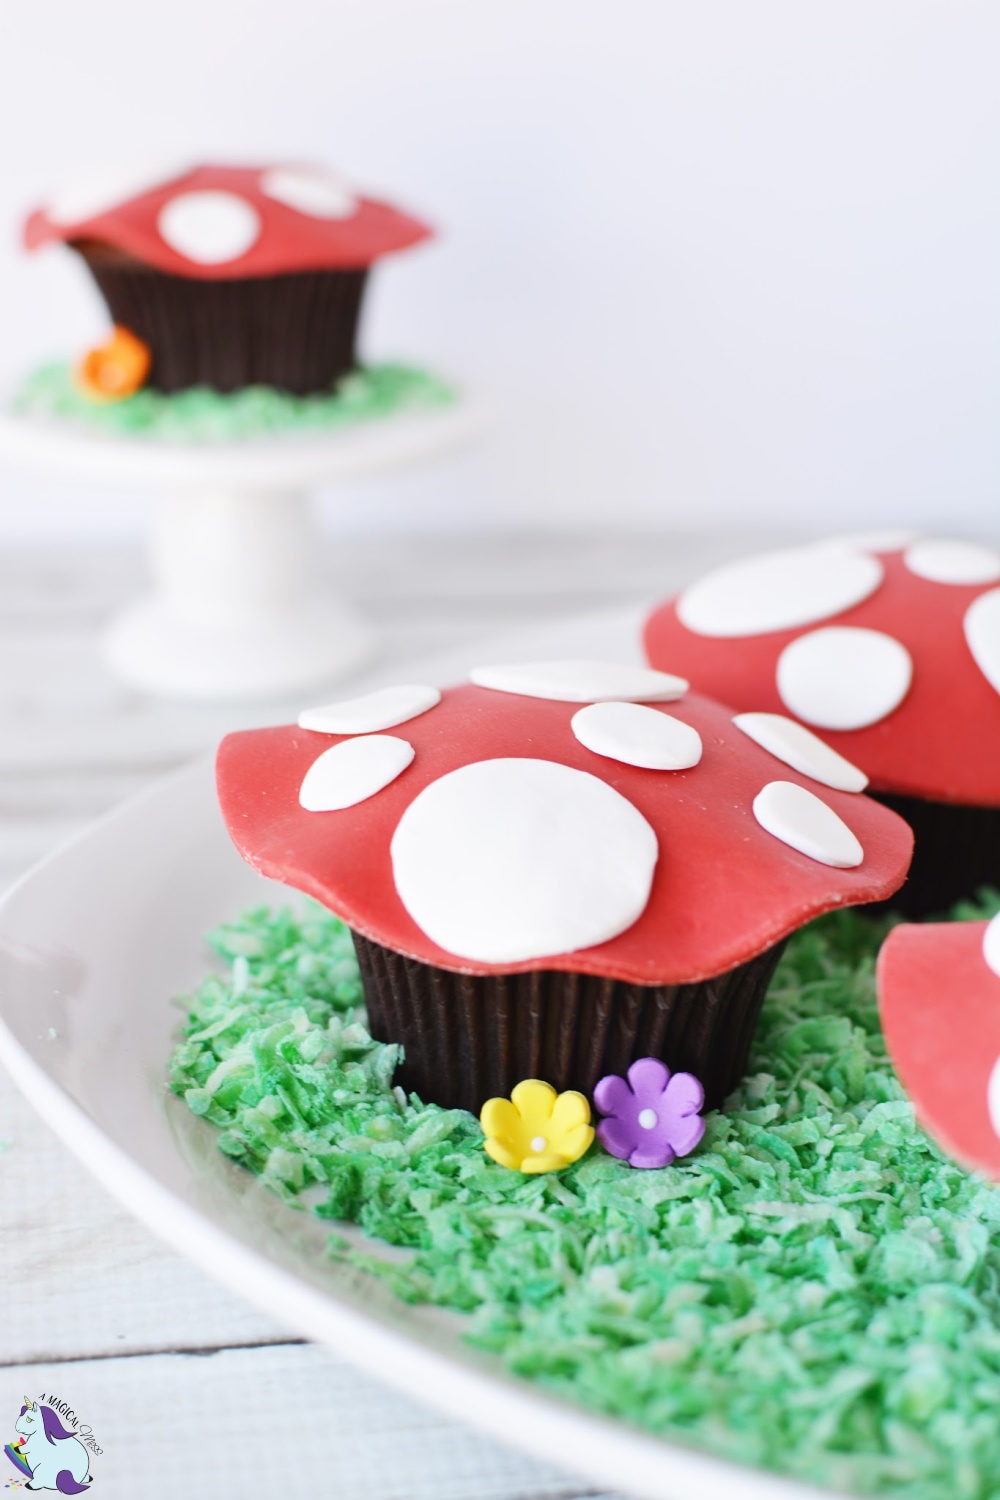
- Place the coconut onto a plate and add the cupcakes. Finish by adding flower icing decorations to the coconut before serving.Edible Icing Flowers
Video
Notes
Nutrition
These toadstool cupcakes also remind me of the time when we were creating recipes inspired by the Smurfs movie. That was fun since we both enjoyed playing with the original Smurfs during childhood. It was a trip down memory lane as we pulled out the now vintage toys from our Grandparents’ playroom.
No matter your reason for creating toadstool cupcakes, they are sure to bring out some smiles. The colorful cupcakes are creative and unique, and I think they look darn impressive!
Please tag us in any recreations. We’d love to see what you make!
Who do you know who’d love toadstool cupcakes?


These cupcakes are adorable!! They would be so cute for a fairy themed birthday party!!
These are absolutely the cutest cupcakes I have ever seen. Who would have thought a cupcake could be a toadstool that tastes good.
My daughter would enjoy making these! So cute.
These cupcakes are so cute!
I’ve never heard of candy clay before. It certainly works well for these cute cupcakes.
So cute and colorful! Love these!
The candy clay was very difficult to work with. It was extremely messy. The corn syrup that I mixed with the red candy clay did not form a ball. It was just sticky. I ended up throwing the whole thing away. I’ve never done that with a recipe before.