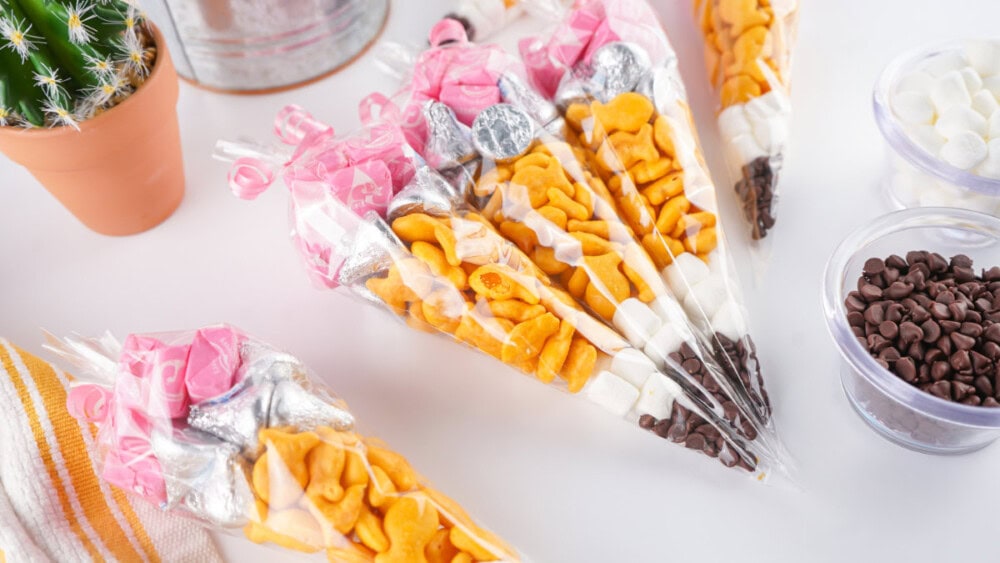
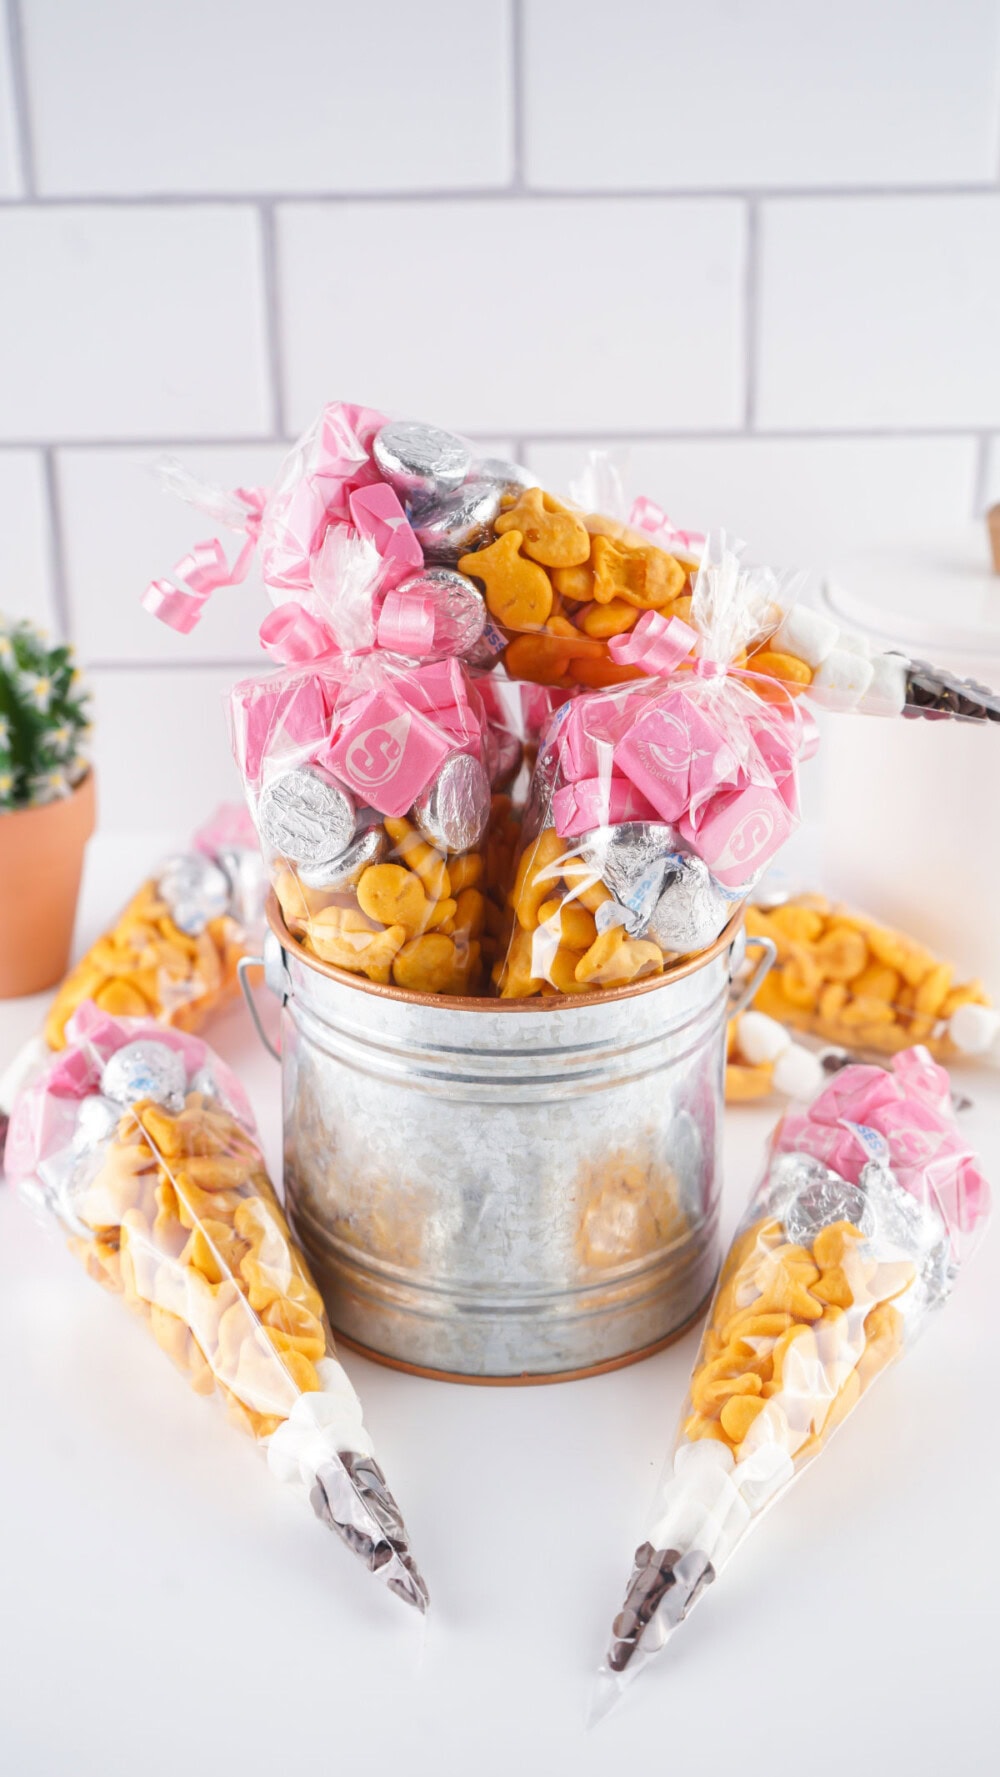
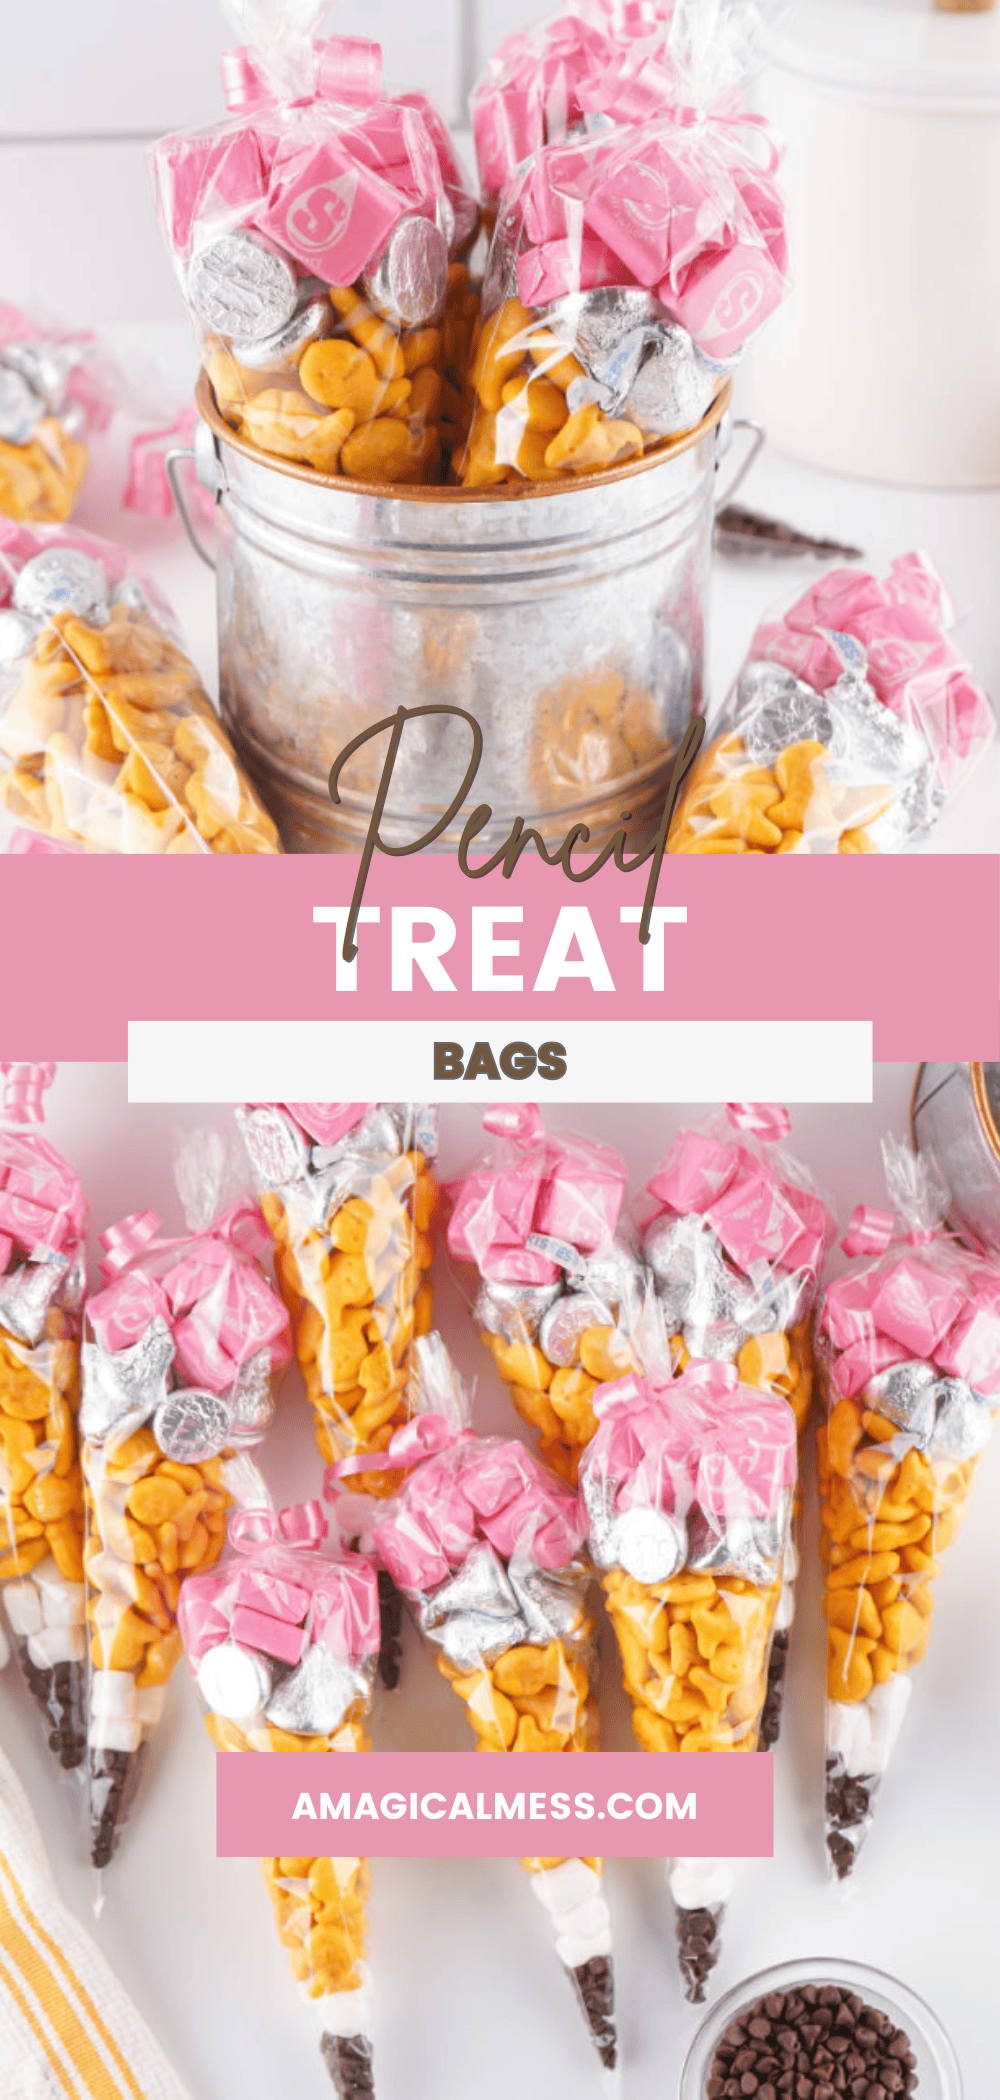
Cute DIY Pencil Treat Bags for Back to School
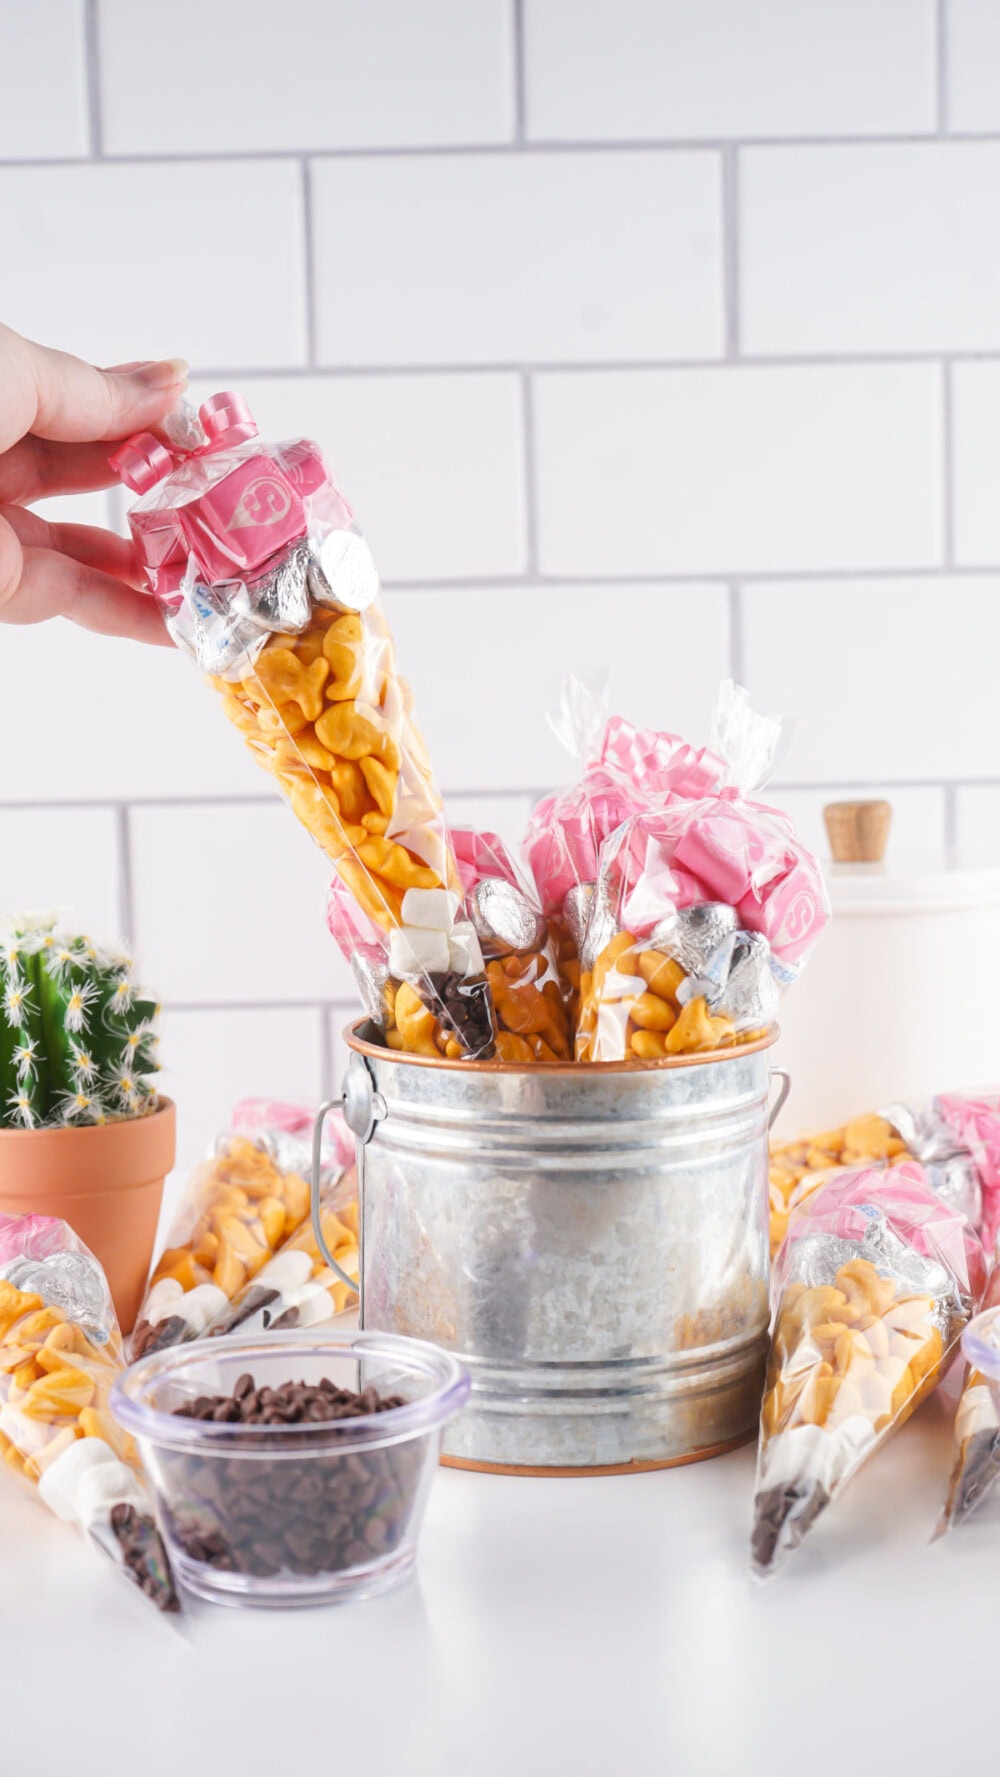
Making these DIY pencil treat bags is a fun way to kick off the school year. These cute snack bags shaped like pencils are perfect for giving as teacher gifts or as a surprise for the kids to get them excited to go back to school. This post contains affiliate links.
You can put these little goody bags together in minutes using simple supplies. Use them as party treats or just as an after-school snack option. I think they’d also be cute to serve at book clubs, teacher retirement parties, and graduation parties.
Fun Treat Bags to Make for Back to School
Back to school season can fire up all sorts of feelings. I remember that churning mix of excitement, nervousness, and all kinds of contradicting emotions heading back to school!
My Gram, being the most empathetic human ever, would always find a way to make every milestone throughout the year more fun. I know darn well she would have made these pencil candy treat bags to help ease the first-day jitters.
What you’ll love about this project:
Be sure to check out the full how-to and material list below
Just simple materials
Directions
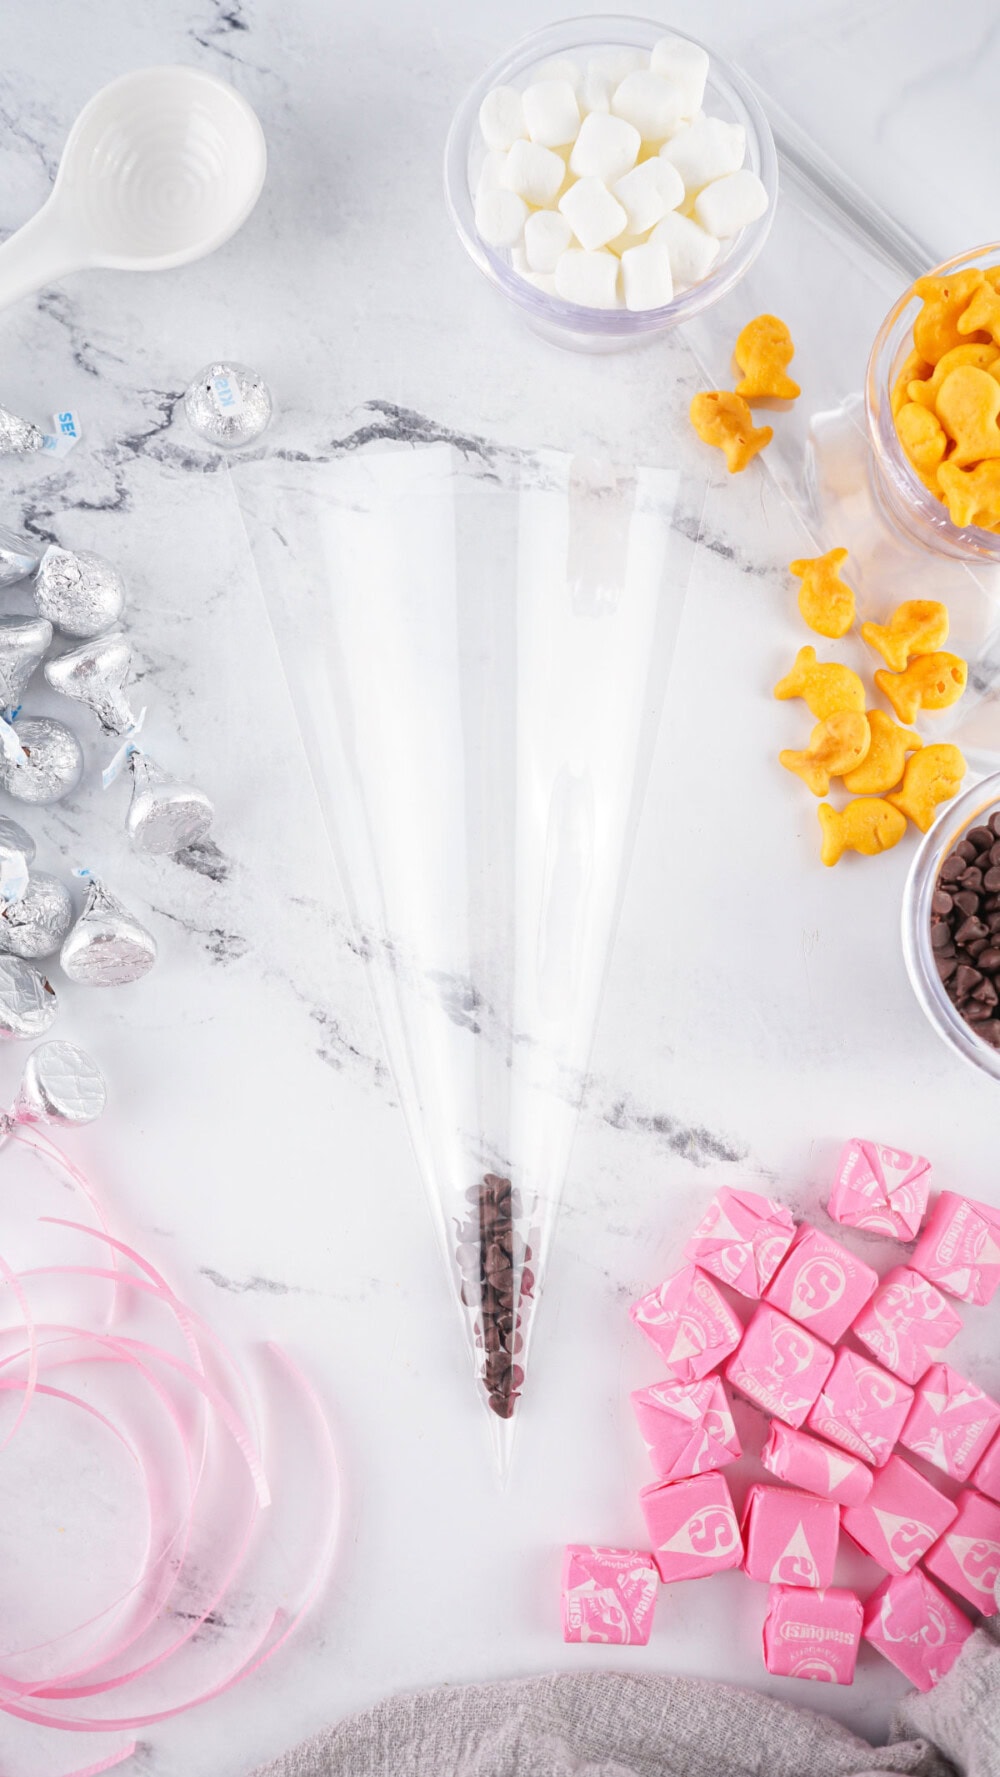
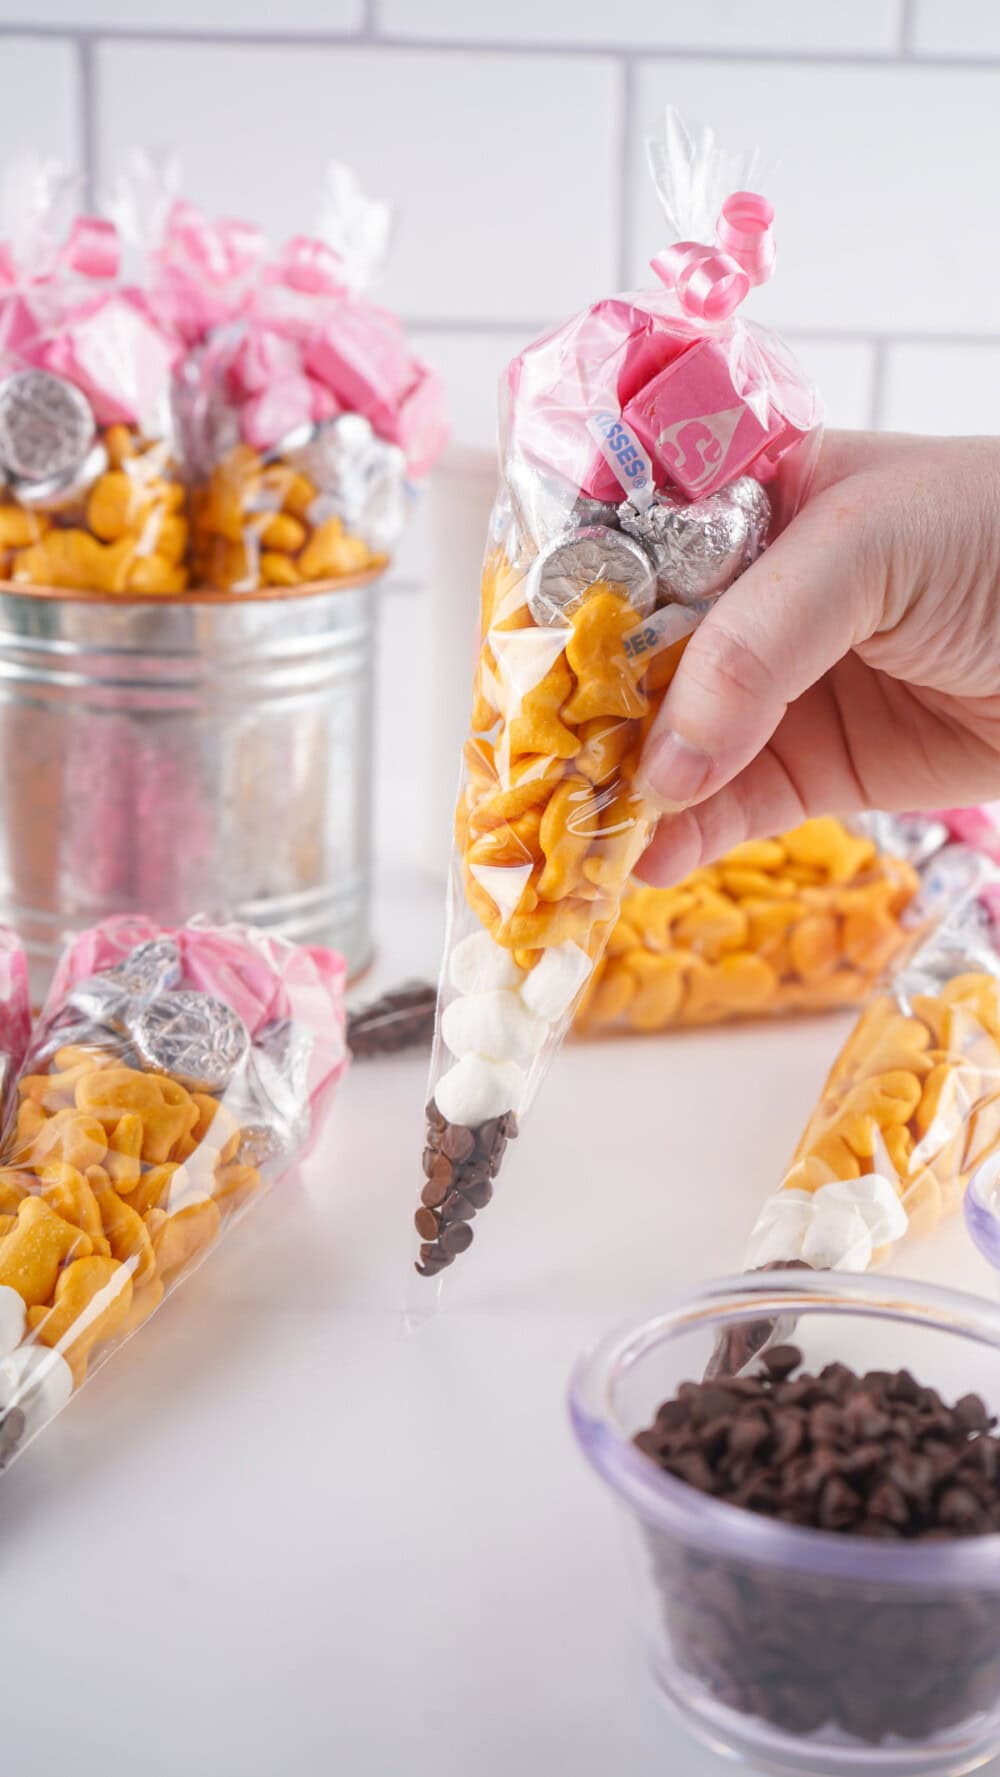
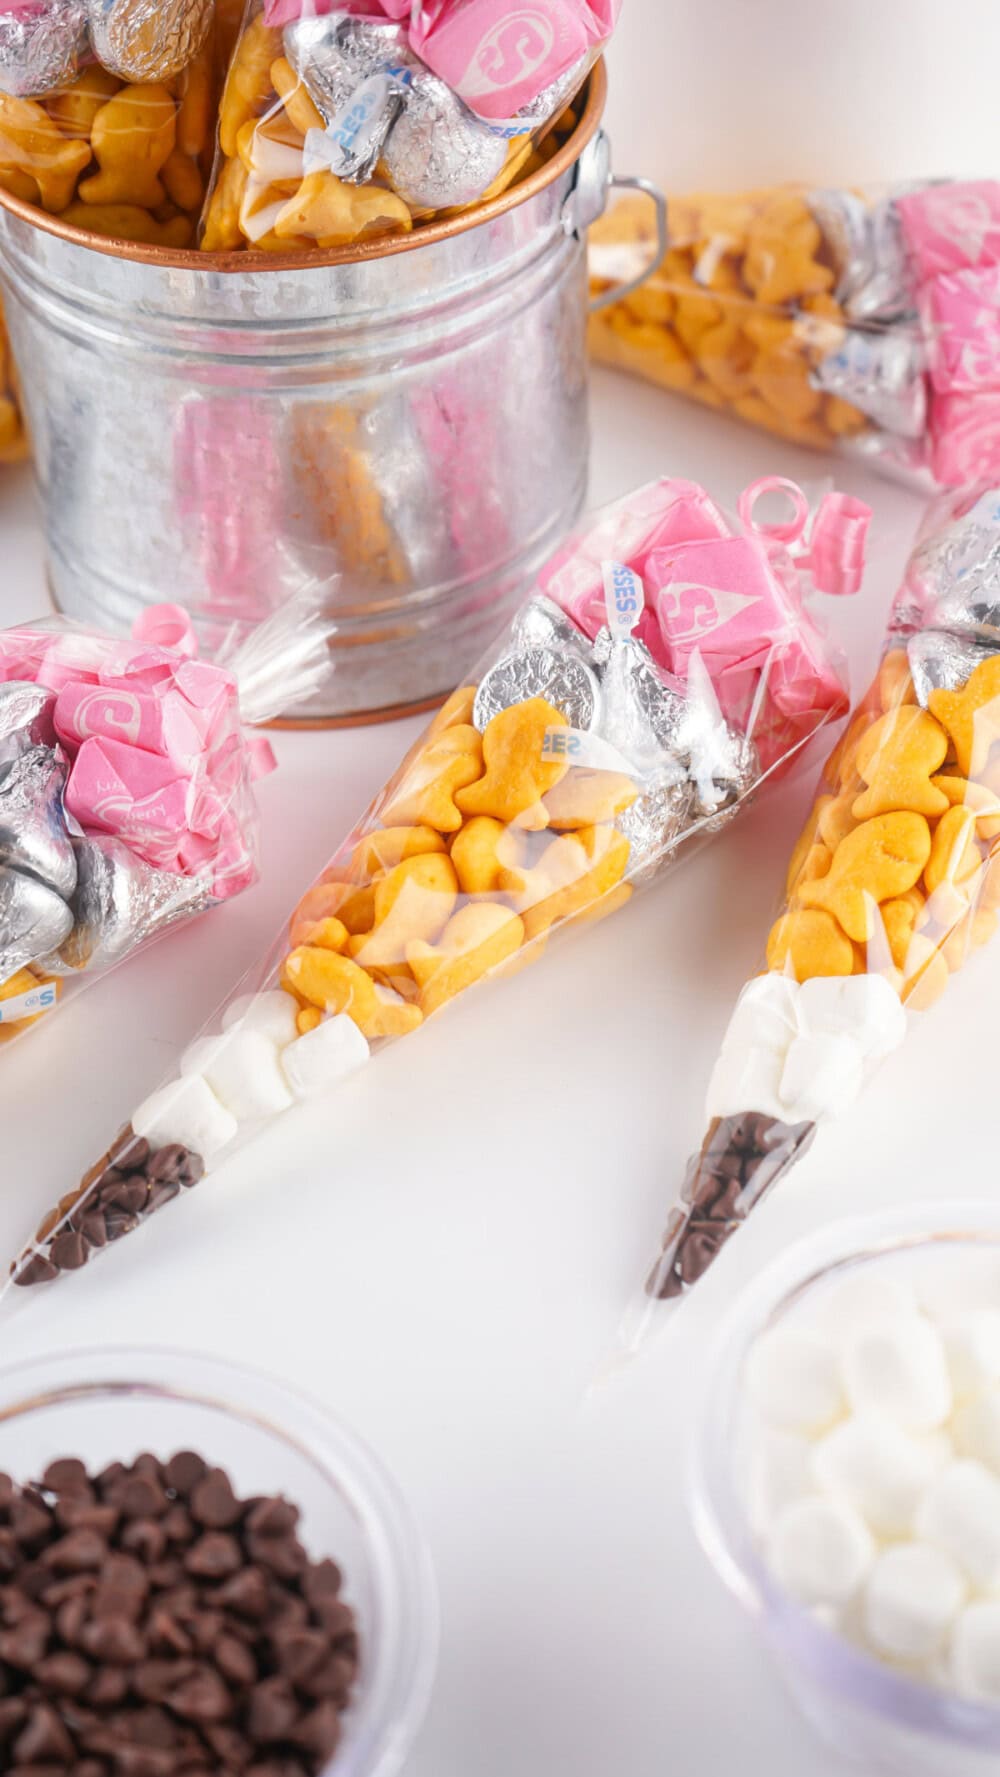
- Start by placing the mini chocolate chips in the bottom of the cone-shaped treat bag. Give it a shake to help them settle into the tip.
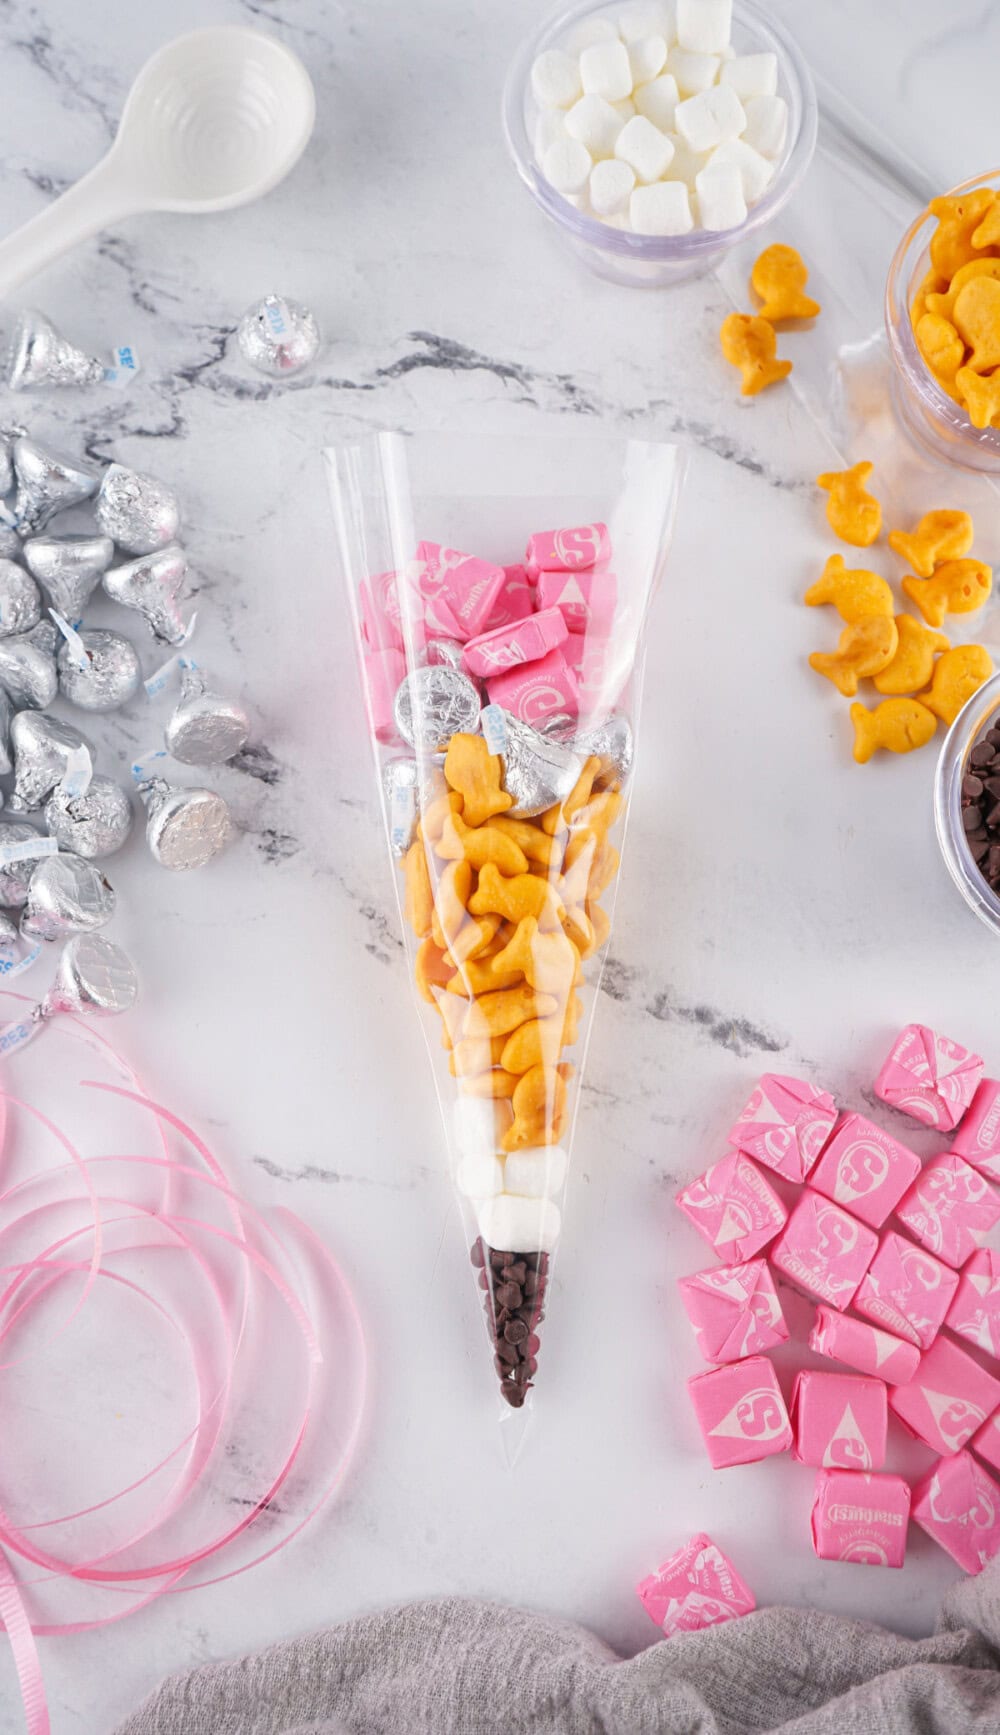
- Next, add the
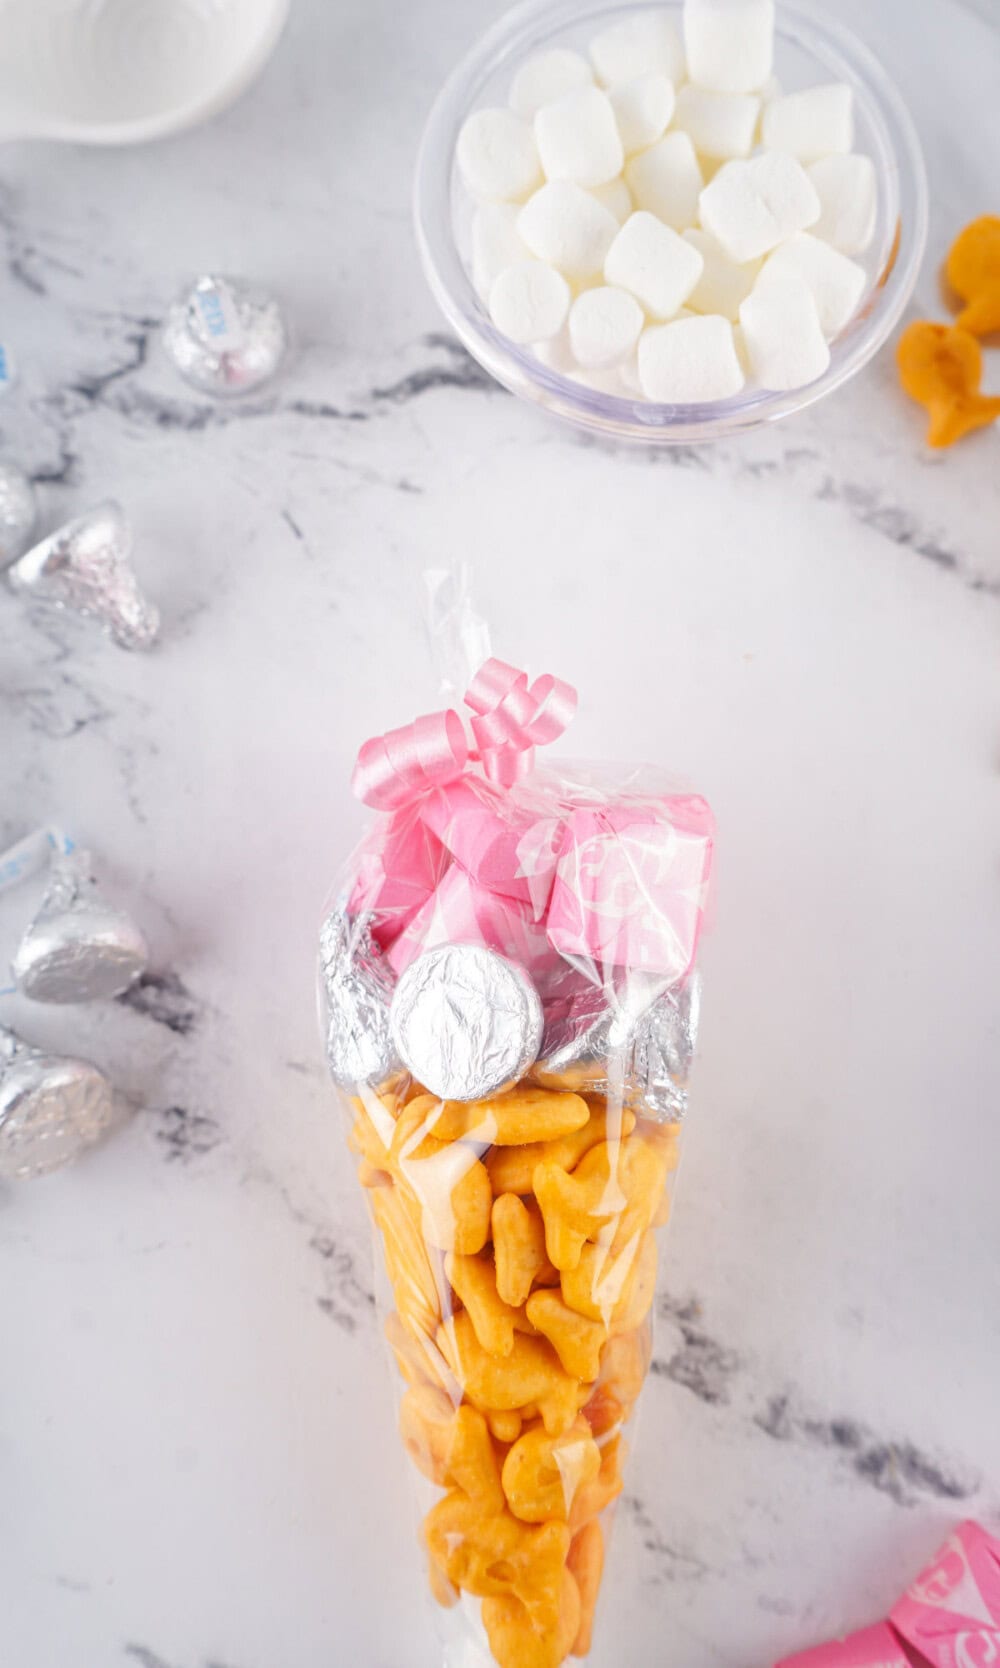
mini marshmallows on top of the chocolate chips, followed by the Goldfish crackers. Shake the bag again to fill any gaps. - Add the chocolate kisses as the next layer, then top it off with the pink Starbursts.
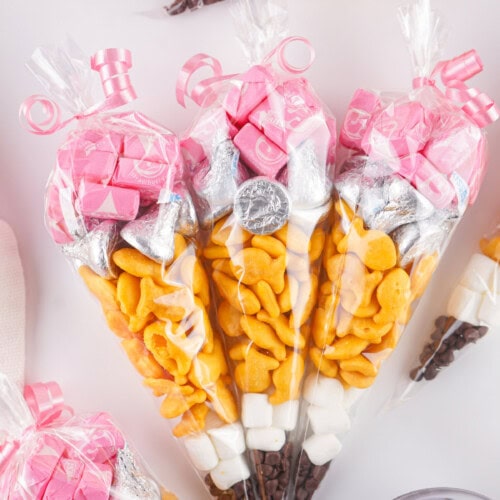
- Gather the top of the treat bag and secure it with a piece of pink curling ribbon. Tie a double knot instead of a bow for a cleaner look.
- Finally, use scissors to curl the ends of the ribbon. Your treat bag is ready to enjoy!


Similar Recipes
If you’re looking for more easy craft-like projects, be sure to check out the other ideas on the blog. Don’t miss the DIY supply bags, fun glue gun pencil toppers, and even learn how to make seed paper.
For an easy and fun school lunch that you can prep ahead, make these pod sandwiches.
Substitutions and Variations
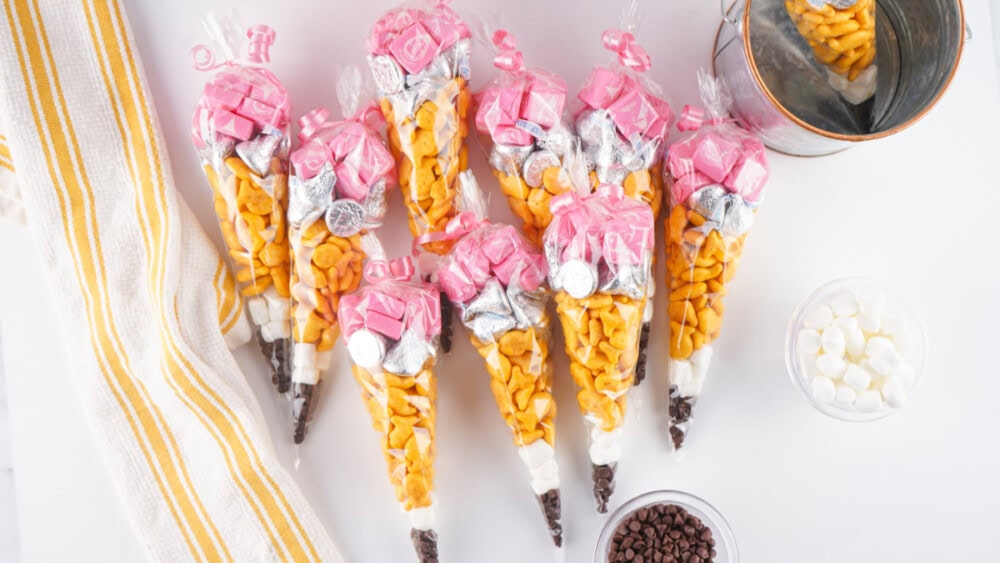
Snack Swaps: Stick with snacks in pencil colors like yellow, pink, or brown. Try different candies and crackers that match these colors.
Ribbon Colors: Change the ribbon to match your school colors or a specific theme, or keep it pink for the pencil eraser look.
Candy Choices: Use other small, colorful candies like yellow M&Ms or pink jelly beans that fit the pencil theme.
Easter Basket: You could easily make these into carrots to put in an Easter basket. Use all Goldfish crackers and top with green candies and ribbon to make carrot snack bags.
Extra Fun: Add a small tag or label to the ribbon for a personal touch. You can add little affirmations or uplifting messages for school encouragement, too!
Supplies you’ll need
Here is some equipment you’ll need for this craft.
Storage
Store the finished pencil clear treat bags in a cool, dry place for up to a week. Longer than that risks the snacks going stale.
Tips & Tricks
- Storage: Keep in a cool spot for up to a week. Snacks might go stale after that.
- Bag Size: Bigger bags need more snacks or will have a bigger tail. Smaller tails look neater.
- Curling Ribbon: Curl after tying to keep curls tight.
- Ribbon Options: Use any ribbon, but curling ribbon works best.
- Tutorial: Watch this video on curling ribbon with scissors.
Notes & FAQ
Additional Notes:
- Allergies: If the treat bags are for a group, keep potential allergies in mind when choosing snacks.
- Tweakable: These bags can easily be customized for different themes or holidays by swapping out the snacks and ribbons.
FAQs:
- Can I make these treat bags ahead of time? Yes, but it’s best to keep them no longer than a week to make sure the snacks stay fresh.
- What if I can’t find cone-shaped treat bags? The cone shape is best for the pencil look, but in a pinch, you could try to make one from a regular cellophane bag.
DIY Pencil Treat Bags
Equipment
- Scissors
This post contains affiliate links. As an Amazon Associate, I earn from qualifying purchases at no extra cost to you.
Ingredients
- 9 pieces Pink Starbursts
- 7 pieces Hershey kisses
- ⅓ cup Goldfish Crackers
- 4 mini marshmallows
- ½ tsp Mini chocolate chips
- 1 Cone-Shaped Treat Bag 9.8” by 5.1”
- 1 strip Pink Curling Ribbon 12-Inch
Instructions
- Place the mini chocolate chips in the cone-shaped treat bag and give it a good shake to help them settle into the tip.1 Cone-Shaped Treat Bag, ½ tsp Mini chocolate chips
- Add the mini marshmallows, followed by the Goldfish crackers. Shake again to fill any gaps.4 mini marshmallows, ⅓ cup Goldfish Crackers
- Add the chocolate kisses, and finish by adding the pink Starbursts.7 pieces Hershey kisses, 9 pieces Pink Starbursts
- Bunch the top of the treat bag and tie it with the pink curling ribbon. Use a double knot instead of a bow.1 strip Pink Curling Ribbon
- Curl the ribbon ends using scissors. Enjoy!
Notes
- Store in a cool spot for up to 1 week to keep snacks fresh.
- If using larger treat bags, you’ll need more ingredients or will have a larger tail. (Smaller bags look better)
- Curl ribbon after tying for the best results.
- Any ribbon can be used, but curling ribbon works best for this method.
Our Favorite
Crafts & DIY Projects
Don’t forget to pin this for later!
If you make these Pencil Treat Bags, I’d love to see your creations! Please share and tag me on social media.
Don’t forget to subscribe for more easy DIYs and snack recipes and leave a comment below to let me know how yours turned out.